 FREE 1 to 3-Day Delivery on Orders $149+ Details
Mustang Trunk Lid Mat ('05-'09 GT) - Installation Instructions
Installation Time
30 minutes
Tools Required
- Drill with drill bit
- Center Punch
- Knife or Razor Blade
- Masking Tape
- Pencil or Marker
Installation
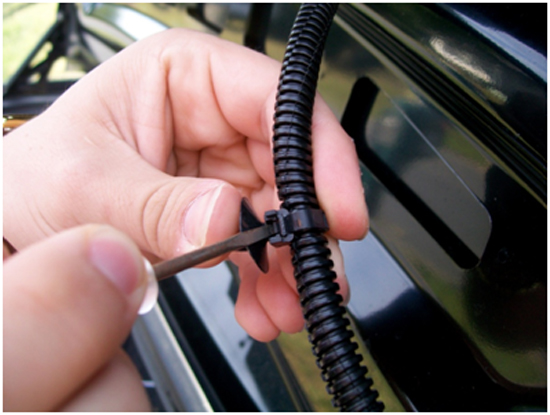
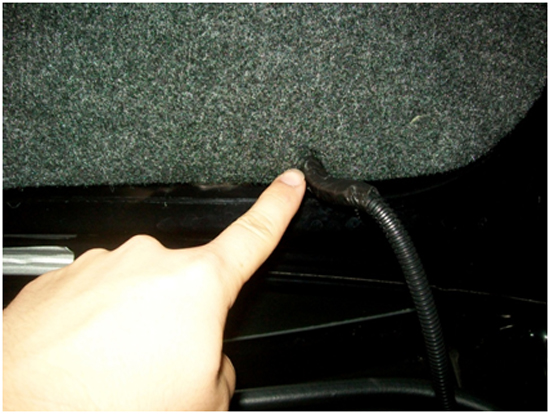
1. First you are going to want to pull out the black loom from the trunk lid. This can be done by exposing both the clips on each side of the fasteners. Once you see the clips you will be able to wiggle it right out.
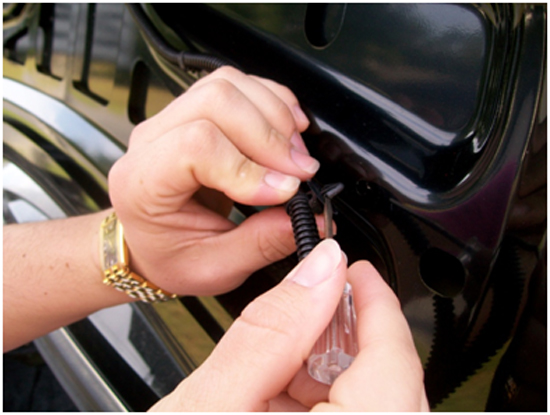
2. Once the fasteners have been removed from the trunk, you can either remove them or you can keep them on (I took them off). Take a small flat head screwdriver and press down on the tab on the wire tie holding the loom. Doing so will release the fasteners from the loom. Don’t worry the loom will be fastened to the trunk later.
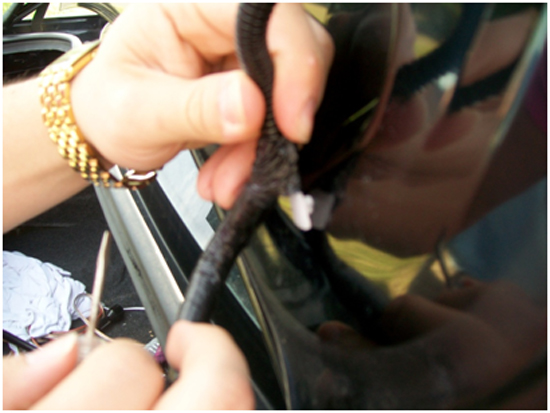
3. You will need to remove the white retaining clip that is located on the loom at the 90-degree angle. Do so by twisting and pulling it out. Take you’re knife or razor blade and cut the tape holding the clip to the loom. Cut behind the whitepiece and be sure not to cut into the loom.
4. Next you will need to hold the trunk mat liner up to the lid (use a friend, it's easier). Adjust it to match the two factory holes from where the fasteners used to be. Now take your marker or pencil and mark where you will drill the three new holes.
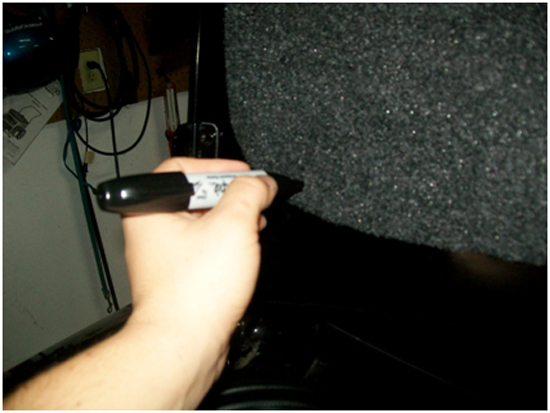
5. Now take the loom (while keeping the mat in place) and mark where the cut out is in the lower right hand corner on the trunk mat. This is where that 90-degree angle loom will need to be secured. Make sure it is pointing out towards you when you secure it. Otherwise the seal on the trunk will not close right.
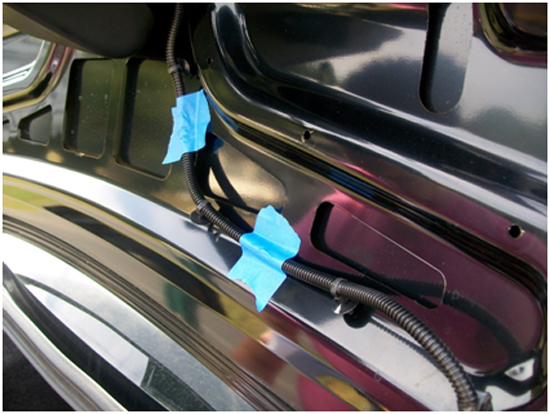
6. Now that you have done that you can now take down the mat and grab your masking tape. Use only masking tape; any other tape will ruin your paint. Tape the loom in any way you want to. Just make sure that the 90-degree angle of the loom is coming outward in the little cut out.
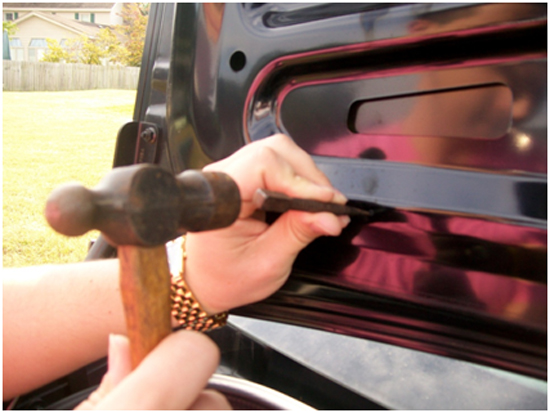
7. Now make sure that the holes you have marked are not too close to the edge of the metal. Make sure they are centered before you use your center punch.
8. Take your center punch and tap it once where you have marked for the three new holes. Be sure not to do it more than once. Using the center punch will help get your drill bit started and keep the drill from sliding along the trunk.
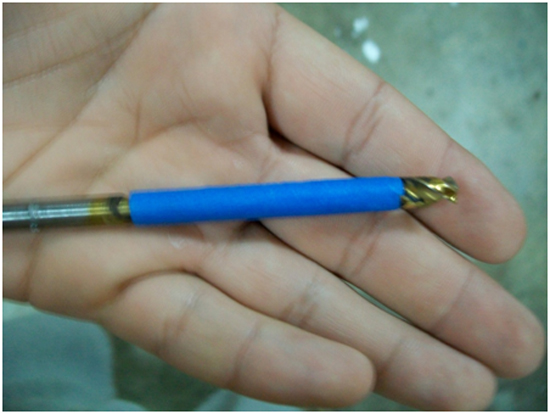
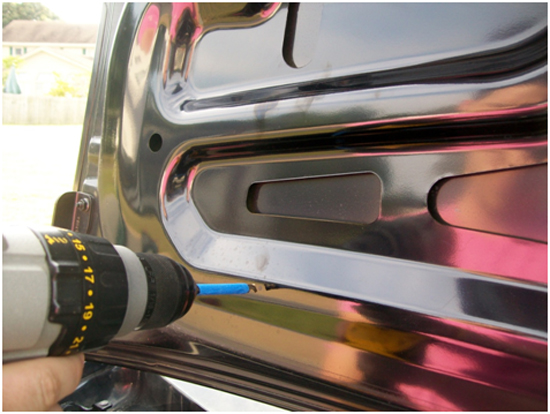
9. Now it’s time to start the drilling process. Grab your ¼ drill bit. Take the masking tape and measure ¼ from the tip of the drill bit and tape it. This will ensure that you do not drill too far and put a hole in your trunk.
10. Now carefully drill the three new holes into the trunk using your ¼ drill bit.DO NOT DRILL THE HOLES WITH THE MAT ON THE TRUNK THIS WILL CATCH THE MATERIAL OF THE MAT AND RIP IT!!!!A neat trick is to have a friend hold a magnet under the drill bit while you drill to collect the metal shavings.
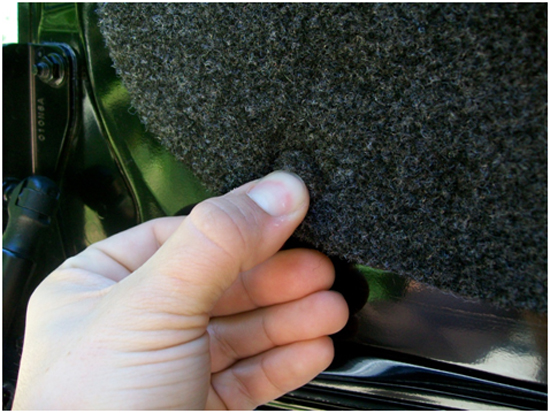
11. Once the ¼ holes have been drilled, hold up the trunk mat and align the holes using a screwdriver or pencil. If they do not line up then check to make sure the holes were drilled correctly.
12. Take the supplied retaining clips and push them into the five holes.DO NOT PUSH THEM ALL THE WAY IN RIGHT NOW!!!Make sure they line up first and that the mat is in the right place of your liking. Then you can push them in all the way. These are one time use clips. Once they are in they stay in. Now you are done and can enjoy your new addition to your mustang.
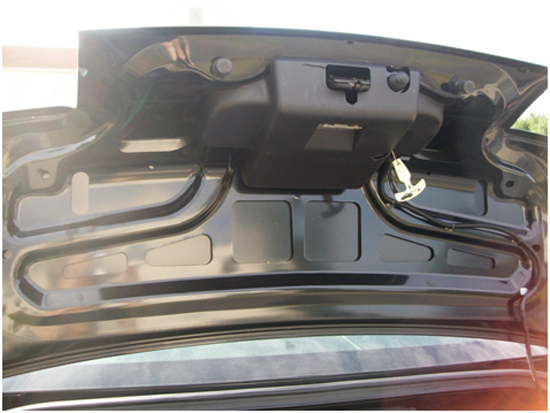
BEFORE
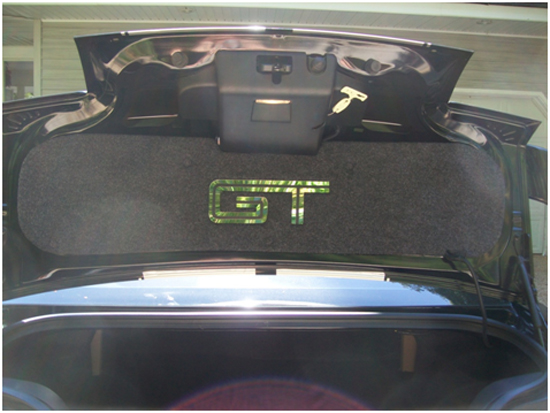
AFTER
NOTE: NEVER ATTEMPT TO REMOVE THE MAT BY PULLING IT. THIS CAN DAMAGE THE MAT OR RIP THE HOLES FROM THE MAT.
Installation instructions provided by AmericanMuscle customer Shane Slavnik 9.23.10
Related Guides
-
Installation
-
Installation
-
Installation

