 FREE 1 to 3-Day Delivery on Orders $149+ Details
Roush Mustang Vent Gauge Pod (2010-2011) - Installation Instructions
Installation
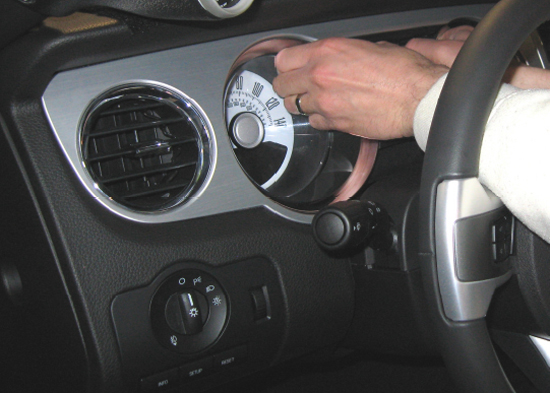
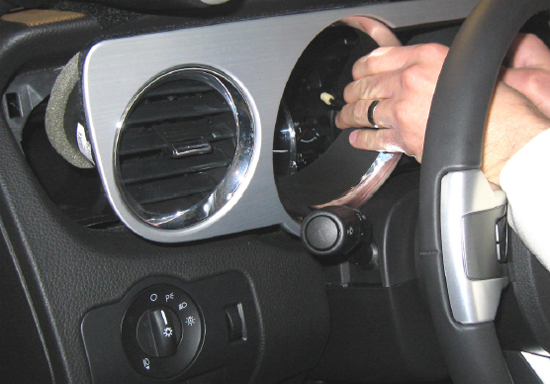
1. Remove the instrument cluster bezel by carefully pulling toward the steering wheel. Once the bezel has been released from its retaining tabs, carefully manipulate it between the top of the dash and the steering wheel and remove the complete assembly from the vehicle.
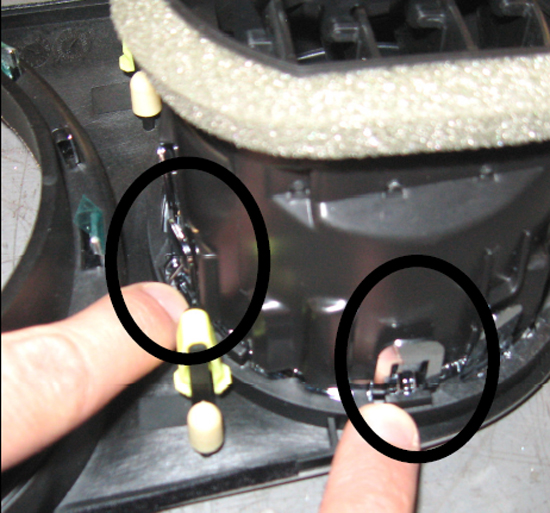
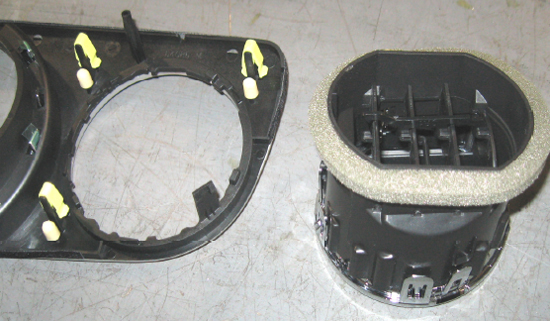
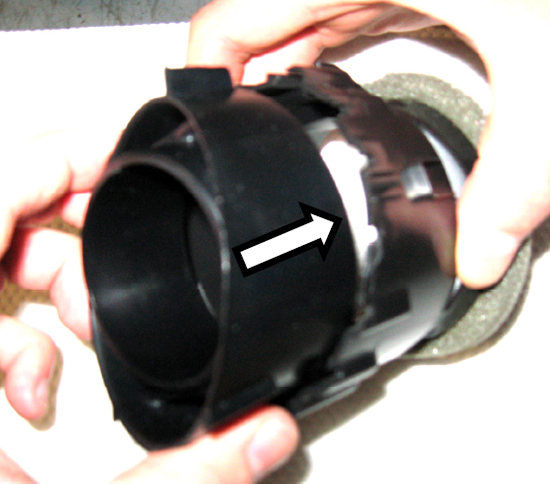
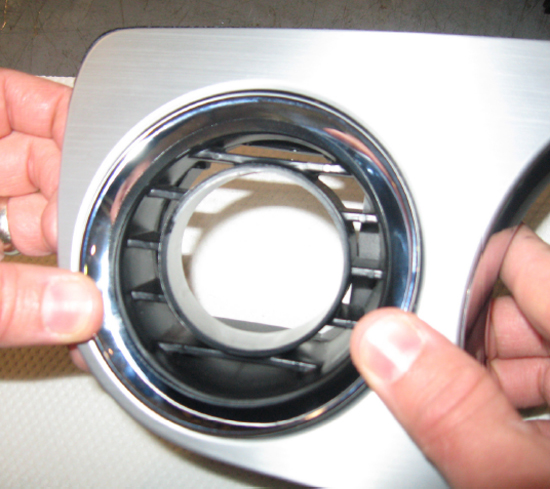
2. Locate the four locking tabs which retain the inner vent assembly to the cluster bezel. Carefully depress all four tabs to release the inner vent assembly.
Note:At this point, your inner vent assembly should be separated from the cluster bezel as shown below.
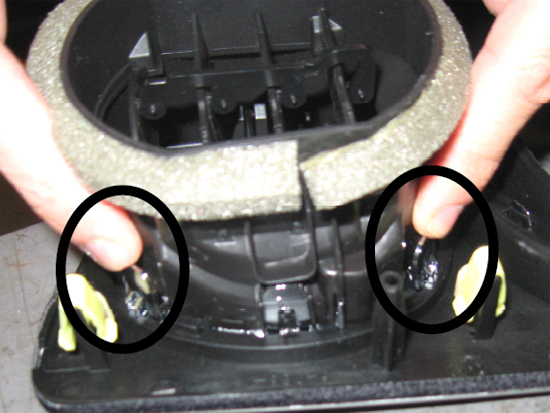
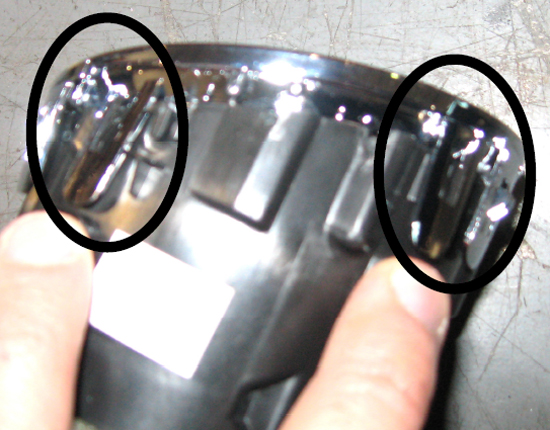
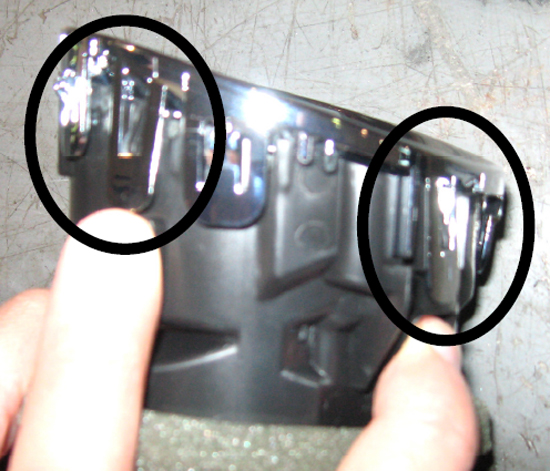
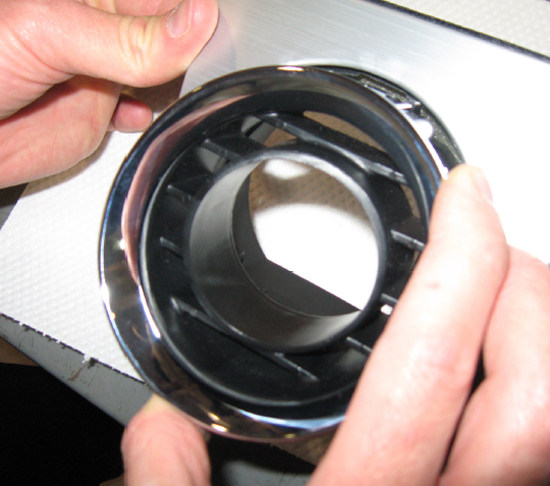
3. Locate the four locking tabs which retain the decorative trim ring to the inner vent assembly. Carefully pry back on all four tabs to release the trim ring.
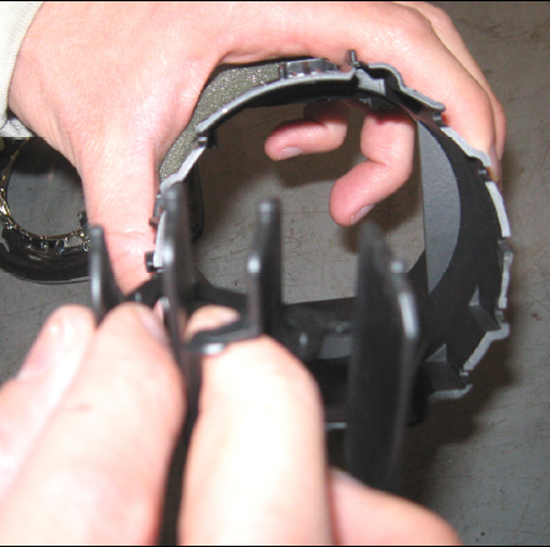
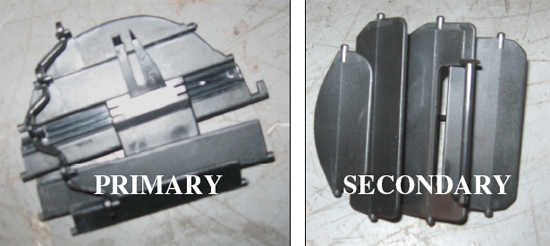
4. Once the trim ring has been removed, you must now remove both the primary and secondary air flow manipulators from the inner vent housing. Carefully pull up on each of the blades to release the posts from retainer pockets located on either side of the barrel. This step must be repeated for both the primary and secondary blade sets.
Note:Retain the components shown below. These can be reinstalled should the customer decide to return their inner vent assembly to “stock”.

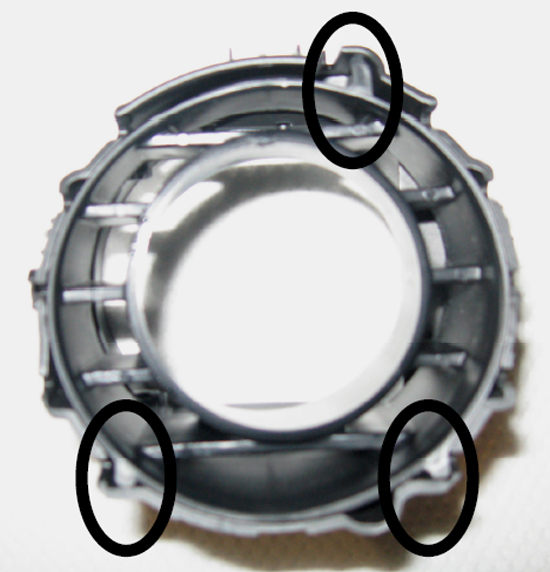
5. Align the one upper and two lower tabs and insert the VentPod into the inner vent housing until fully seated at the base.
6. Locate and align the tall alignment tab features on both the decorative trim ring and inner vent housing. Reinstall the trim ring until each of the four locking tabs have locked into position.
7. Locate and align the inner vent housing assembly with the cluster bezel. Reinstall the inner vent housing until each of the four locking tabs have locked into position. The trim ring should now be seated flush with the cluster bezel and locked securely into position.
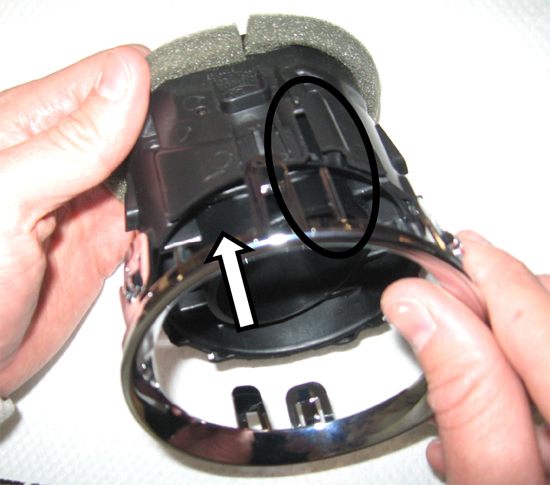
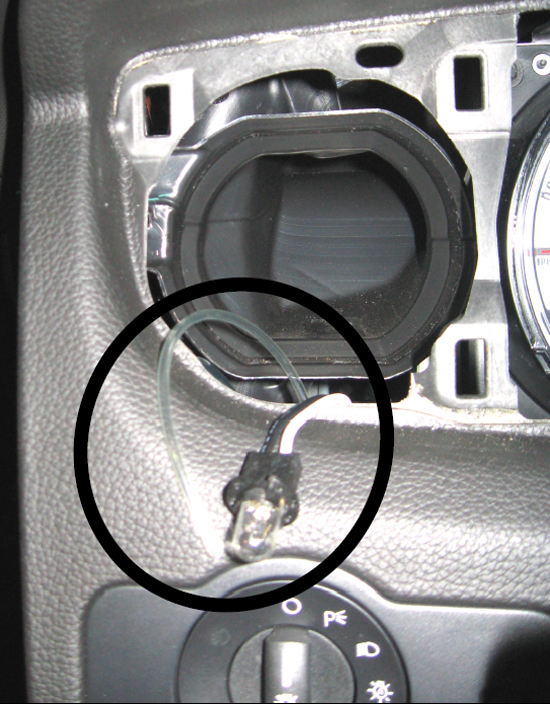
8. Before reinstalling the instrument cluster bezel, run all necessary wiring and hoses based on your gauge selection. The picture below illustrates the vacuum hose and wiring necessary for a mechanical boost gauge.
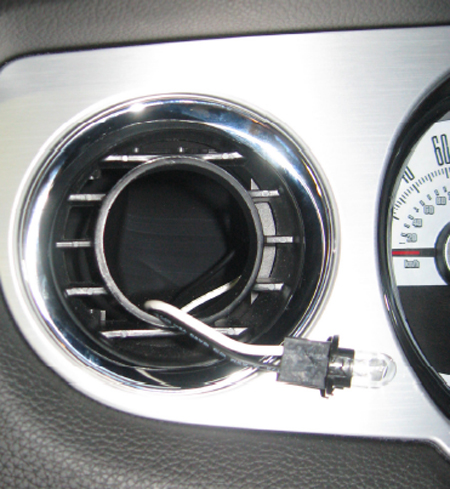
9. Carefully reinstall the instrument cluster bezel until all retaining tabs have been fully seated and the bezel is securely seated and flush with the dash surround. Ensure that all hoses and/or wiring have been pulled through the open vent hole tallow for installation to the gauge.

10. Make all necessary connections to the gauge and install the gauge into the VentPod until fully seated.
Note:If excessive force is required to seat the gauge due to gauge size variability, stop and remove the gauge from the VentPod. In such instances, it is strongly suggested that you support the rear of the vent housing prior to gauge installation (ie. Prior to Step#5) to prevent damage to the any of the factory mating components.

11. You have completed the installation of the ROUSH Performance Products 2010 VentPod. It is recommended that you save all parts removed from your vehicle during the installation of this kit.
Installation instructions provided by Roush
Related Guides
-
Installation
-
Installation
-
Installation

