 FREE 1 to 3-Day Delivery on Orders $149+ Details
Mustang Honeycomb Trim Panel ('99-'04) - Installation Instructions
Installation
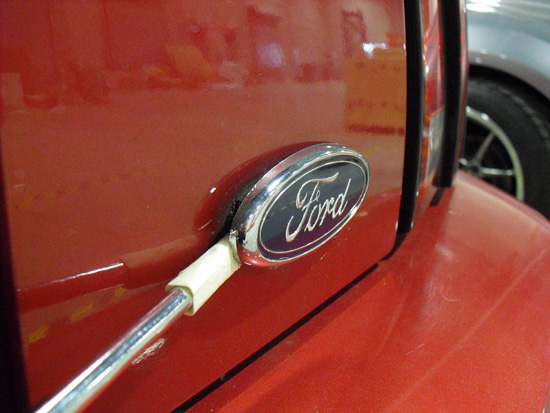
1. Remove the rear license plate from the vehicle. Using a flat-bladed screw driver with tape over the end to prevent scratching, carefully pry the factory emblems from the rear decklid.
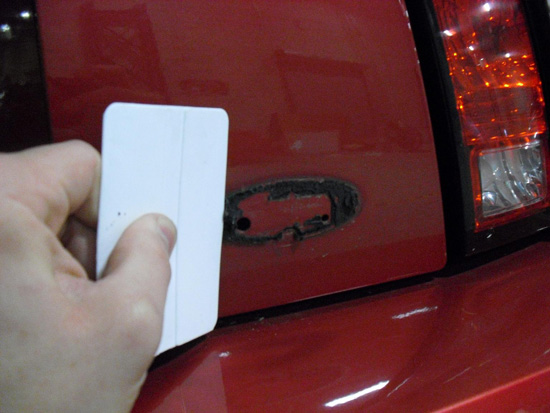
2. Using a plastic scraper, remove the residue left behind by the factory emblems.
3. Once the emblems and residue are completely removed, thoroughly clean decklid surface where the honeycomb panel will attach. Once the decklid is clean and dry, use the supplied alcohol prep pads to clean the surfaces where adhesive from honeycomb panel will attach.
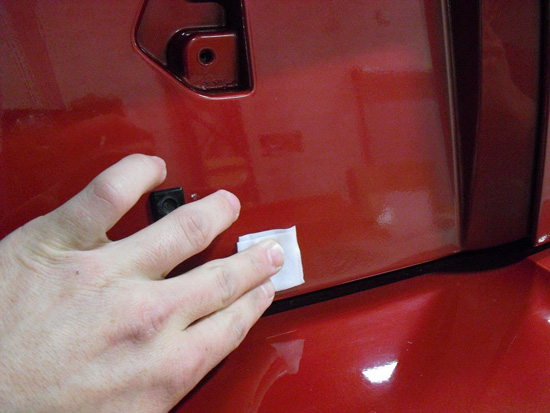
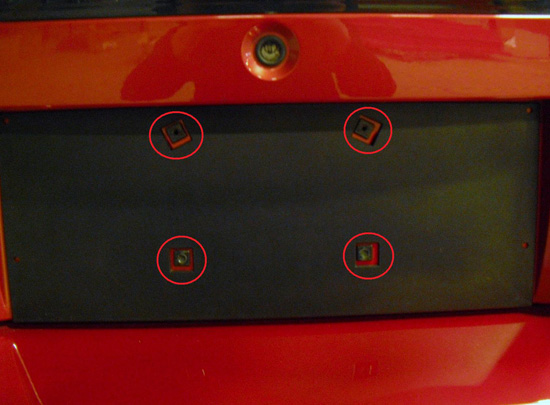
4. Peel backing from adhesive on center panel and install on vehicle. Use the license plate mounting tabs for reference when locating the center panel on the decklid. Once center panel is properly located, press firmly down to fully seat the adhesive strips.
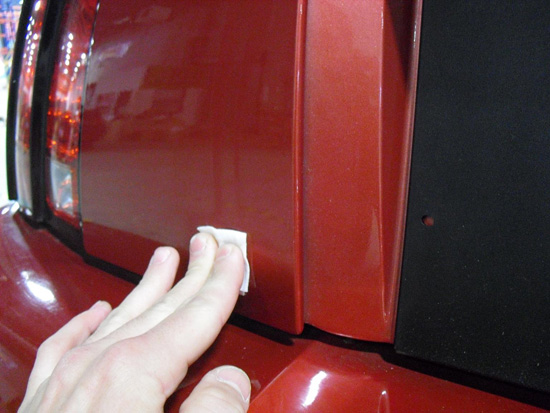
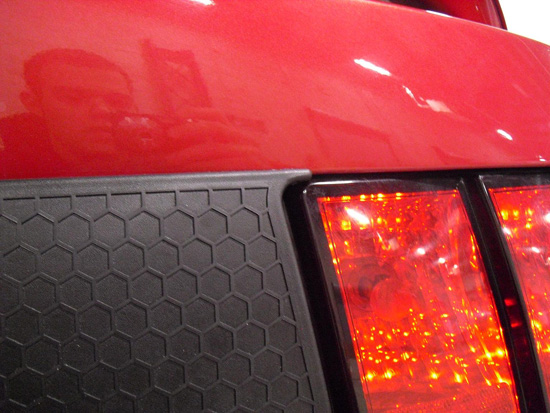
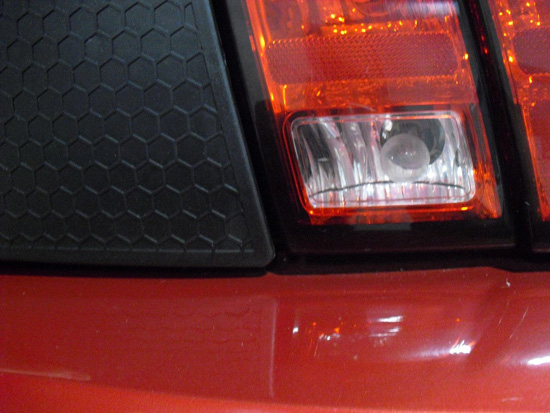
5. Peel backing from adhesive on outer panels and install on vehicle using the outer trunk lip and tail light as reference points. Once outer panels are properly located, press firmly down to fully seat the adhesive strips.
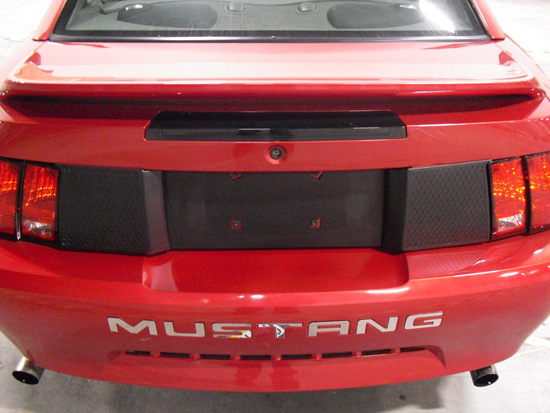
6. Make sure all pieces of honeycomb panel are firmly seated and re-install license plate to complete installation.
Installation instructions provided by Manufacturer
Related Guides
-
Installation
-
Installation
-
Installation

