 FREE 1 to 3-Day Delivery on Orders $149+ Details
Stainless Steel Exhaust Hanger Kit ('05-'10) - Installation Instructions

Shop Parts in this Guide
Installation
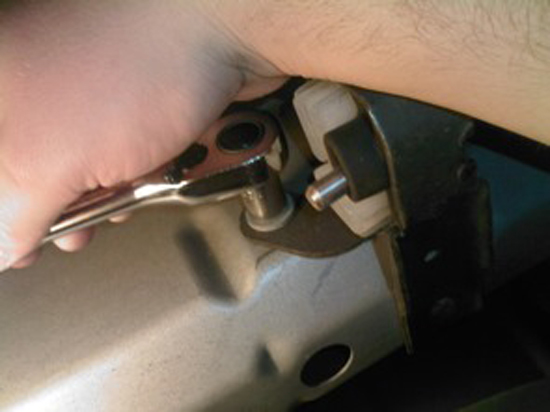
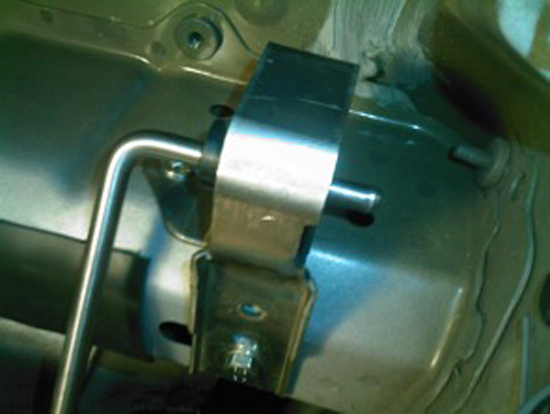
1. This is the hanger closest to the rear of the car. Start by taking your socket wrench, your socket extender, and your 1/2 socket. Line up your socket with the bolt. start loosening the bolt by turning it counter clockwise. Start with the bottom bolt

2. Now for the same bracket but for the top screw. For this step you will need to take the socket wrench extender off due to the lack of room to work in this area. With the extender off it is fairly easy to work. Turn counter clockwise loosening the bolt.
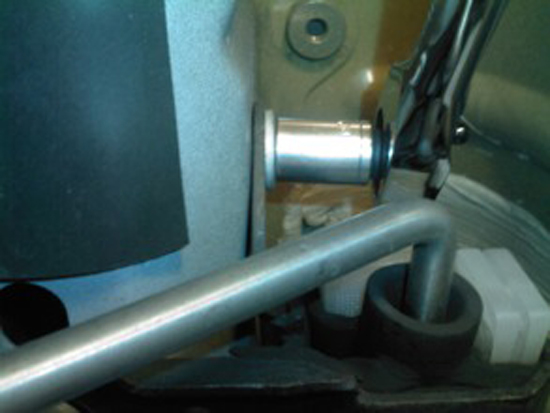
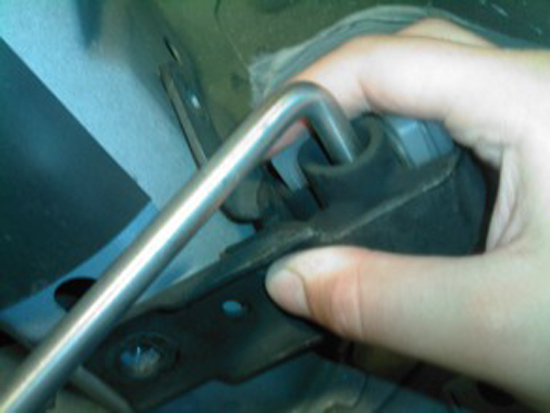
3. Now that both of the bolts have been taken off of the exhaust hanger you can work the hanger off of the exhaust bracket. You will need to grab it firmly and pull it while also working it back and forth to slip it off.
4. Repeat steps 1-3 on the exhaust hanger on the last hanger.
5. Now you are ready to install the new stainless steel exhaust hangers with the hardware that was all included.
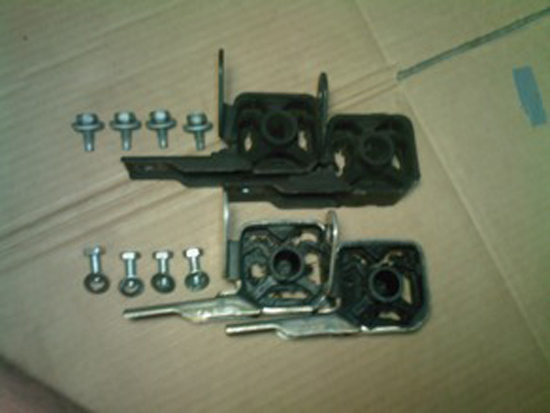
6. The picture that is shown above is a side by side comparison of the new stainless steel exhaust hangers, and the stock ford exhaust hangers. You can see the difference in the quality and the construction of the new hangers. The hangers are the one on the bottom of the first picture. The kit has bolts and washers included with it, you will want to use these new bolts and new washers when installing the kit, because they are higher quality than the original equipment that was used.
7. You will need to lay out the new hangers in the way that you will install them on your car. They will be bolted on the car in the original place, facing the original way. Make them mirror each other.
8. To install the new exhaust hangers repeat steps 1-3 of the steps above but doing the opposite to tighten the bolts instead of loosening them. This is what the finish product looks like. In the picture you can see how good these hangers look on theca, and the quality of the hangers, these will last for a long time.
9. You will want to do this by turning the bolts on the exhaust hangers clock wise, you will need to do this for the 4 screws, making sure you put the washers on the bolts before you tighten them down on the hangers. You are going to want to tighten these bots down fairly tight on the car to ensure a tight fitment to get the least amount of movement.
Installation instructions provided by AmericanMuscle customer Brandon Hasson 8.5.09
Related Guides
-
Installation
-
-

