
Best Sellers
Steeda Tri-Ax 2005-2009 Mustang Shifter - Installation Instructions
Installation
Preparing Car for Procedure
1. In order to access the shifter the car must be placed on jack stands or on a car lift. If you are using jack stand, be sure that the car is on solid level ground before attempting this procedure.
Removing the Factory Shifter:
1. From inside the car unscrew the shift knob counterclockwise and remove the leather boot. The boot can be removed by carefully prying the front edge up with your fingers and sliding it off the shift lever. Set it aside as it is to be installed on new shifter. Make sure the vehicle is in neutral.
2. To remove the shifter you will need to loosen and remove the four driveshaft bolts (although, it is possible to remove and install the new shifter without removing the driveshaft, Steeda Autosports does not practice this technique).Mark the bolt holes on both the driveshaft flange and the transmission flange to insure exact location when reinstalling the driveshaft.As this is a two-piece shaft, you need to remove the bolts on the driveshaft center mount. Some cars have shims between the center mount and the chassis. Be sure to note this and mark any shims to insure they are reinstalled in their original location. Failure to do this could cause the driveshaft to vibrate.
3. Remove the nut that secures the factory shift rod to the shift lever. Pull the shift rod out and let it hang out of the way.
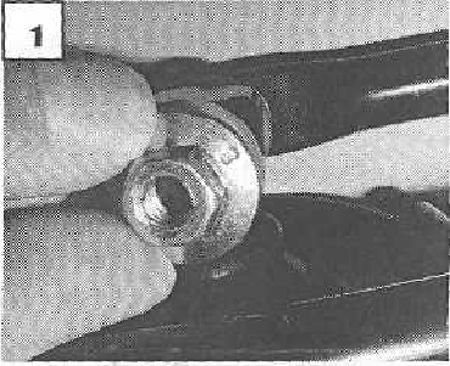
4. Remove the bolt that attaches the shifter arm to the transmission.
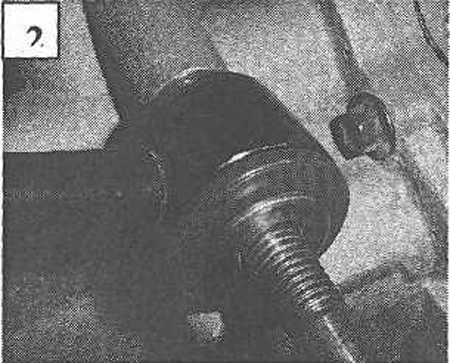
5. Remove the two nuts that attach the rear shifter mount to the chassis just above the driveshaft flange on the transmission. Remove the shifter from the car.
6. Carefully remove the rubber boot from the factory shifter and set aside.
Installing the Steeda Shifter
1. Pry the stock metal inserts from the bushing in the transmission arm of the factory shifter. Then remove the two piece rubber bushing and install them into the billet arm on the Steeda shifter. Then install the sleeve into the Steeda arm.
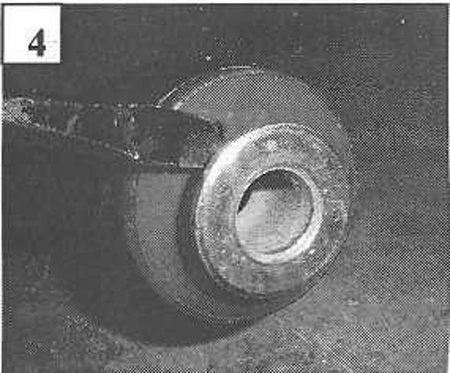
2. The shifter ships in two pieces, an Arm and a Base. Attach the arm to the base with the provided Socket Head Cap Screws.
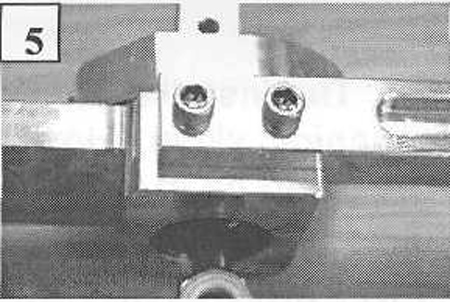
3. Assemble the rear shifter mount. Sandwich the rear hole in the shifter with the two provided urethane bushings. Then insert the flanged tube from the top with the round edge facing forward. Bolt the assembly together as shown using large washer, then the lock washer, and provided hex bolt.
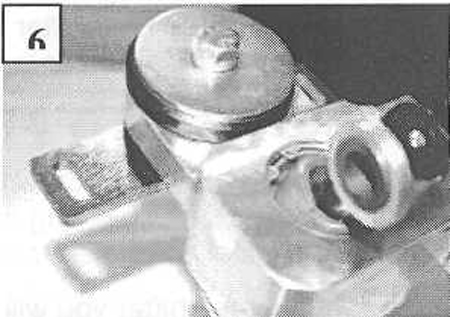
4. Fit the new Tri-Ax shifter into the opening in the chassis and attach the transmission arm to the transmission using the factory bolt removed in Step 5.
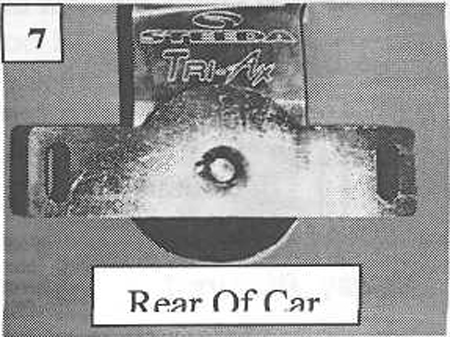
5. Attach the rear of the shifter to the factory studs on the chassis using the nuts removed in Step 6. Picture 7
6. Grease the u-shaped bracket and insert it over the bottom of the shift lever. The wider side should be placed towards the driver’s side of the vehicle. Reuse the nylon bushings from the stock unit as shown. Picture 8
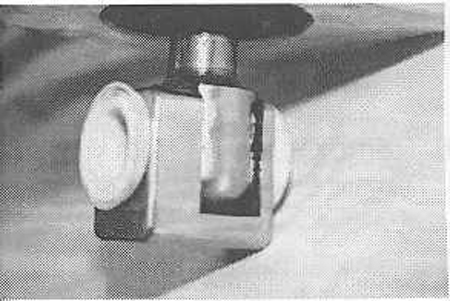
7. Grease the nylon bushings and insert the factory shift rod, driver's side first, and temporarily reinstall the factory nut removed in Step 4.
8. Set the Shifter Stops as FollowsMake sure all adjustments are done at this time. From inside the car you must adjust the shifter stops:
9. Back off the stop bolts so that the shifter moves freely into all gears
10. Place the shifter in 3rd gear and thread the stop bolt towards the shift lever until it contacts the shift lever.
11. Once the stop bolt contacts the shift lever, back off the bolt approximately a 1/2 turn, until there is a small air gap (about.025") between the shift lever and the stop.
12. Hold the bolt with a 1/2" wrench while tightening the jam nut against the shifter tower with another wrench.
13. Double check the space between the shift lever and the stop bolt.When you push hard on the shift lever it should contact the stop bolt, butwhen you let go of the lever it should snap away and not touch the bolt. There must be a small air gap between them.
14. Place the shifter in second gear and adjust the other stop bolt using the same procedure explained in Step 13.
15. Shift the shifter through all gears and double check the stop clearance in each gear.The shifter must beable to shift freely into all gears and rest in gear without interference from the stop bolts. Make any adjustments necessary to provide the correct gap as noted in Step 11.
16. After all stops are set you will need to remove the shifter and install the rubber factory boot by stretching it over the shifter base.
17. Shift the shifter through all gears and double check the stop clearance in each gear.The shifter must be able to shift freely into all gears without interference fromthe stop bolts.
18. Reinstall the Tri-Ax shifter following Steps 3, 4 & 7. Be sure to use the provided new flange nut to attach the shift rod to the shift lever, Thread locking compound is highly recommended. At this time tighten all bolts securely. It is recommended that the handle be installed in the higher position for the greatest driver comfort. For the shortest throw, install the handle in the lower position. For Clearance purposes it is recommended that the handle be installed on the passenger side of the shift lever.
19. Re-install the shift boot and knob. Important: Always use an anti-seize compound on the threads when installing an aluminum shift knob onto the Steeda shift handle.
Installation instructions provided by Steeda
Best Sellers
Related Guides
-
Installation
-
Installation
-
Installation


