 FREE 1 to 3-Day Delivery on Orders $119+ Details
Best Sellers


How to Install SR Performance Full Length Subframe Connectors on Your 1979-2004 Mustang
Installation Time
3 hours
Tools Required
- 17mm deep well socket 3/8 drive
- 3/8 drive racket
- Wire wheel or sandpaper
- Jack Stands or ramps or vehicle host
Installation
Before You Start: Inspect the condition of your existing subframes. In some cases, cars have damaged existing subframes. In these situations, a full length subframe connector would be a better option to provide additional strength.
Installation Instructions:
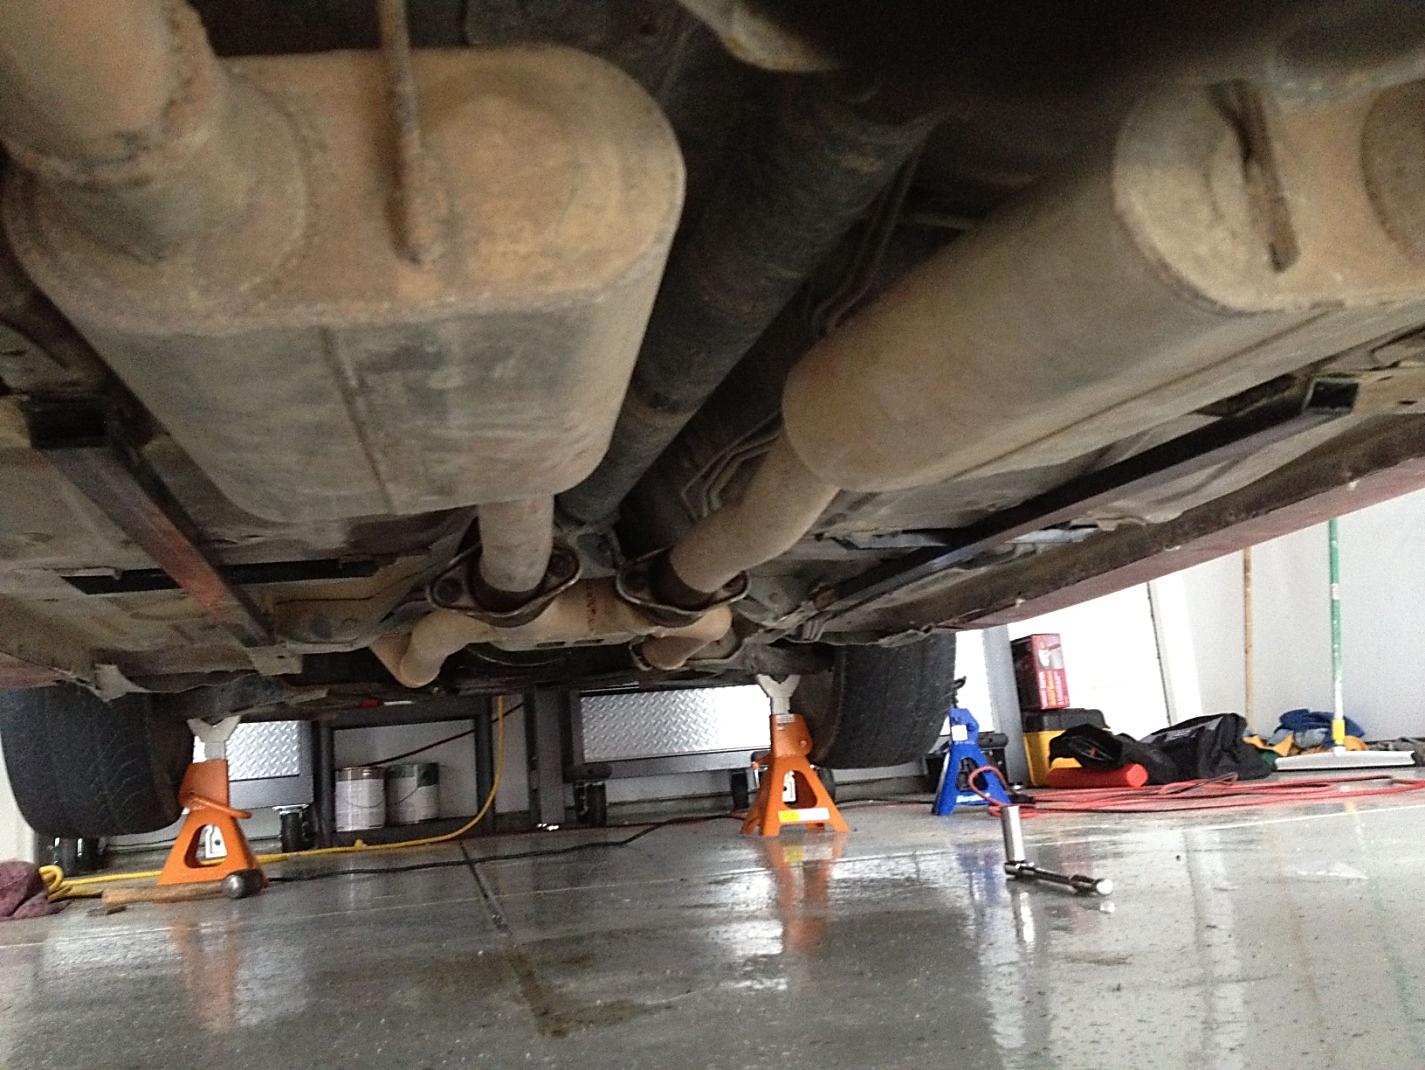
1. Elevate the vehicle to allow enough room to safety work underneath the bottom side of the car. It is important that the cars weight is on the suspension while elevated and the car is level to properly install these subframe connectors.
2. Bolt the passenger side subframe connector to the bottom of the car via the passenger side seat bolts that go through the car.
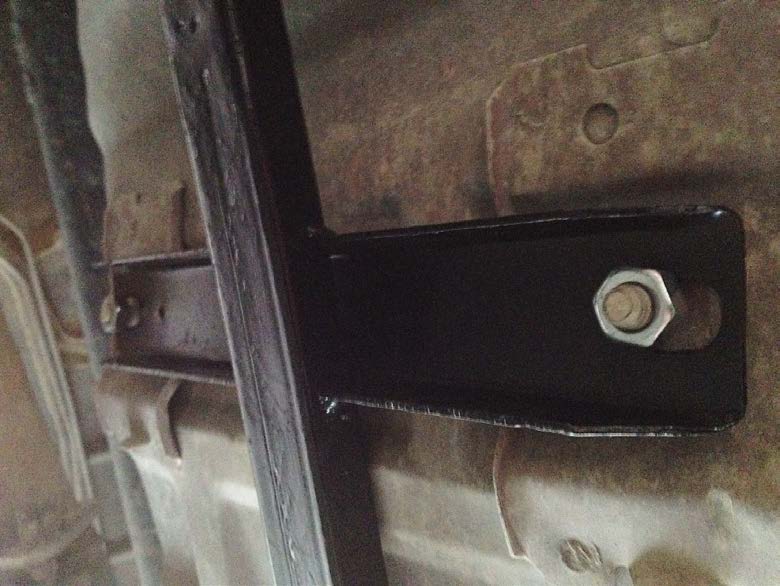
3. Mark the locations on the body and the subframe connector where the front and rear section of the existing subframe meet the subframe connector.
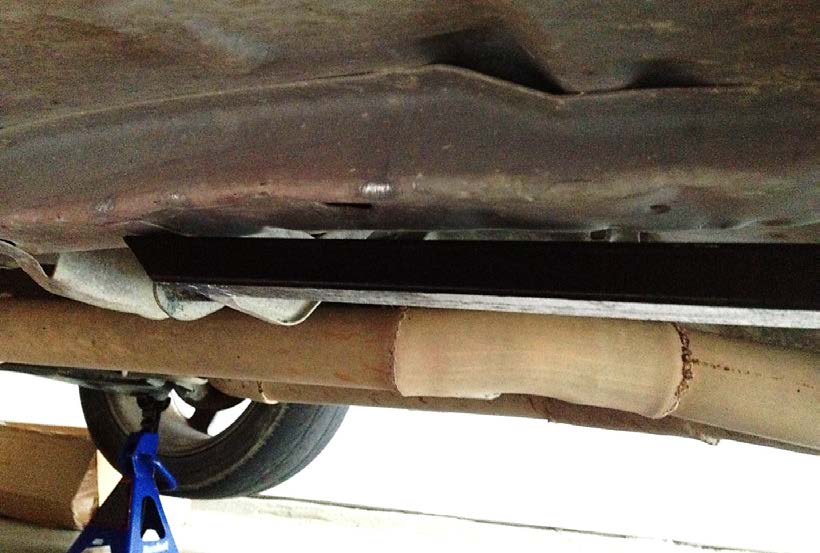
4. Check the clearance between the subframe connector and the locations where the existing front and rear subframe meet the subframe connector. They should be mostly flush, unable to fit a small finger in between. If this is not the case, additional fabrication may be necessary to ensure the subframe connectors meet flat surfaces on both sides.
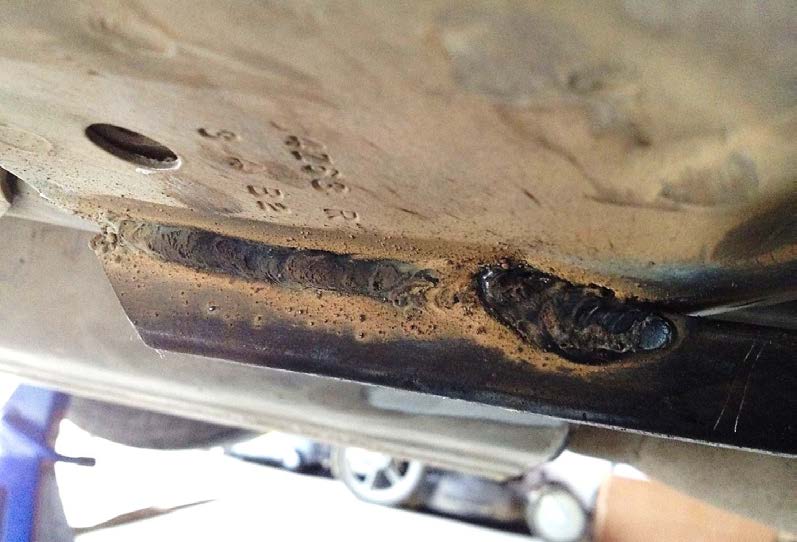
5. Remove the subframe connector and using a wire wheel or sandpaper, remove the paint from the surfaces where the subframe connector meets the existing subframe.
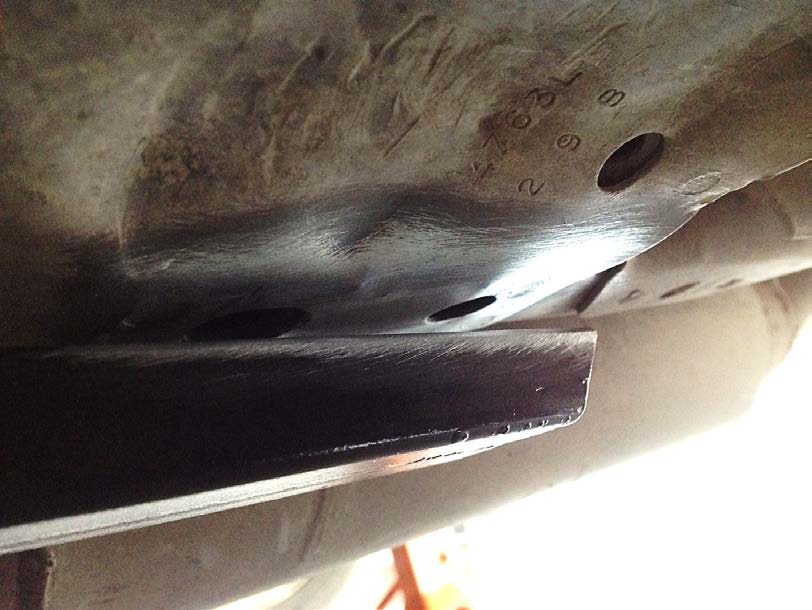
6. Re-install the subframe connector and weld the subframe connector to the existing subframe.
*Notes for Proper Fitment:
- This section is to help those that have clearance issues with the subframe connectors not sitting flat on the existing frame.
- Use a floor jack to bend the connector slightly to gain better contact with the frame rails. Make sure the jack is removed, the car is level and weight is on the suspension before welding.
- Using a hammer and pliers, bend obstructing pieces out of the way to allow a flush surface on the subframe to weld to the subframe connectors.
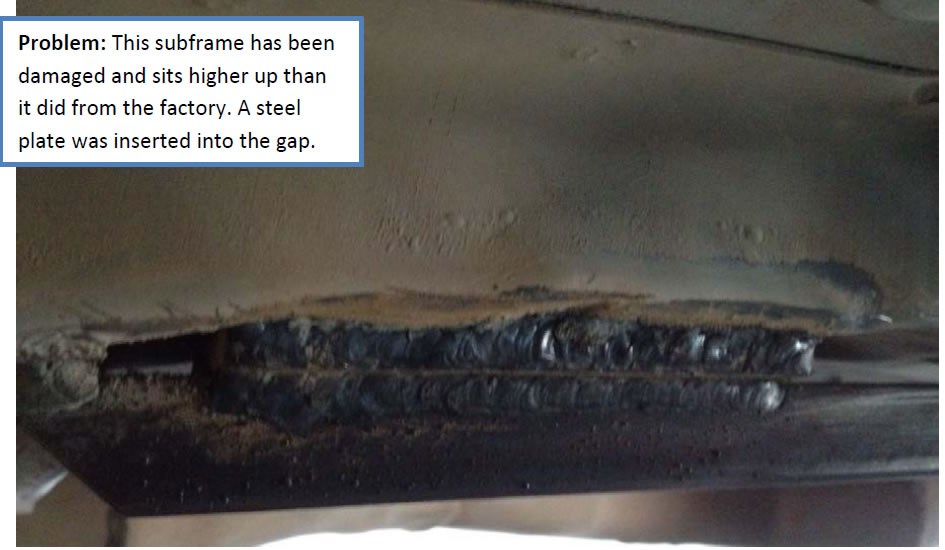
- Use steel plate to close the gap between welding surfaces.
7. Repeat Steps 2-6 for the driver side.
8. Clean welded areas with a wire wheel or sandpaper and spray exposed area with desired paint to protect it from the weather.
Installation Instructions written by AmericanMuscle customer Anthony Farnsworth 3.23.12
