 FREE 1 to 3-Day Delivery on Orders $119+ Details
How to Install an Injen Power-Flow Cold Air Intake - Polished on your Ford F-150
Note: The installation of this cold air intake does require mechanical skills. Removal of the front bumper requires loosening and removing several plastic plugs and screws that may be difficult. It is recommended that this system be installed by a professional mechanic. Be sure to disconnect the negative terminal before proceeding.
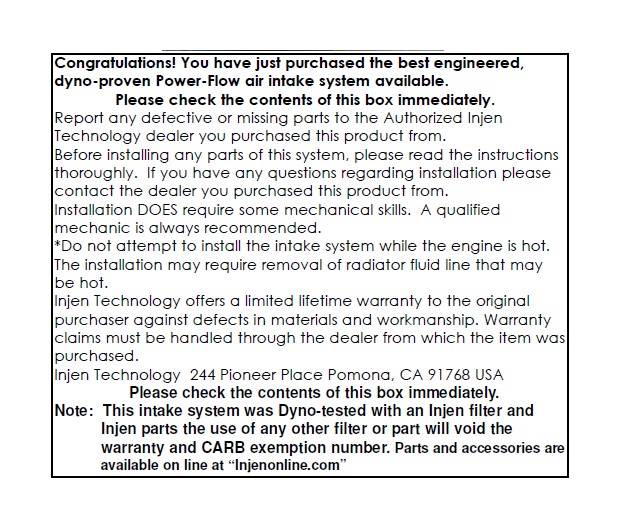
Congratulations! You have just purchased the worlds first tuned intake system.
MR Technology, An air intake evolution!

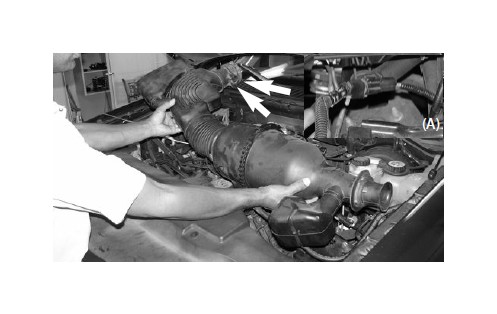
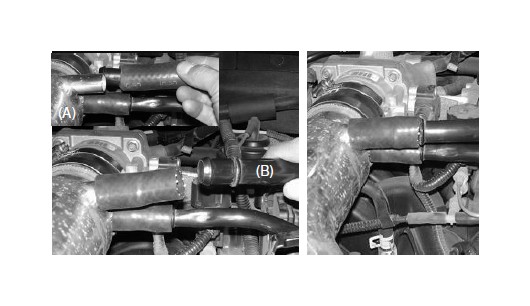
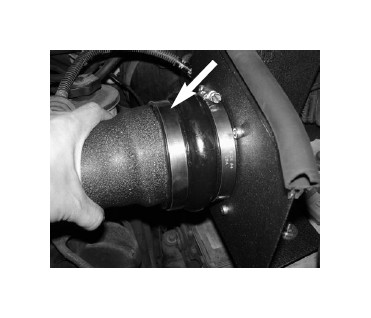
Loosen clamp on the throttle body and disconnect the two vacuum lines on the
air box near the throttle body then unclip harness (A) in order to removed the
entire air intake box assembly. Now carefully remove air intake duct and air box
from the engine compartment.
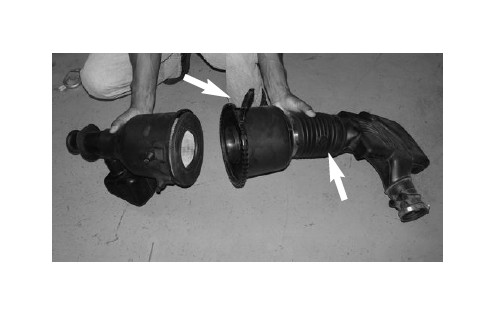
Loosen the V-clamp around air box and separate the two halves. Remove the Air
Temperature sensor from the stock intake.
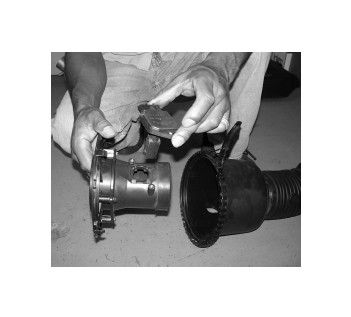
Remove the MAF sensor housing from the air intake box
as shown above.

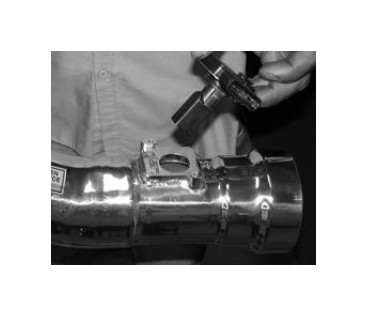
Using the T-20 torx bit in this kit remove the screws
holding the MAF sensor to the plastic housing.
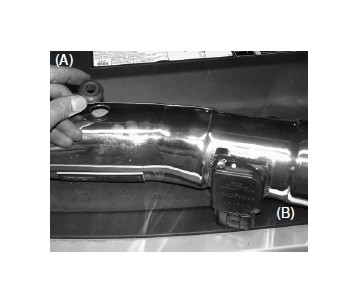
Insert the MAF sensor in into the machined MAF
sensor adapter welded to the tuned intake.
Insert the 1525 sensor grommet into the pre-drilled
hole until the grommet groove is flush to the hole
Inner diameter (A). Use the stock screws to fasten
the MAF sensor to the machined adapter (B).
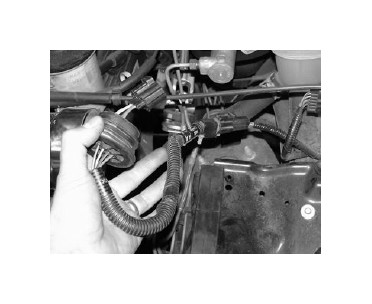
Remove plug from the air intake box (A) and remove
the entire harness assembly in one piece.

Reconnect the harness assembly to the female end of
the main harness.
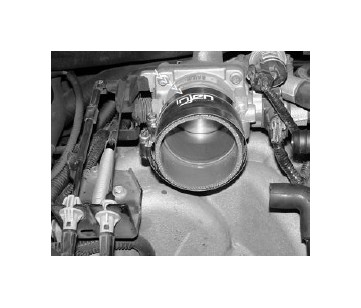
Press the 3” straight hose over the throttle body and
use two clamps. Tighten the clamp on the throttle
body side for now.
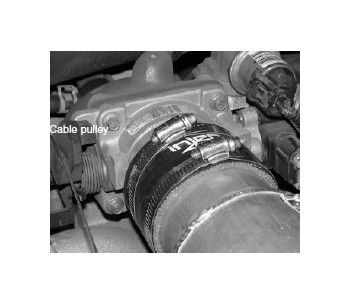
Place the clamping mechanisms right side up. This
will keep the mechanism from hanging up to the
cable pulley which could cause damage to yourself
and others.
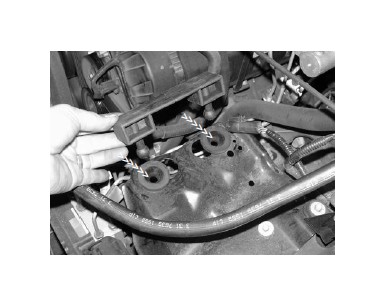
The stock grommets will be reused with this intake unit.
The rubber prongs on the bridge will be inserted into
the plungers. The bridge will go onto the box first
to be used later in the instructions.
Take the Tuned intake and press the 3” side into the hose on the throttle body.
Do not over tighten the clamp on the hose until the installation is complete.
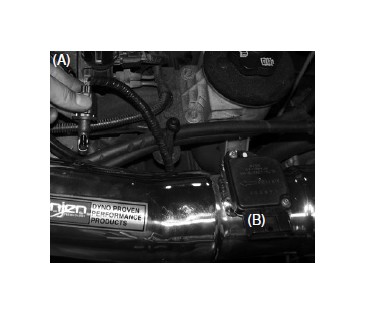
Press the 2” 15mm hose over the 5/8” port on the intake (A). Insert smaller hard
pipe into the 15mm hose as shown above (B).

Cut the 22” long 17mm hose to 2-1/2” length if vehicle requires shorter hose length.
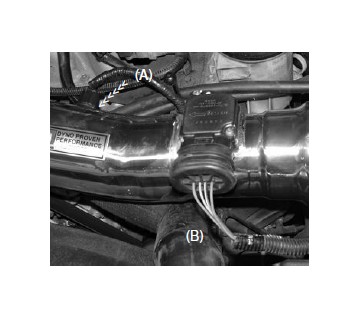
Press the 2 1/2” long 17mm hose over the 3/4” port on intake (A). Insert the larger hard
pipe into the the 17mm hose as shown above (B)
For trucks equipped with only the crank case line, use provided 5/8” vinyl
cap and attach to the 5/8” fitting (A). With 22” Long 17mm hose attach to the
intake and the engine, do not cut (B). If equipped with no temp sensor,
use provided grommet plug and secure hole (C).

If euipped with temp sensor use provided grommet
and secure to the hole on tube, install temp sensor
(A). Re-check the screws used to fasten the MAF
sensor to the sensor adapter (B).
The air temperature sensor is fully inserted into the
grommet (A). Take the harness and press it into the
MAF sensor until it snaps in place.
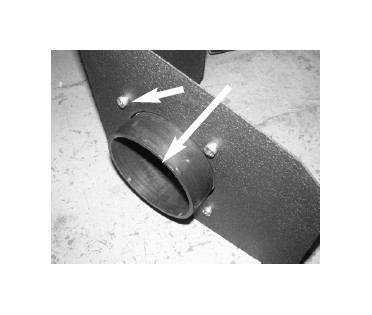
Install the 4” adaptor to the inside of the heat shield.
Secure the adaptor using the 4 provided M6 screws.
Tighten using 6mm allen key.
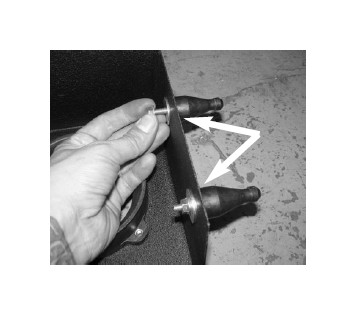
Attach the trim seal to the top of the heat shield.

Secure the stand of studs to the bottom of the heat
shield. Tighten the studs using provided M6 nuts and
washers. Apply to the 2nd set of holes closes to the
edge of the heat shield.
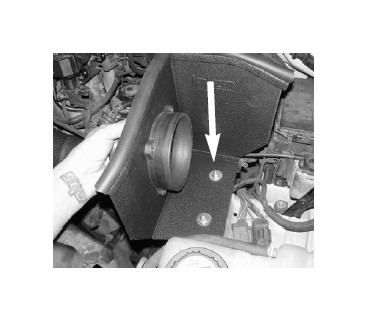
Attach the hump hose with clamps provided to the
adaptor and secure.

Install the heat shield assembly into the vehicle and
position the stand off studs to the grommets.
Secure the stand off studs and make sure that they
are seated completly.
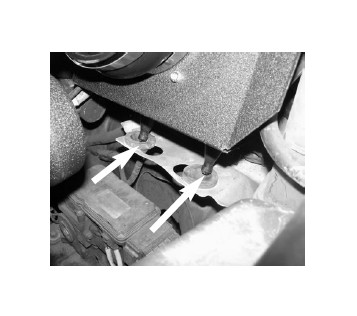
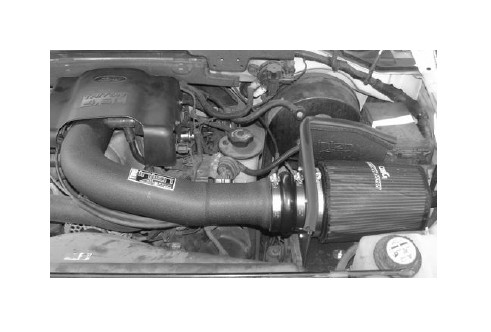
Connect the the tube and the hose, position for the best
fit and tighten the clamps using 8mm nut driver.
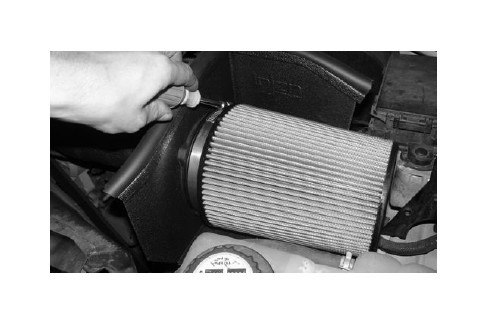
Install the air filter ans tighten using 8mm nut driver. re-install the engine cover.
Extremely important
DO NOT PLACE CLAMP MECHANISM
TO THE SIDE (A). Clamp mechanism
will obstruct throttle pulley function that
will cause accelerator to malfunction.

The clamping mechanism
is in the correct position
away from throttle pulley.

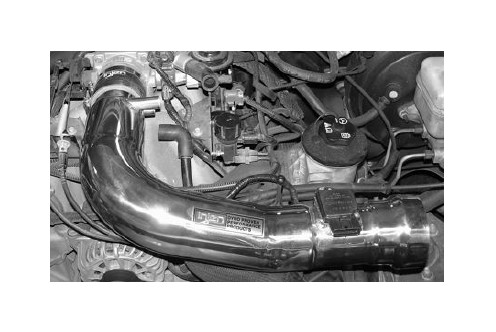
You have purchased the Worlds first tuned intake system
available anywhere. The Power-Flow intake system features
Injen’s patent pending MR Technology used to tune the intake
and Power-Flow box. With Power-Flow, calibrating of the
MAF sensor is not required because the intake tube comes
pre-calibrated for you.
1. Upon completion of the installation, reconnect the negative battery terminal before you start the engine.
2. Align the entire intake system for the best possible fit. Once the intake has been properly fitted continue to tighten all nuts, bolts and clamps.
3. Periodically, recheck the alignment of the intake system and make sure there is proper clearance around and along the length of the intake. Failure to follow proper maintenance procedures may cause damage to the intake and will void the warranty.
4. Start the engine and listen carefully for any odd noises, rattles and/or air leaks prior to taking it for a test drive. If any problems arise go back and check the vacuum lines, hoses and clamps that maybe causing leaks or rattles and correct the problem.
5. Check the filter for excessive dirt build up. Clean or replace the filter with an original Injen filter (can be bought on-line at "injenonline.com"). Congratulations! You have just completed the installation of the best intake system sold on the market. Enjoy the added power and performance of your new intake system.
