 FREE 1 to 3-Day Delivery on Orders $119+ Details
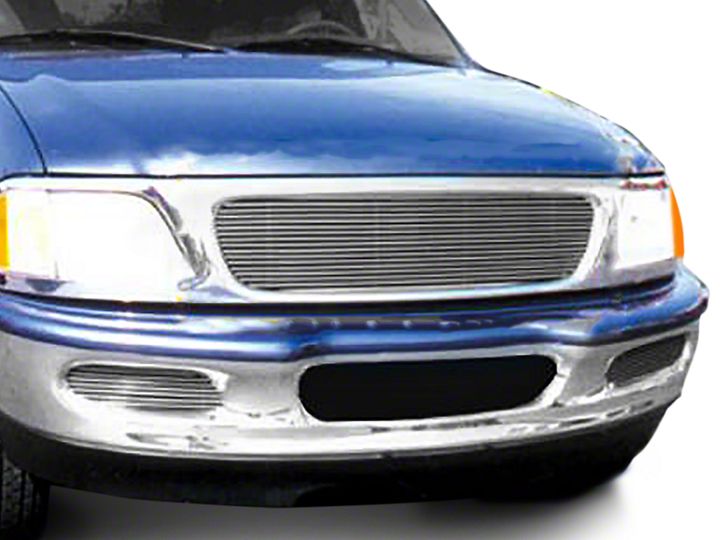
How to Install T-REX Billet Series Polished Grille - Horizontal on your F-150
Installation Time
1 hours
Tools Required
- Phillips and Flat Screw Drivers
- 7mm Nut Driver
- Die Grinder w/Cut-Off Wheel
- 1/8” & 3/16” Drill Bits
- Files (or sanding discs for die grinder)
Shop Parts in this Guide
97-98 F-150 & EXPEDITION
Parts List:
1 - Billet Insert (17 Bars)
2 - #8 Phillip Screws
2 - #8 Flat Nuts
2 - #10 x 1 Phillip Screws
2 - #10 Flat Nuts
Read and understand instructions before attempting installation
Step1
Remove the jack handle and black plastic top cover. Pull the headlight retainer clips up; disconnect bulbs and remove both headlights. Unscrew the 7 mm corner light screw and pull the corner lights forward to remove. Remove the six
Phillips screws along the top of the grille and the two screws at each end. Note the plastic splash shields below the grille; Remove the two outer plastic fasteners on each end that connect to the fenders.
Step2
Now release the two clips behind the grille shell and remove from the vehicle. Place the grille shell on its face and remove the factory plastic insert. Most of these inserts are held in by 16 plastic tabs and can be unfastened or cut; Cut
or break the tabs off and file smooth so there is a clean edge around the opening. However some grilles are one piece and must be cut out. Cut around the opening exactly where the painted molding inside the opening meets the chrome
on the face of the grille. If you have a painted grille or a grille without chrome; Cut ¼” (.25 of an inch) back from the face of the grille all away around the opening. File or sand so there is a smooth straight cut around the opening.
Step3
Center the billet behind the grille opening with the long flat brackets on top. Be sure there are no gaps between the opening and the insert (it may be necessary to slightly bend the insert to get a perfect fit). Drill a 1/8” hole at each bottom bracket and install the #8 screws and flat nuts. Tighten the screws.
Step4
Install the grille shell back on the vehicle. Fasten with the factory screws. Push the billet insert forward so there is no gap between the billet and the opening; the upper brackets on the billet insert mount to the header panel. Drill a 3/16”
hole in the header panel aligned with the holes in the brackets. Fasten with the #10 screws and flat nuts. Re-attach the splash shields with the plastic fasteners. Install the corner lights and headlights back on the vehicle. Re-install the plastic top cover and jack handle. Installation complete. Thank you for purchasing a T-Rex billet grille.
