 FREE 1 to 3-Day Delivery on Orders $119+ Details
Best Sellers


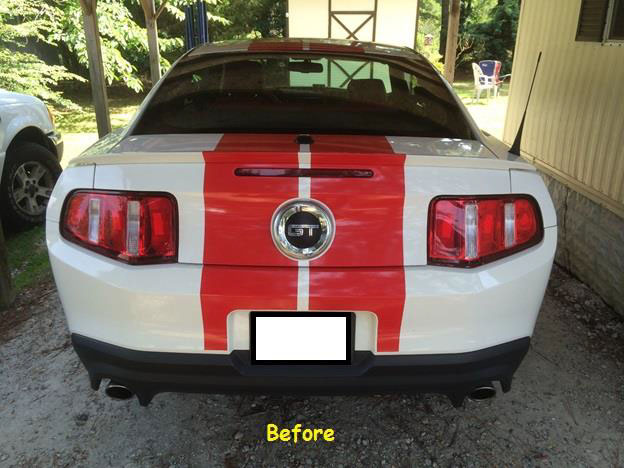
How to Install a 2013 Factory Tail Light Conversion Kit on your 2010-2012 Mustang
Installation Time
1 hours
Tools Required
- 7/16 wrench
- 7/16 deep well socket and ratchet (option)
- Small Pry Bar

Shop Parts in this Guide
Removal Procedure:
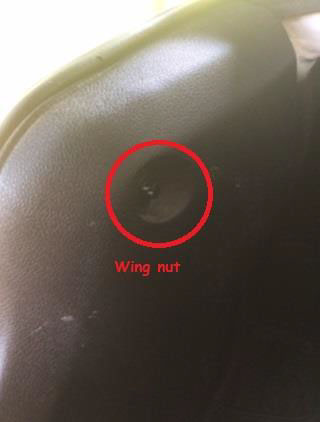
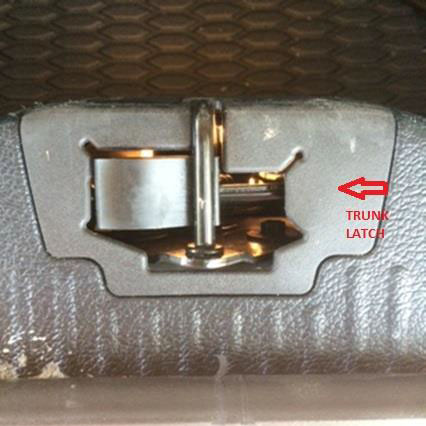
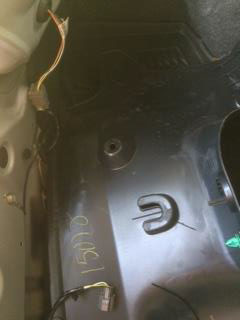
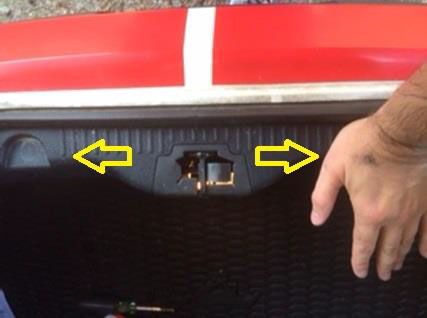
1. Open trunk and begin by removing wing nuts (photo) on both sides of trunk latch trim cover and (2) plastic fasteners with small pry bar.
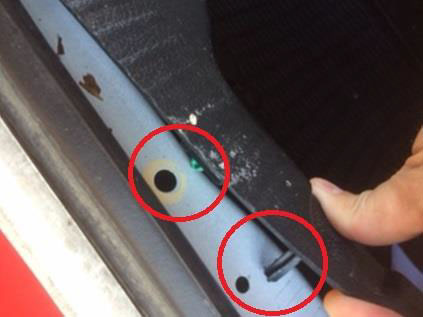
2. Lift up on the center of the trunk latch trim cover near the trunk latch. You will see two plastic guide pins on both sides of trunk latch.
3. Lay down the trunk latch trim cover. Be careful not to pull on the trunk light wiring harness.
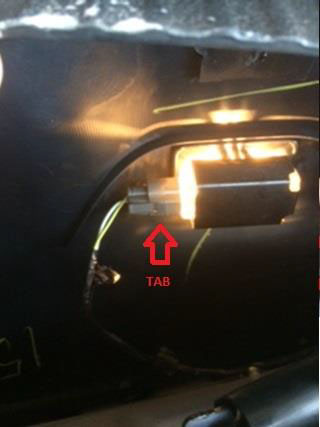
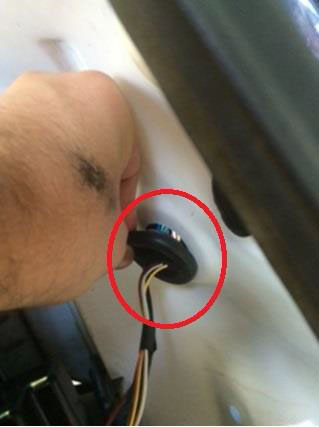
a. Push release tab on trunk light connector and lift, disconnecting the light from the socket.
b. Lay the plastic cover aside.
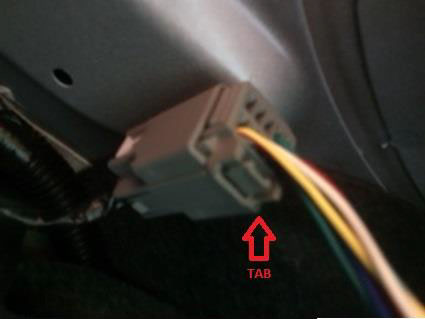
4. Push the release tab on the tail light wiring harness and unplug the connector from the socket.
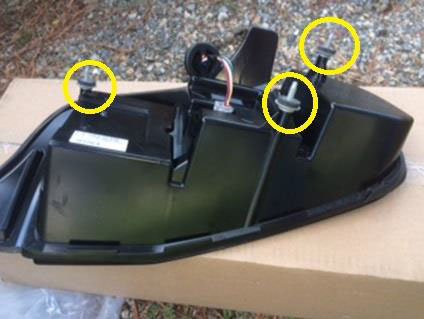
5. Find the three (3) bolts securing the tail light. Using the 7/16 wrench, or optional socket, loosen and remove the nuts and set aside.
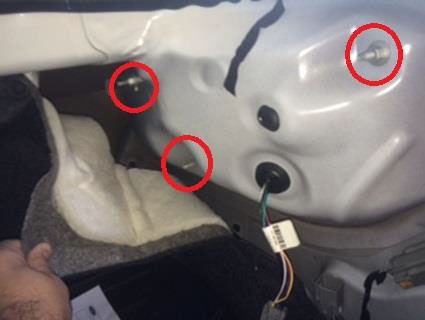
6. After removing the (3) nuts, push on the bolts to loosen the tail light from its housing.
a. Once it is loose, hold the tail light with one hand. With your other hand help guide the wiring out of the pass-thru squeezing the rubber grommet with your fingers.

b. Once the connector has cleared the pass-thru set the old tail light aside.
7. Repeat removal procedure steps 4-6b for the other tail light.
Installation Procedure:
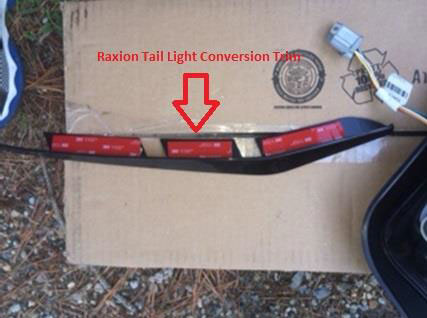
1. Prepare the new tail light by removing it from the plastic and inspecting it.
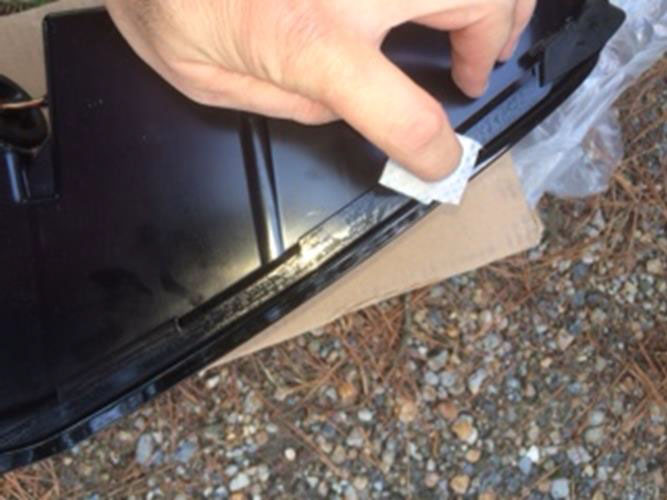
2. Using one of the alcohol prep pads supplied with your kit wipe the area where the Raxiom Tail Light Conversion Trim will be applied.
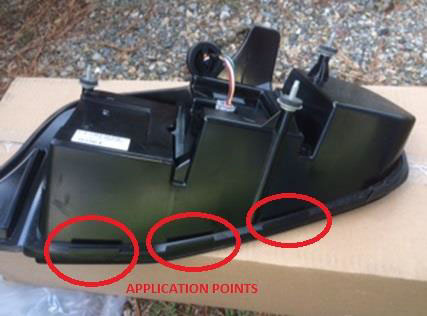
3. Remove the three (3) red 3M tape backings on the Raxiom Tail Light Conversion Trim to expose the adhesive side of the tape.
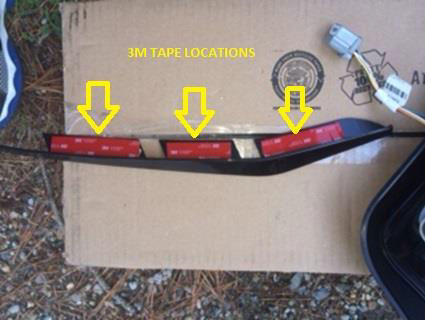
*Recommend having a second person hold the tail light while applying the trim.
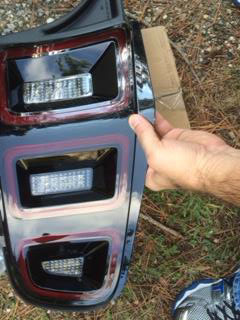
4. Carefully apply the Raxiom Tail Light Conversion Trim to its mating positions on the tail light.
5. With the trim applied to the tail light, feed the tail light connector through the pass-thru and gently press on the rubber grommet around the wiring to allow the channel to seal with the pass-thru.
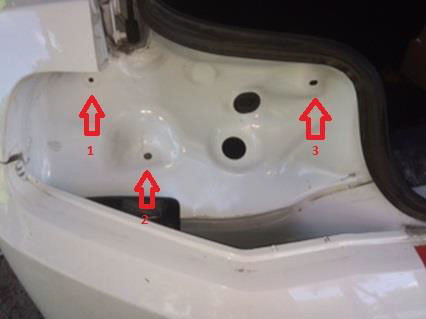
6. Locate the three (3) bolts on the back of the tail light and guide them through the three (3) holes in the car body until the tail light is firmly in place.
8. Thread the three (3) nuts onto the bolts. Using the 7/16 wrench, or optional socket, tighten the nuts. Be careful not to overtighten, which could break the plastic.
9. Plug the light connector into the socket.
10. Repeat the Installation procedure steps 1-9 for the other light.
11. Now is a good time to test your signals and lights.
12. Plug in the trunk light connector into its socket.
13. Lift on the trunk latch trim cover and ensure the guide pins from step 2 of the removal procedure are inserted into their holes.
14. Push down on the liner above both sets of guide pins.
15. Replace the two (2) plastic fasteners from removal procedure step 1.
16. Replace the wing nuts.
17. Good Job!!! Enjoy the new tail lights.

Installation Instructions written by AmericanMuscle customer Clint Middleton 8.13.15
