 FREE 1 to 3-Day Delivery on Orders $119+ Details
Best Sellers


How to Install a 3.8L Mustang Cold Air Intake on Your 1994-1998 Mustang V6
Installation Time
1 hours
Tools Required
- Small and large flathead screwdrivers
- 5/16 Socket wrench
- 13/32 socket wrench
- Adjustable wrench
Shop Parts in this Guide
Installation
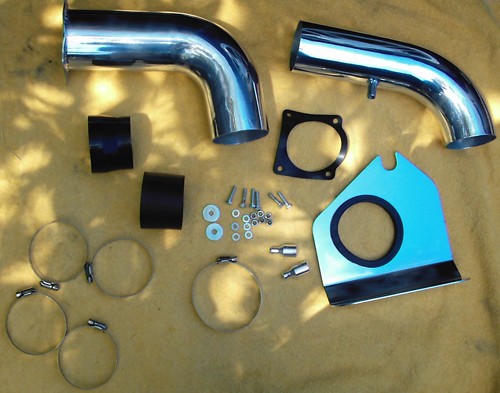
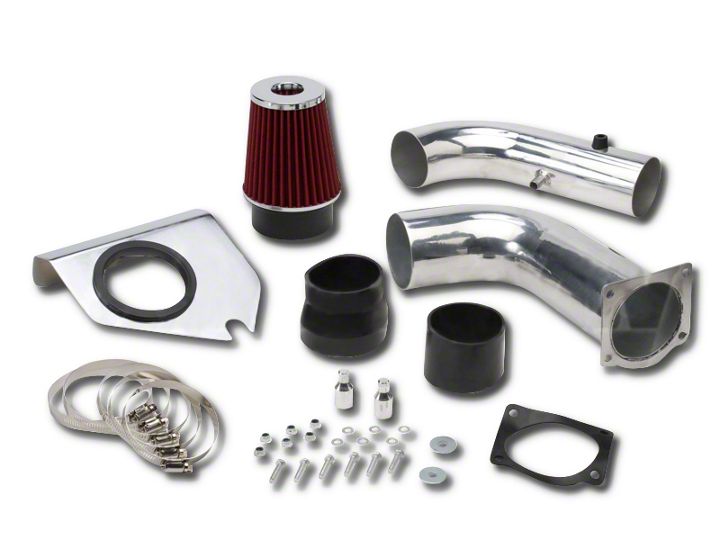
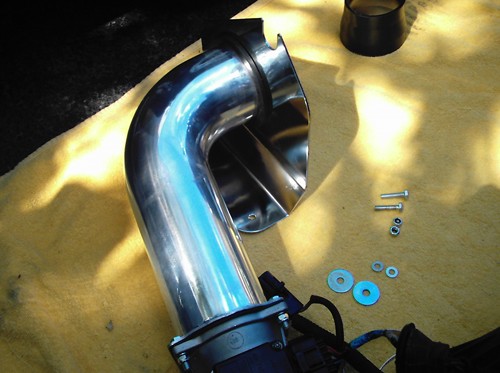
Kit includes:
- (1) 3" - 2.75" Step Down Coupler
- (1) 3" Straight Through Coupler
- (3) 65mm - 89mm Hose Clamps
- (2) 78mm - 101mm Hose Clamps
- (1) Gasket
- (2) Anchors
- (6) Nylon Lock Nuts
- (6) Bolts
- (6) Small Washers
- (2) Large Washers
- (1) 3.5" Pipe
- (1) 3" Pipe
- (1) Fender Shield
- (1) Cone Filter
Removal of stock air box & install of new Cold Air Intake:
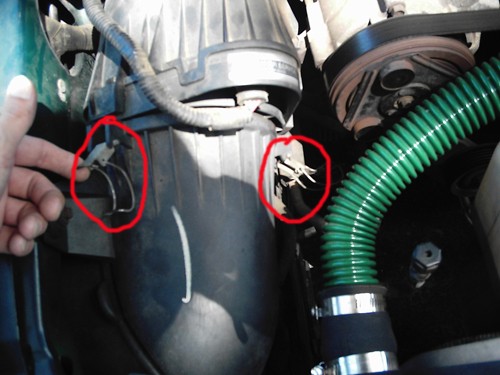
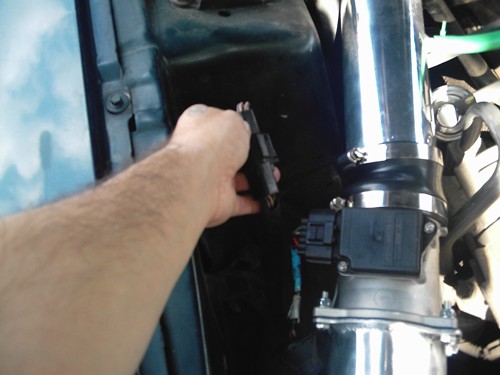
- Disconnect the (2) wiring harnesses. A small flathead screwdriver will help to unclip them

2. Unlatch the two clips that seal the filter housing.
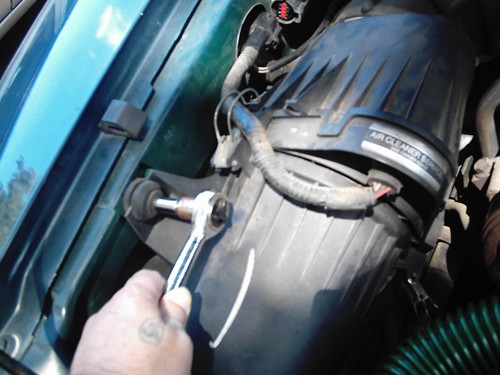
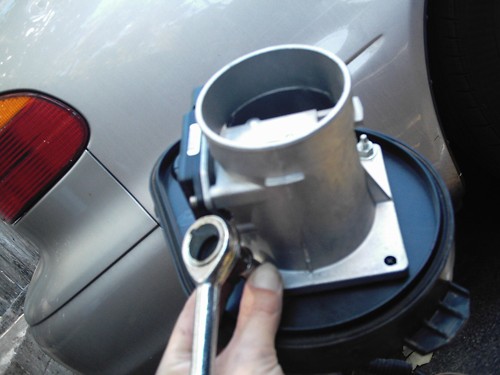
3. Remove the bolt that holds the air filter housing to the body. You will reuse the bolt and the rubber grommet for the new intake.
4. Separate the filter housing and remove the lower portion of the assembly from the engine bay.
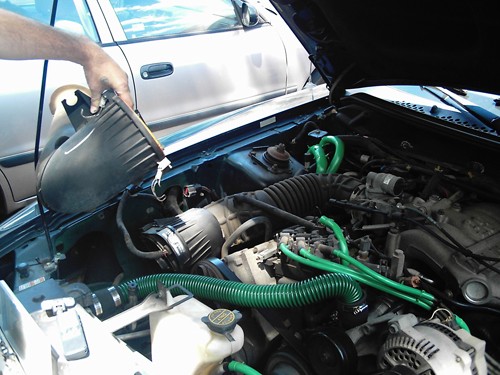
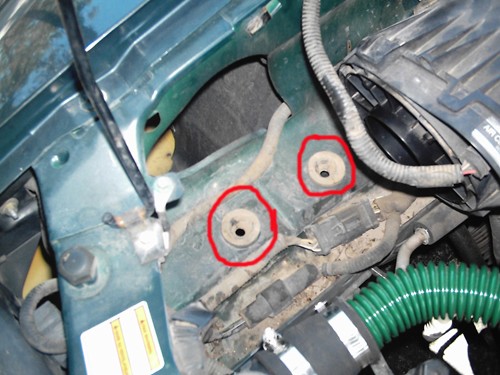
5. Keep the rubber grommets that helped to secure the lower part of the intake in place. They will go back into their holes
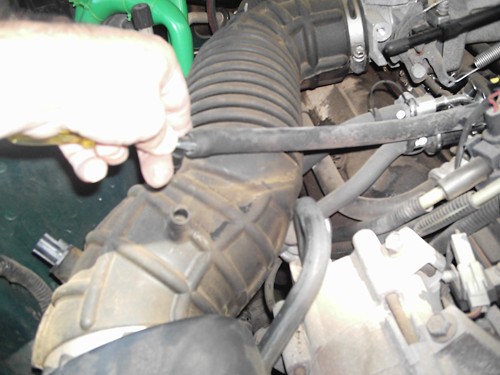
6. Disconnect the air hose from the upper part of the intake.
7. Remove the fitting from the air hose; a small flathead screwdriver can help remove the fitting, but be careful not to damage the hose.
8. Loosen the hose clamp from the throttle body and remove the upper part of the intake from the engine bay.
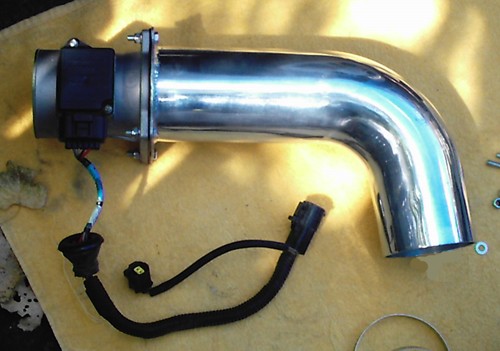
9. Remove the Mass Air Flow sensor from the original intake assembly.
- With a flathead screwdriver, unclip the four clips that surround the part.

B. Fold the edges of the rubber grommet into its hole, again using a screwdriver, and push it through to remove the wiring.

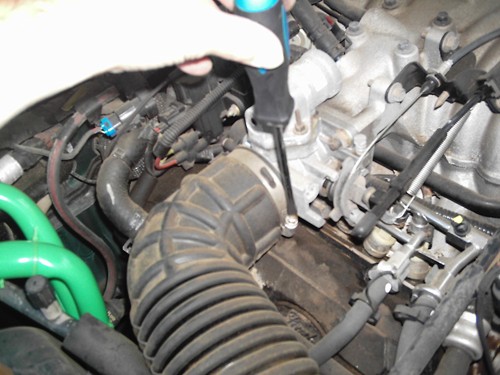
C. Unscrew the two bolts and remove the Mass Air Flow tube.
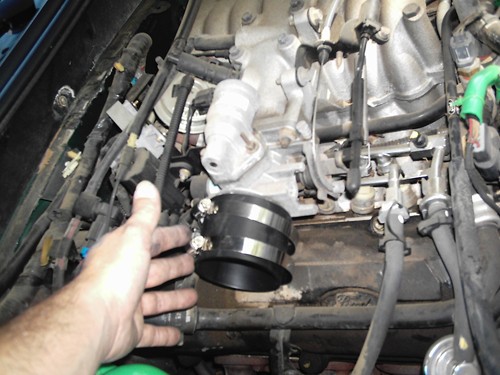
10. Attach the straight-through coupler to the throttle body.
11. Place two of the smaller hose clamps over the straight-through coupler and slightly tighten to keep them in place for the moment.
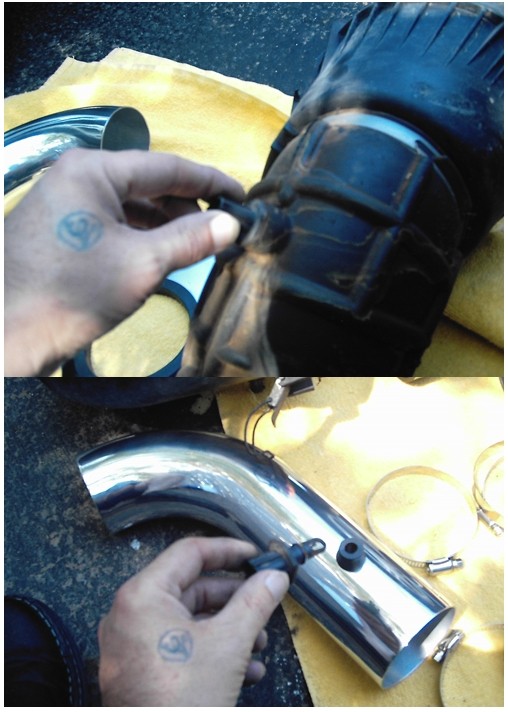
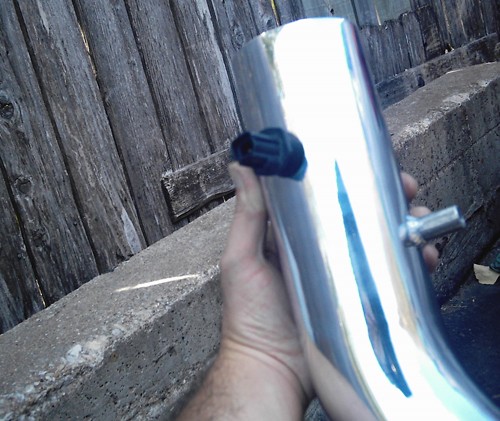
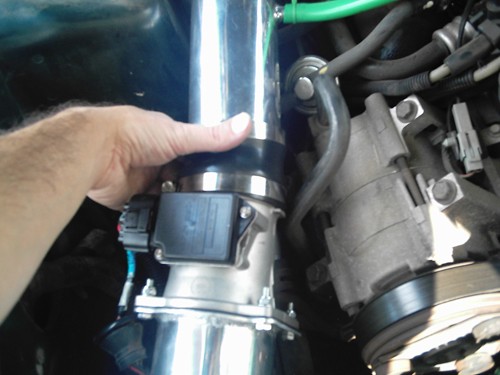
12. Remove the intake temperature sensor from the original assembly and install it into the rubber mount on the new pipe. It takes a little time and effort but the sensor will fit. I put the grommet over the sensor first, then stuffed the grommet into the hole with a small flathead screwdriver. Make sure that the sensor tip has a clear pathway for the air to flow over it inside the pipe.
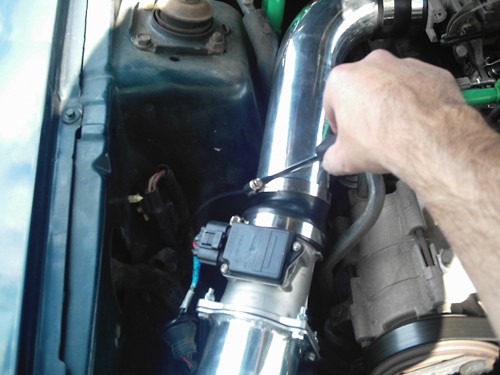
13. Install the first pipe and tighten the hose clamps, but not completely. Tighten only enough to keep the pipe in place for now.
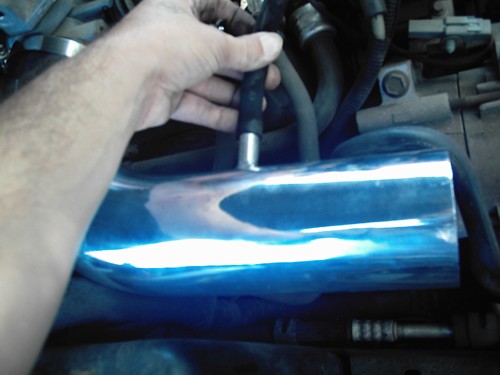
14. Attach the air hose, removed in Step 6, onto the new pipe. Fit the gasket and the other part of the intake tube onto the MAF tube and secure with the bolts provided.
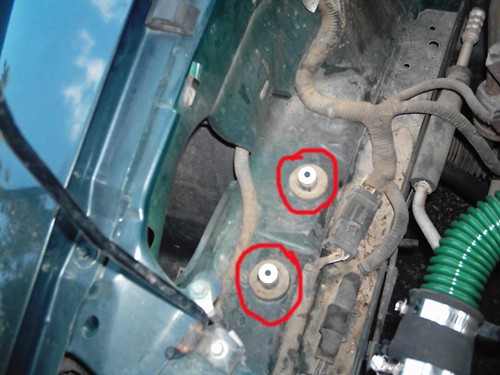
15. Place the anchors into the rubber grommets left over from step 5.
16. Install the fender shield on the bottom of the second tube with its angled edge facing the tube.
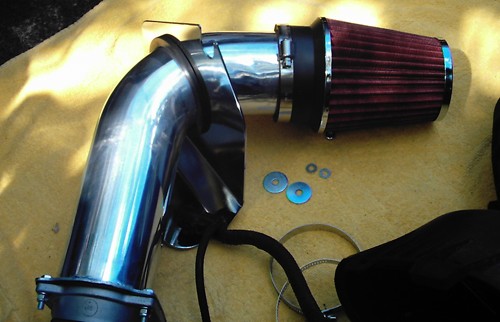
17. With a hose clamp, tighten the air filter onto the lower part of the tube.
18. Slide the new lower assembly into place.
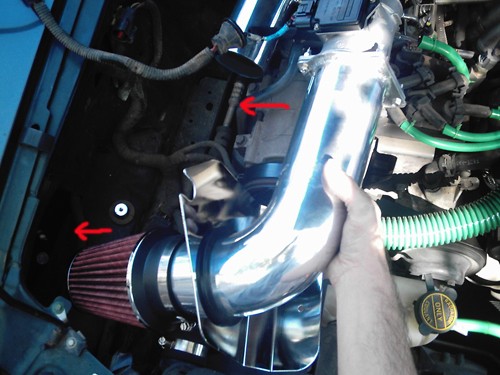
19. Secure the fender shield to the body using the bolt and grommet saved from step 3.
20. Place the larger end of the step down coupler over the mass air flow tube and put on the large hose clamp followed by the small one.
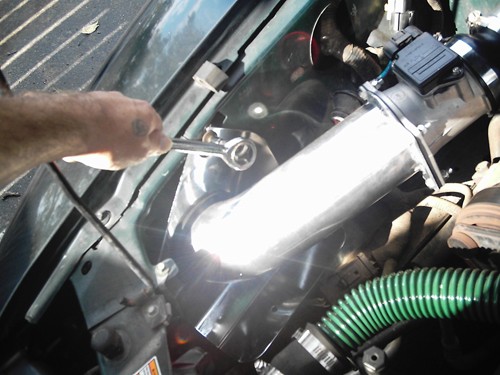
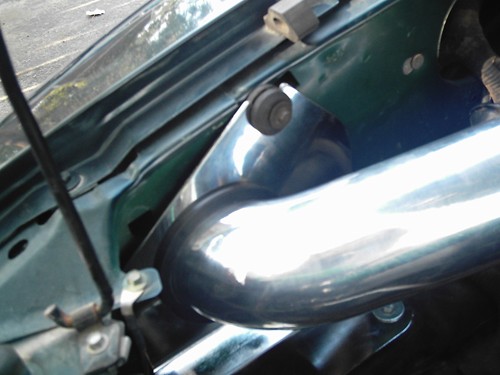
21. Connect the (2) pipes and tighten the hose clamps.
22. Tighten all loose clamps and bolts.
23. Reconnect wire harnesses.
24. Secure the fender shield to the body with the screws provided.
Maintenance:
- Every 3,000 miles or so, depending on conditions, the air filter will need to be cleaned.
- Spare or replacement filters, as well as the filter cleaning kit, are available at AmericanMuscle.com.
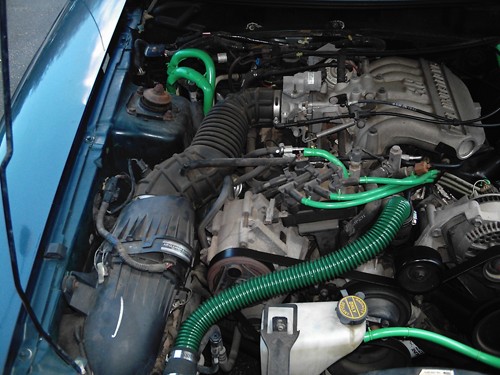
Before: Stock air box
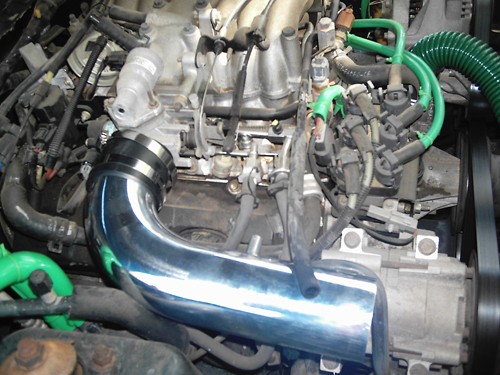
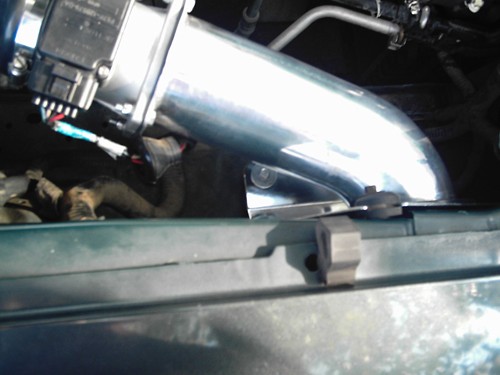
After: New Cold Air Intake
Installation Instructions written by AmericanMuscle customer Brian C. Edwards 9.23.11
