 FREE 1 to 3-Day Delivery on Orders $149+ Details
Mustang Aluminum Driveshaft Installation Guide
Installation Time
2 hours
Tools Required
- 12 point socket or box end wrench
- Large screwdriver or small prybar
- Plastic bag
- Drip tray
- Lock Tite (optional)
- Safety glasses (dripping fluids)
- Shop towels
Installation
1. Begin by supporting the car either by lifting the rear of the car and supporting on jack stands or by way of hydraulic lift.
2. Locate and remove the four bolts and remove the driveshaft from the differential companion flange with the 12 point socket or box end wrench. To help keep the driveshaft from turning, insert the large screwdriver or small prybar through the rear U-joint and hold the driveshaft while you break loose the four flange bolts. Drop the flanged end down and pull towards rear of car to separate driveshaft from transmission. Be careful not to damage splines in transmission when removing driveshaft for a little manipulation may be needed to remove.
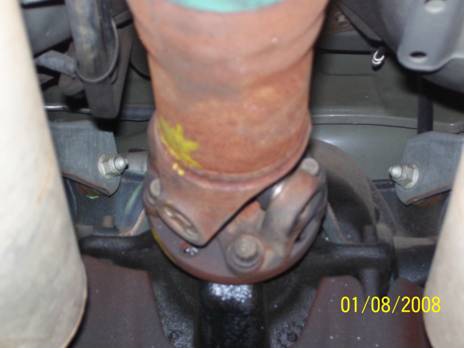
Rear of driveshaft.

Front of driveshaft
3. Wrap the plastic bag tightly around the extension housing of the transmission to prevent fluid loss. Also, placing a drip tray under the rear of the transmission will help to protect work surface. Inspect new driveshaft for any defects. Also, now is a good time to check for any leaks around the rear end.
4. Install new driveshaft by placing the front of the driveshaft into the extension housing and carefully turning the driveshaft until the splines are seated inside the transmission.
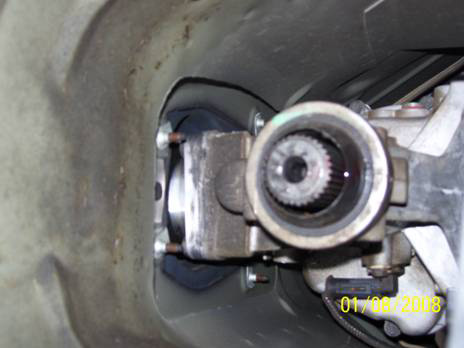
Rear of Transmission
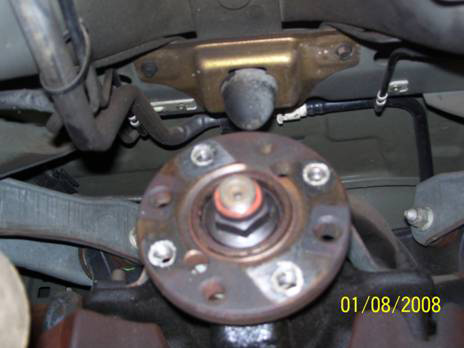
Rear Differential Flange
5. Turning the rear wheels maybe needed in order to get the holes to line up between the driveshaft and the differential flange. Before installing the four bolts in the differential, start by applying a small amount of “Lock Tite” to keep the bolts from coming loose. Use the shop towels to clean up any fluid around the rear of the transmission or the differential.
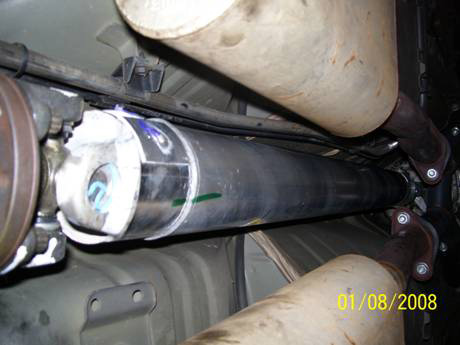
Aluminum Driveshaft Installed
6. Safely Lower the car back to the ground. No break in required. - Enjoy your new aluminum driveshaft!
Installation instructions provided by AmericanMuscle customer Jesse McLean
