 FREE 1 to 3-Day Delivery on Orders $119+ Details
Best Sellers


How to Install a Airaid Cold Air Intake Kit in your 2012-2013 Boss 302

Installation Instructions
Part Number 450-321
2012-2013 Ford Boss Mustang
2011-2014 Ford Mustang GT with Boss 302 mani fold M-9424-M50BR conversion
Packing List:
#1 700-461 Airaid Premium Filter 1
#2 KIT264T Airaid Intake Tube 1
#3 KIT264I Modular Venturi Tube 1
#4 KIT264CABS Cool Air Box 1
#5 KITHUMPHS05 Urethane Hump Hose 1
#6 KITRDCR24 Silicone Reducer 1
#7 KITCAP02 Urethane Cap* 1
#8 KIT1121MAFADA Filter Adapter 1
#9 KITWSTRIP03 Weather Strip 25” 1
KIT264HP Hardware & Instructions 1
#10 KIT15DHC3050 ¼-20 Button Head Bolt 3
#11 KIT09FWZ019 ¼” Flat Washer 3
#12 KIT15BHC3038 8-32 x 3/8” Button Head Bolt 2
#13 KITHS72 #72 Hose Clamp 2
#14 KITHS64 #64 Hose Clamp 1
#15 KITHS56 #56 Hose Clamp 1
#16 KITCLAMP60SS 60mm Hose Clamp 1
#17 KITPLUG01 Firewall Plug* 1
#18 KITFITTING05 3/8”Aluminum Fitting 1
#19 KITFITTING15 5/8”Aluminum Fitting 1
#20 KITGRMT10 5/8”Grommet 1
#21 KITGRMT03 3/8”Grommet 1
#22 KITGRMT17 Blind Grommet 1
#23 KITBIT01 #20 Torx Driver 1
INSTALL NOTE: If you are installing this kit on a vehicle equipped with a Power Dome Hood with Heat Extractors we suggest the use of our optional AIRAID pre-filter (Part #799-469) to give an added layer of protection from the ele-ments.
1. Disconnect The Negative Battery Terminal. Additional Installation Note: This Intake system can also be installed on a Mustang GT 5.0L with the Boss intake manifold conversion and contains the fitting re-quired to connect the brake aspirator line for AT equipped vehicles.
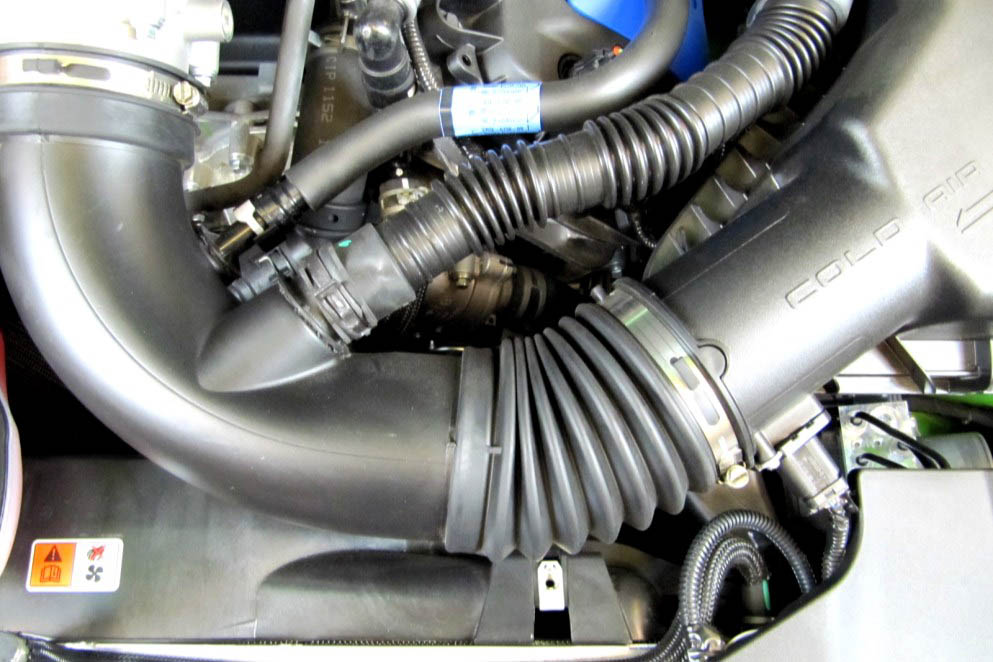
2. A) Loosen the hose clamps on the factory intake tube B) Squeeze the clamp and disconnect the resonator from the air intake tube. C) Carefully depress the hose lock tabs, and disconnect the crank case breather line and the brake aspirator line (if equipped, AT models only). D) Remove the factory intake tube.
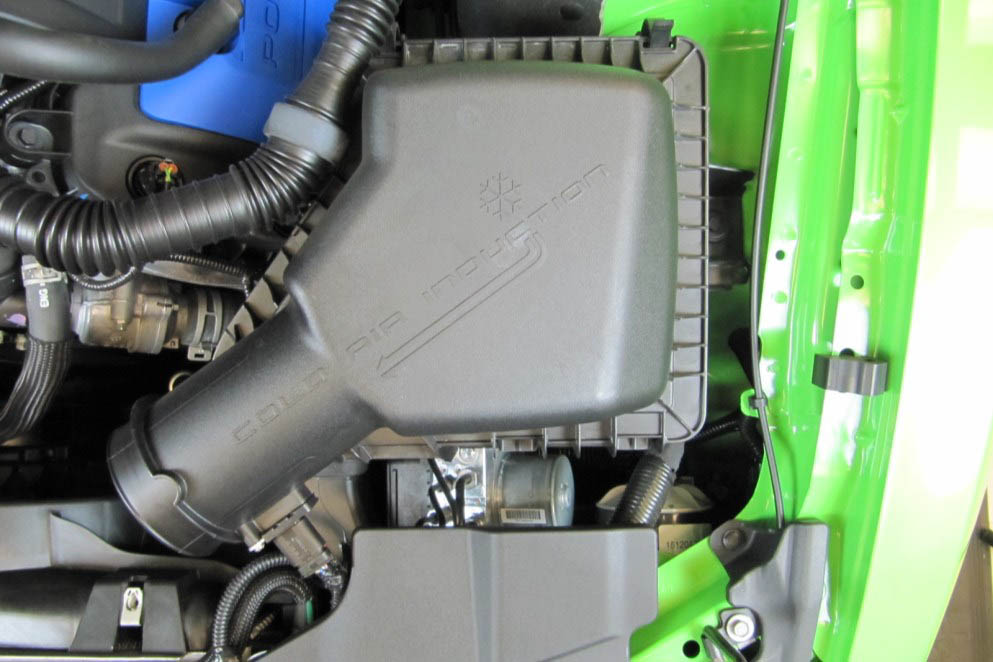
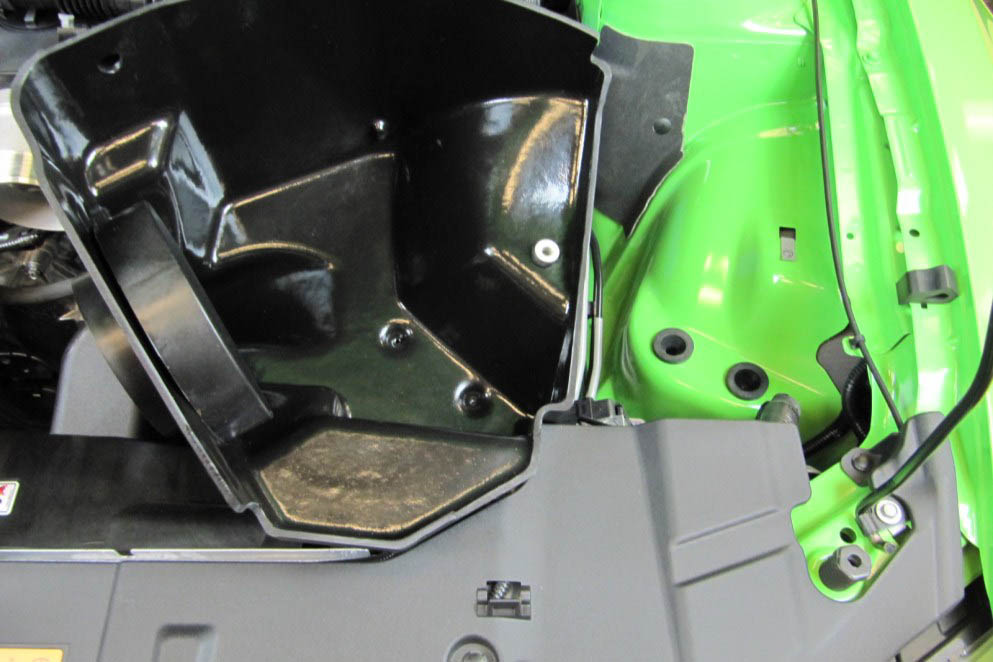
3. A) Slide the red tab, and disconnect the wiring harness from the Mass Air Flow sensor (MAF). Carefully pry the harness anchor from the air box using a screwdriver. B) Separate the resonator tube from the stand off attached to the Air box lid. C) Using a 10mm socket, remove the bolt securing the air box to the inner fender and remove the air box assembly. This bolt will be reused in step 9.

4. Install the Grommets and Fittings into the Airaid intake tube A) All models will require the use of the 5/8” Fitting (#19) and the 5/8”Grommet (#20). B) Automatic trans-mission equipped vehicles will also use the 3/8” Fitting (#18) and 3/8” Grommet (#21). Manual transmission vehicles will not need the 3/8” components and will use the Blind Grommet(#22).
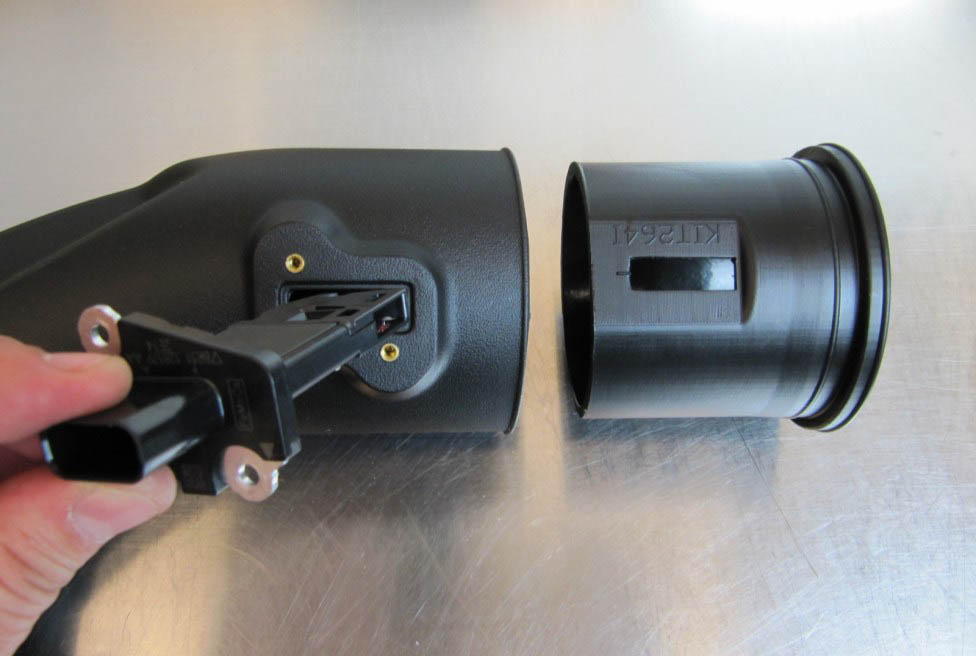
5. Using the supplied Torx driver, remove the MAF sen-sor from the factory airbox and create the Tube assem-bly.
A) Slide the Modular Venturi Tube (#3) into the Airaid intake tube (#2) making sure to align the two slots for the MAF sensor. B) Install the MAF sensor into the intake tube using two provided 8-32x3/8” screws (#12).

6. Install the filter adapter (#8) using three 1/4-20 button head bolts (#10), and flat washers (#11) into the Airaid Cool Air Box as shown.
7. Transfer the factory air box mounting grommets. A) Locate and remove the Two Lower air box mounting grommets, and install them in the inner fender. B) Re-move the Upper air box mounting grommet and steel sleeve, and re-install into the Airaid Cool Air Box

8. Install the Cool Air Box into the vehicle. Make sure that the Air inlet mates with the factory duct, and the two locating pins on the bottom align with the factory grom-mets. Next reinstall the factory bolt that was removed in step #3 through the steel sleeve and grommet and into the inner fender.

9. Install the hump hose onto the filter adapter using two #72 hose clamps (#13) as shown. Leave the two hose clamps loose for now. Transfer the Resonator stand off from the factory air box into the Cool Air Box.
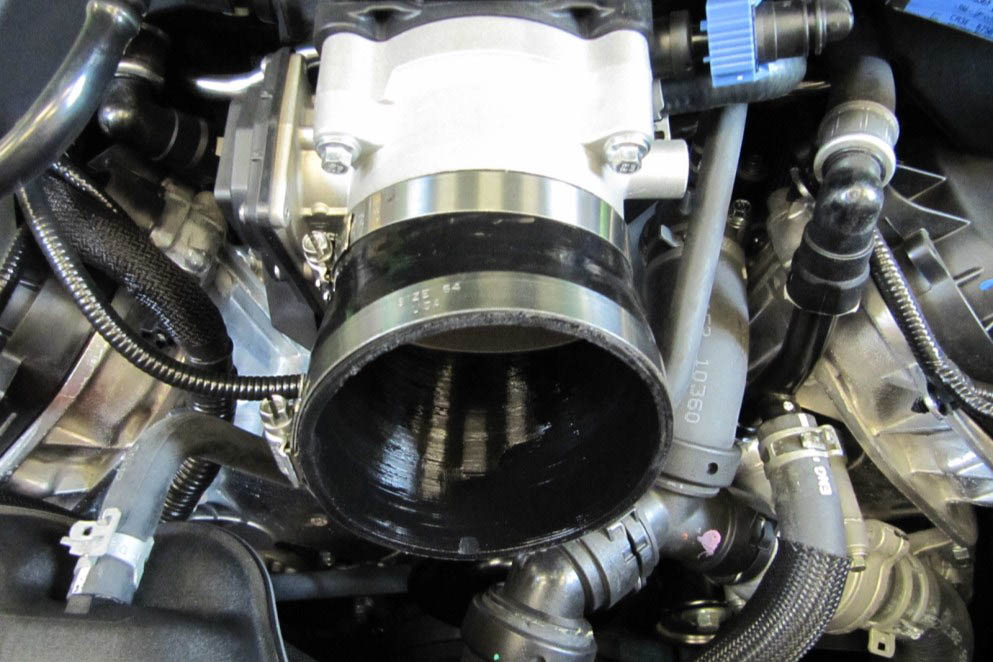
10. Install the Silicone Reducer (#6) and Hose clamps onto the throttle body. Place the #56 clamp (#15) on the Throttle body side of the reducer, and the #64 clamp (#14) on to the tube side.
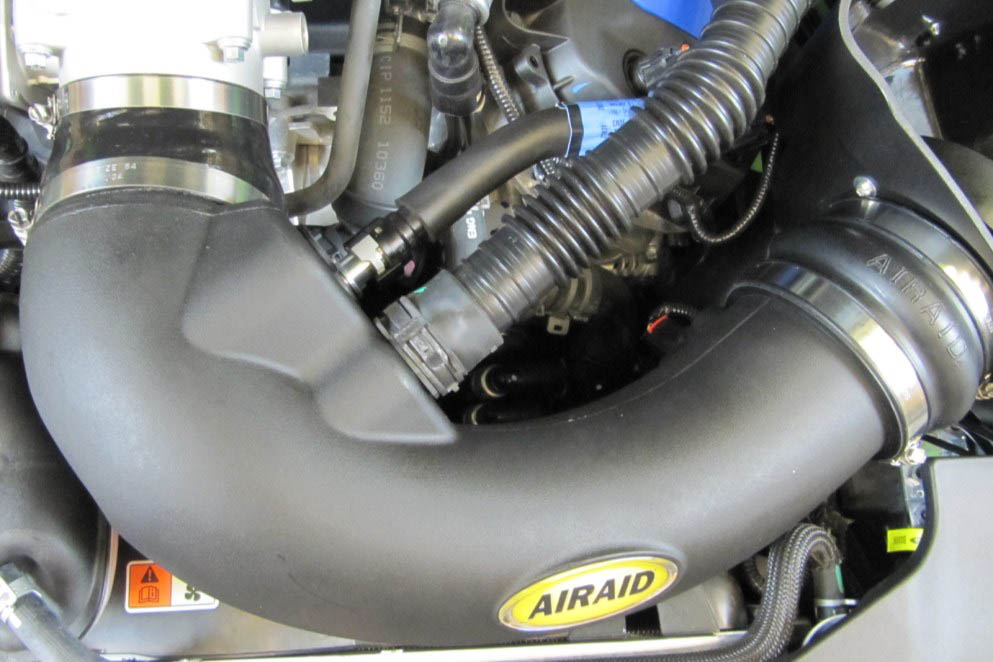
11. Install the Airaid Intake Tube into the couplers as shown, and tighten all Hose Clamps. A) Reconnect the Resonator tube to the Airaid Intake using the OEM clamp. B) Reconnect the breather line/lines to the Alumi-num Fittings depending on your application.

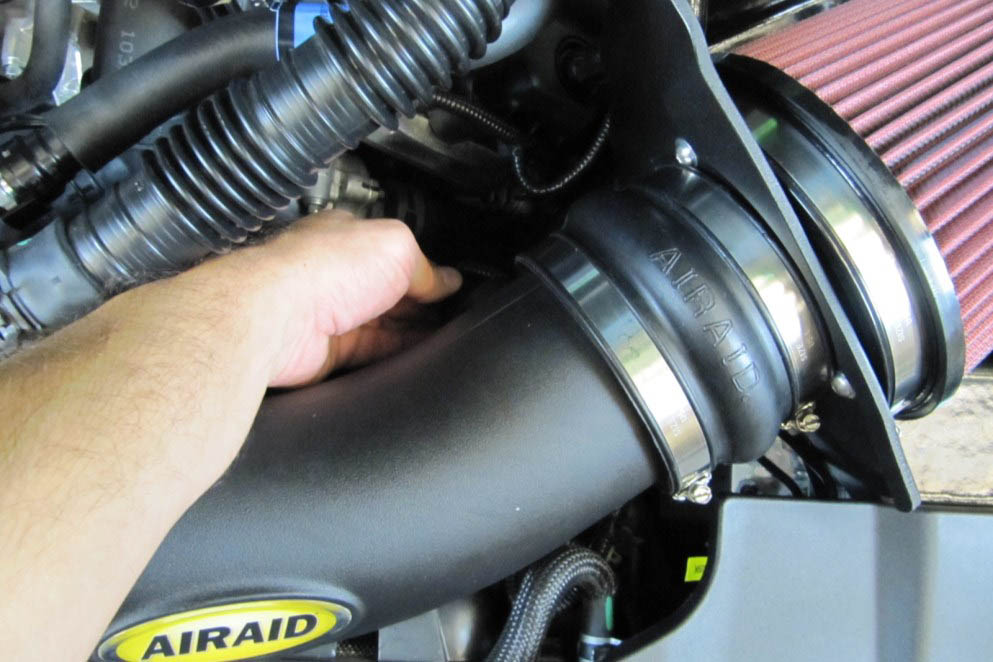
12. A) Install the Airaid Premium Filter onto the filter adapter and tighten the hose clamp. B) re install the Reso-nator tubing into the factory Stand off.
13. Reconnect the Mass Air Flow sensor, which is now located in the lower back side of the intake. Slide the locking tab back into the connector.

14. Install the Weather Strip onto the Cool Air Box with the contoured edge rolling away from the filter. Start at the front of the vehicle and work your way back.
15. Double check your work!
Make sure there is no foreign material in the intake path. Make sure all clamps, hoses, bolts, and screws are tight. Double check the hood clearance!
Reconnect the negative battery cable!
Optional Installation Notice!
Airaid has made it possible to eliminate the factory in-duction roar resonator if you so desire. The removal of the resonator from the intake has no negative effect on the performance of this kit.
Remove the entire Resonator tube assembly and all asso-ciated stand offs from the intake tube to the Fire wall.
A.) Install the Urethane cap (#7) with the 60mm Hose Clamp (#16) onto the Airaid Intake tube.
B.) Snap the Firewall plug (#17) into the firewall hole.


Thank you for purchasing the Airaid Intake System. Contact Airaid @ (800) 498-6951 8:00 AM - 5:00 PM MST weekdays for questions regarding fit or instructions that are not clear to you. Your Airaid Intake System was carefully inspected and packaged. Check that no parts are missing, or were damaged during shipping. If any parts are missing, contact Airaid. The air filter element is protected from direct exposure to wa-ter and debris; care should be taken not to drive through deep water. WATER INGESTION IS THE DRIVERS RESPONSIBILITY! The air fil-ter is reusable and should be cleaned using the Airaid Filter Tune-Up Kit periodically.
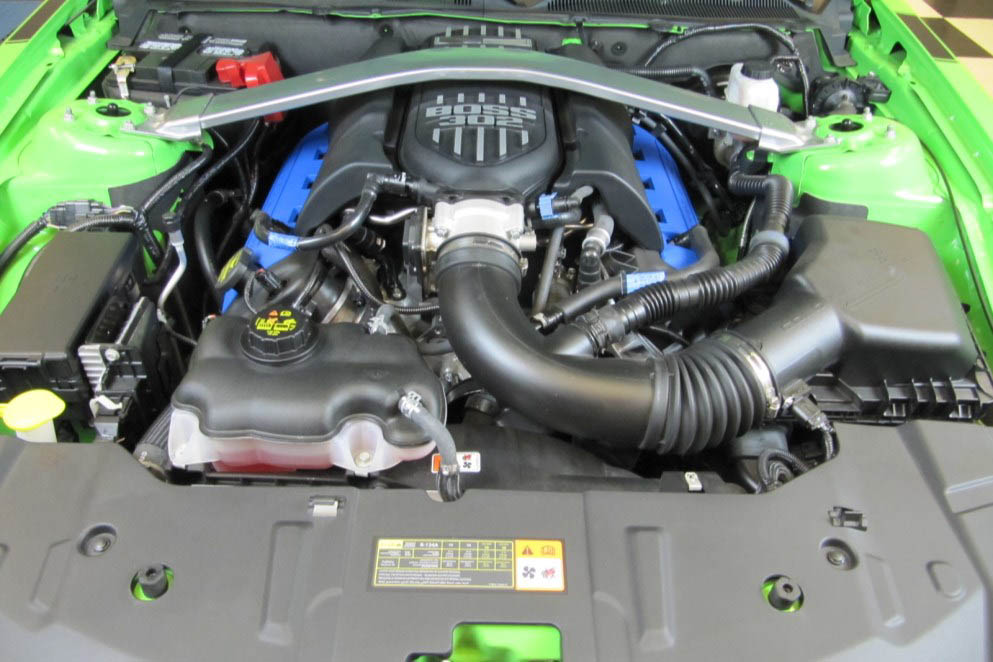
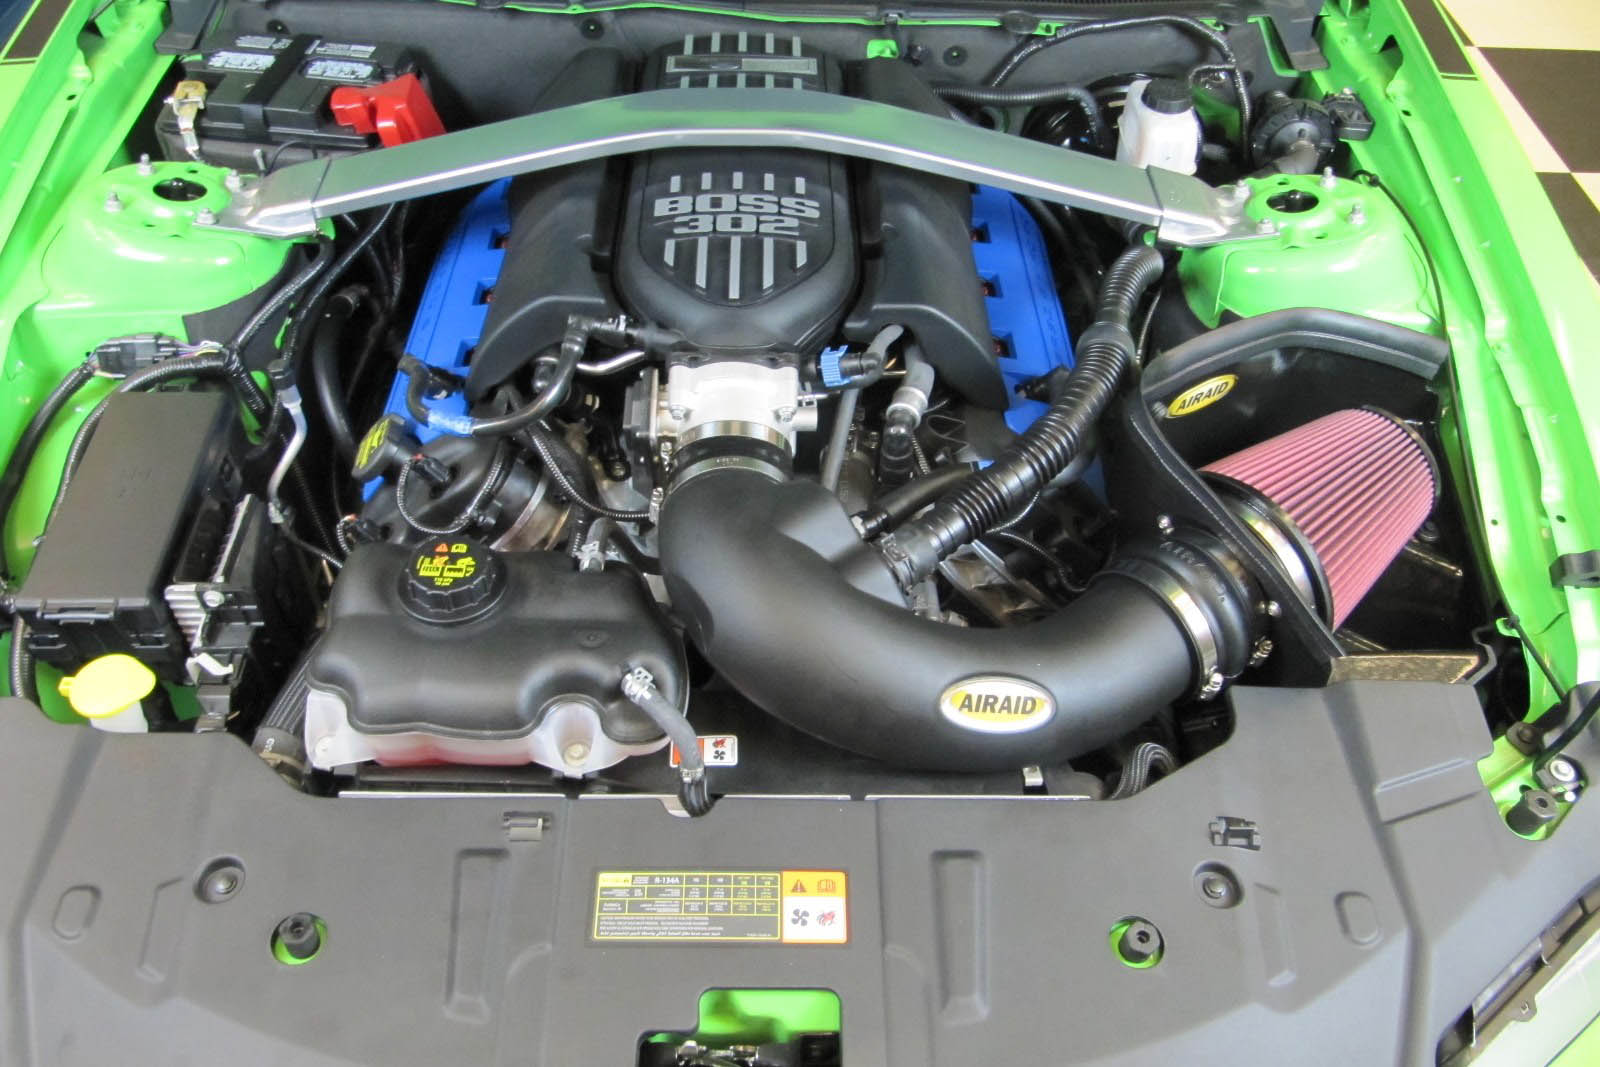
Before!

After!
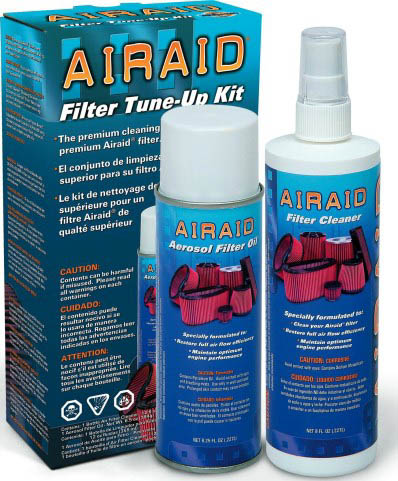
Don’t Forget Your AIRAID Filter Tune-Up Kit!
P/N 790-551 Aerosol Spray
P/N 790-550 Squeeze Spray
