 FREE 1 to 3-Day Delivery on Orders $119+ Details
Best Sellers


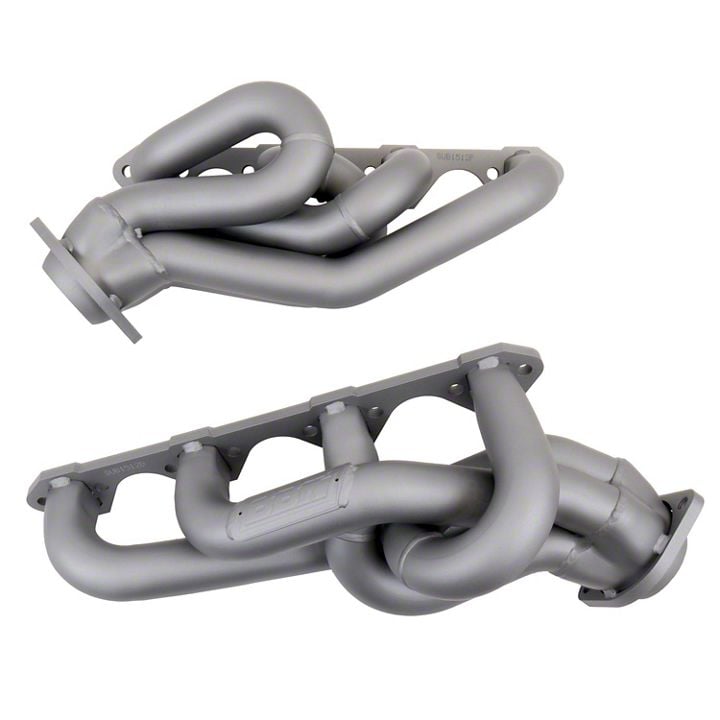
BBK Equal Length Shorty Headers ('86-'93 5.0L) - Installation Instructions
Installation Time
1 days
Tools Required
- Socket Wrenches
- 7/16 Sockets
- 9/16 Sockets
- 5/8 Sockets
- 11/16 Sockets
- 9/16 Wrench
- 1/4 Wrench
- Flathead Screwdriver
- Various Socket Extensions for difficult places
- WD-40
- Loc-tite
- Dedication and Patience
Shop Parts in this Guide
Installation
1. Disconnect the battery for safety.
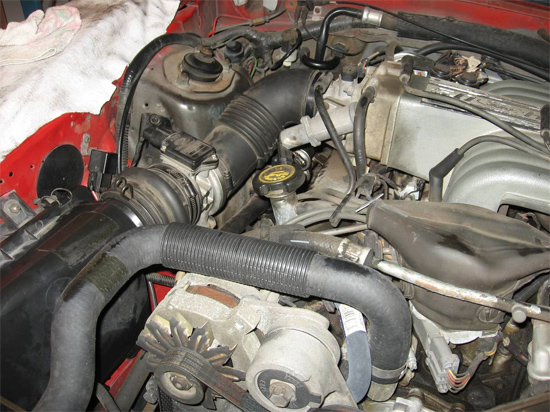
2. Take out the air filter by unclamping the clamps that hold the filter box on. There should be 4 of these.
3. Remove rubber tube from the air filter box by unclamping the metal retaining ring. Use your fingers to do this. Then wiggle the rubber tube off the box.
4. Remove filter box and filter.
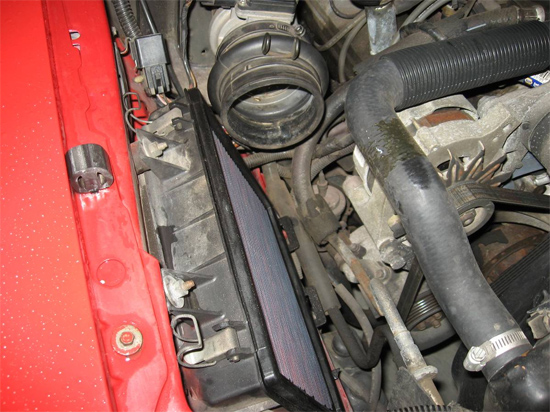
5. Unbolt Mass Air Flow Sensor from the fender well, by unbolting the two 7/16” bolts.
6. Unplug Mass Air Flow Sensor.
7. Unscrew the clamp connecting the upper intake tube to the throttle body with the flathead screwdriver.
8. Wiggle intake tube off of throttle body.
9. Remove intake assembly from car.
10. You may want to put a rag in the throttle body for safety purposes, so no dirt gets in there.
11. Remove all spark plug wires from spark plugs; they just pull off. Be sure to label which wire goes to which plug, so that you can put them back on the right ones.
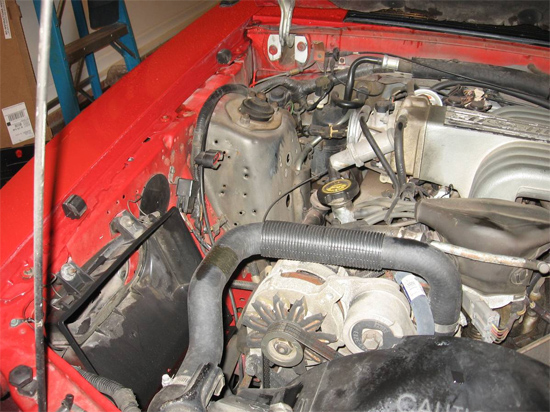
12. Use the 9/16” Socket Wrench to remove the bolts attaching the stock exhaust manifold to the engine. There will be 8 on each side, along with a few extras that hold the dipstick tube and engine brackets on. The engine brackets will not be reinstalled because they do not fit around the new headers.
13. Jack the front end of the car up and safely support with jack stands. Make sure the parking brake is engaged.
14. From under the car, remove the 4 bolts attaching the stock exhaust manifolds to the mid pipes, with the 5/8” wrench. There are 2 bolts on each side.
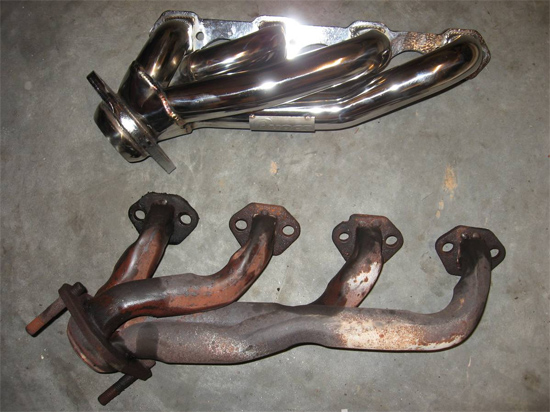
15. Carefully remove the old manifolds from the top of the engine. You can also remove them from the bottom of the car if you remove the rest of the mid-pipe. Now you can see how different the new headers are from the restrictive stock manifolds.
16. Remove the old gaskets from the cylinder heads and scrape off the old residue, so the new gaskets will seal properly.
17. Remove the dipstick, dipstick tube (may require a vice grip and hammer from under the car), and the steering shaft (using the 11/16” and 5/8” wrenches). This will allow the new headers to be installed. These didn’t have to be removed before removing the old headers, because the stock manifold wasn’t connected between each pipe, as the new ones are.
18. Place the new header on the left side of the car. Be gentle, making sure it lines up with the engine and the mid-pipe.
19. Place one of the new gaskets between the engine and new exhaust manifold.

20. Start attaching the old bolts, but don’t tighten them until you get them all in. This part may be a pain, as the new headers are much larger than stock and may have to be coerced into lining up.
21. Once all the bolts are started, they may be tightened with the 9/16” wrench. The socket wrench probably won’t fit around the bolt, given the size of the new pipes.
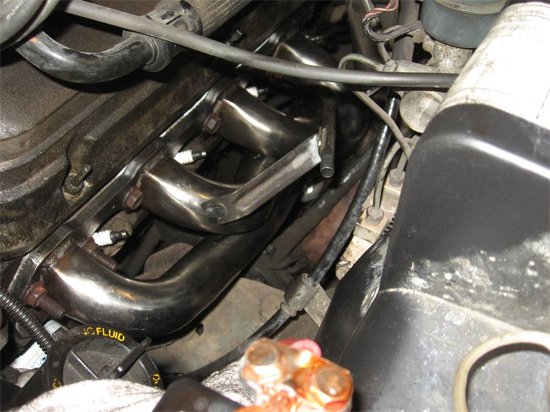
22. Now put the new header in on the right side of the car. This one won’t require moving of any of the pipes, just be gentle, putting them in around the coolant pipes for the heater.
23. Make sure the header is lined up with the mid-pipe and the engine. Begin each bolt and tighten with the wrench.
24. Get back under the car and fasten the headers to the mid-pipe with the 4 nuts and bolts provided in the kit, along with the 4 bolts originally used to hold the stock exhaust manifolds to the mid-pipes. You probably want to use the loc-tite on these bolts.
25. Reattach the steering shaft and/or dipstick tube, if you removed them.
26. Reattach the spark plugs, making sure they are put back in the same places as before.
27. Reinstall the intake pipe and mass air flow sensor, by attaching the upper intake pipe to the throttle body and tightening the clamp with the flathead screwdriver.
28. Reattach the mass air flow to the fender well using the 7/16” wrench.
29. Plug the mass air flow sensor back in.
30. Reinstall the air filter, reattach the filter box to the intake pipes and secure the box in.
31. Reconnect the battery.
32. Start the car and check for exhaust leaks. If there are any, make sure the headers are sealed properly. Also, check for oil leaks if you removed the dipstick tube.
Installation instructions provided by AmericanMuscle customer Callaway Turner 3.1.09
