 FREE 1 to 3-Day Delivery on Orders $119+ Details
Best Sellers


Mustang Bumper Insert Letters Installation Guide
Tools Required
- Small bowl or dish full of water with three drops of dish soap (x1)
- Hair dryer (optional) (x1)
Shop Parts in this Guide
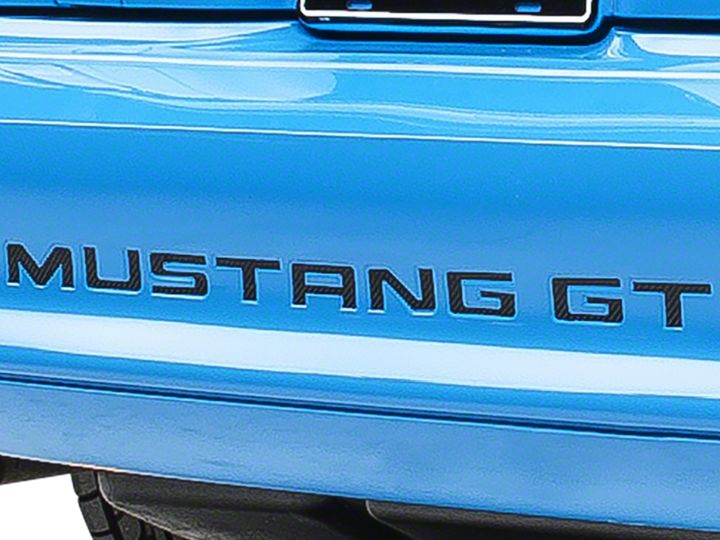
- Bumper Insert Letters; Carbon Fiber (94-98 Mustang GT, V6; 94-95 Mustang Cobra)
- Bumper Insert Letters; Silver (94-98 Mustang GT, V6; 94-95 Mustang Cobra)
- Bumper Insert Letters; White (94-98 Mustang GT, V6; 94-95 Mustang Cobra)
- Bumper Insert Letters; Carbon Fiber (99-04 Mustang GT, V6, Mach 1; 1999 Mustang Cobra)
- Bumper Insert Letters; Matte Black (99-04 Mustang GT, V6, Mach 1; 1999 Mustang Cobra)
Installation
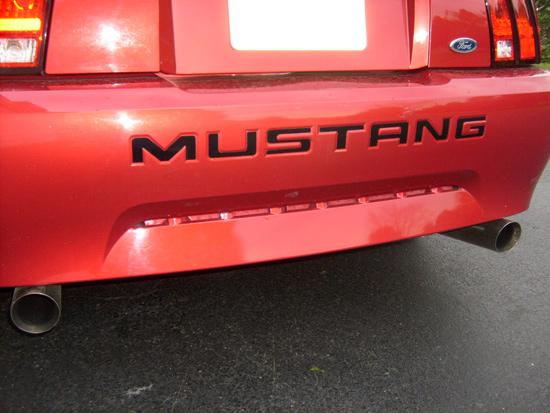
Note:The first part of this installation discusses how to remove the current bumper inserts if they are already present on your car. If you have no inserts on your bumper, you may read on to step 5.
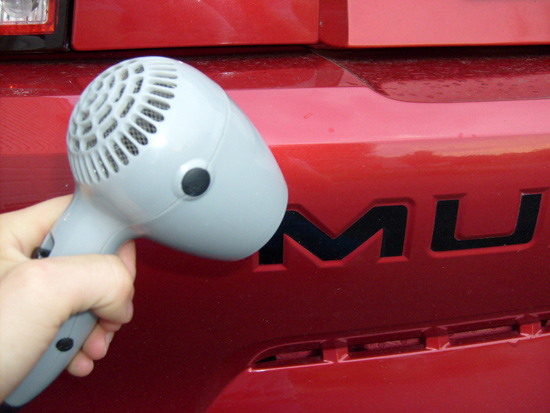
2. Vinyl graphics are held on by an adhesive that is reactant to heat. By simply heating the graphics, they will peel off.
3. Take a hair dryer and place it next to the graphic you want to remove. Count to ten and remove the hair dryer.
4. Next, take either a plastic scraper so as not to damage the finish of the car or your fingernail and pry the corner of the graphic so that it begins to peel.
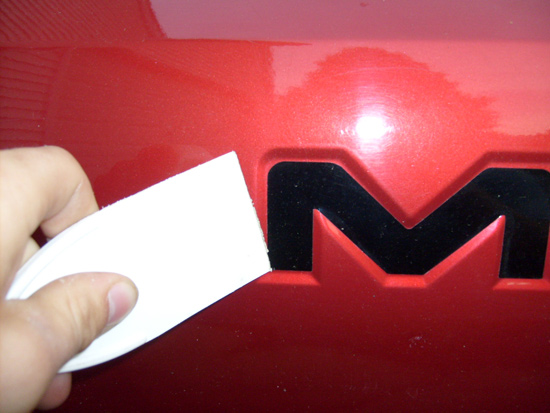
5. You may need to use the hair dryer a couple of times but eventually all of the letters will come off fairly easily.
ONCE THE GRAPIHCS ARE REMOVED THEY CANNOT BE USED AGAIN!
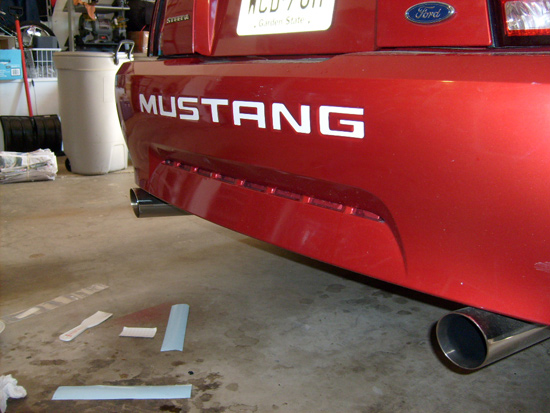
6. Before you install the new bumper inserts you will need to wash the back of the car to remove all dirt and foreign objects. This includes wax! If anything is still present on the bumper, then the graphics will not stick to the car! After the car is washed and you are sure there is nothing on the bumper, it is now time to install the new bumper inserts.
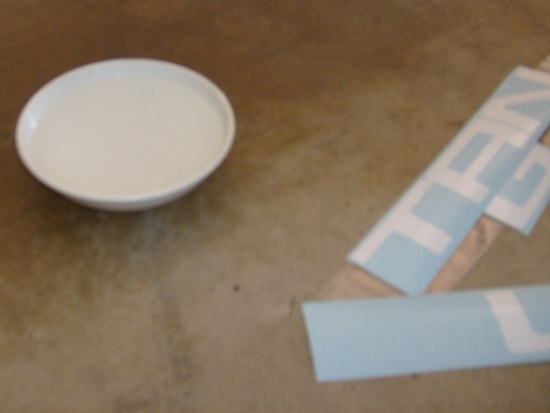
7. Peel the first letter off of the sheet. You will notice that the back is sticky. This is the adhesive and for it to work, it needs to be activated by the water and dish soap. Take the letter after it is peeled off of the sheet and place it in the bowl with the water and dish soap. Wait a few seconds and then remove it from the bowl and place it on the car in its appropriate place. It is fairly easy to line up the letter in its place but make sure it is even.
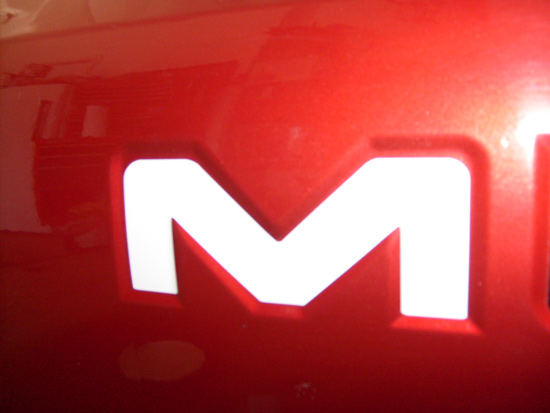
8. After a few seconds, take your fingers and run them over the letter squeezing out all of the water. Make sure there are no pockets of water or air bubbles behind the letters and if there are, simply work the bubble to the edge of the letter.

9. As one letter is drying apply another letter. But be prepared to go back to the first letter that you already applied, as air bubbles can form as the letters dry.
Note:Special care should be taken when installing the letter"S"It has a very thin middle and it is easy to tear this letter especially when it is wet.
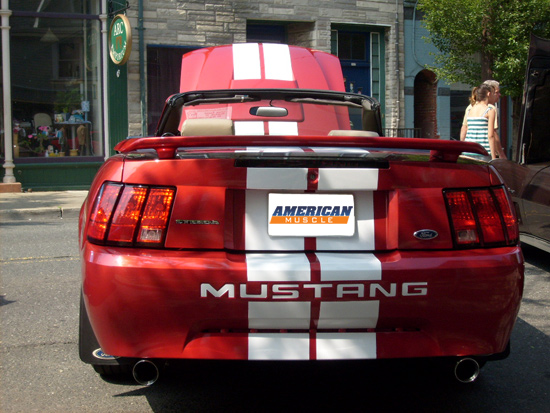
10. Once all of your letters are bubble free, take your car out into the sun. Wait approximately two to three Hrs for the letters to dry before driving.
Installation instructions provided by AmericanMuscle customer Will Rimmler 6.15.08
