 FREE 1 to 3-Day Delivery on Orders $119+ Details
Best Sellers


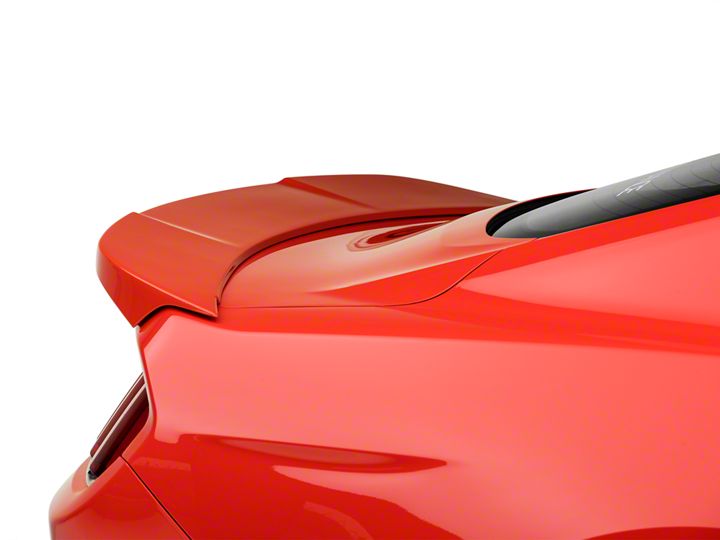
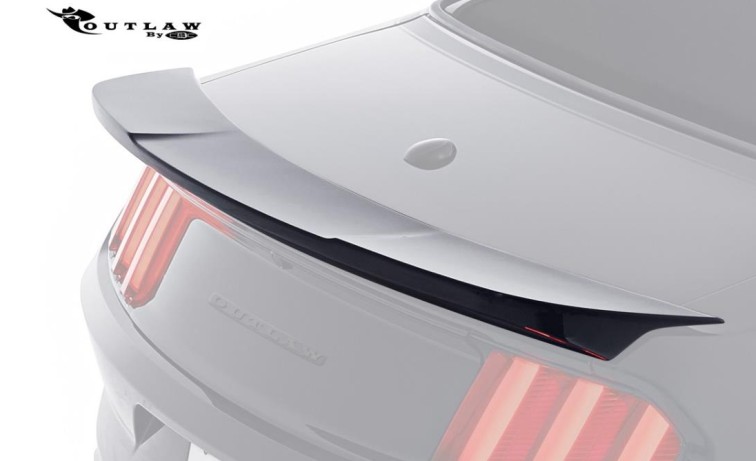
How to Install CDC Outlaw Rear Spoiler - Unpainted (15-17 All) on your Ford Mustang
Installation Time
2 hours
Tools Required
- ¼” Drive Ratchet
- 3/4” Masking Tape'
- 1/16” Drill
- ¼” Drive extension
- 2” Masking Tape
- 1/8” Dril
- 10 mm Socket
- Drop Cloth
- 5/16” Drill
- Drill Stop
- Wood Block
- Fork Tool or Screw Driver
- Safety Glasses
- Needle Nose Pliers
- 30 LB Fishing Line
- Drill Motor
- Bondo Spreader or Plastic Putty Knife
Shop Parts in this Guide
NOTE: This product is made from Blow Molded ABS. We HIGHLY recommend that the Spoiler be painted by a Professional Automotive Paint Facility. Standard Fascia paint processes should be used, Spoiler MUST be sanded, primed, and painted.
Note: READ instructions before starting installation!!!
Components: CDC Part#
• 1 – Outlaw Decklid Spoiler 1511-2305-01
• 2- Alcohol Packs 950006
• 2- Adhesion Promoter 950007
• 1 – Roll 3M ½” x 120” Acrylic Foam Tape 950037
• 2 - Plastic Hole Locators 85006
• 2 – 18.5 mm Foam Gaskets 115068
• 2 – M6 Bolts 183003
• 2 – M6 Washers 183005
Tools Required:
• ¼” Drive Ratchet •3/4” Masking Tape •1/16” Drill
• ¼” Drive extension •2” Masking Tape •1/8” Drill
• 10 mm Socket •Drop Cloth •5/16” Drill •Drill Stop •Wood Block
• Fork Tool or Screw Driver •Safety Glasses •Needle Nose Pliers
• 30 LB Fishing Line •Drill Motor •Bondo Spreader or Plastic Putty Knife
Installation Instructions
1. Remove Factory Spoiler if equipped. Open Decklid and remove 10mm fasteners that secure the Spoiler to the Decklid and disengage any clips with needle nose pliers. Spoiler is also held down with tape that will have to be completely removed. Caution: Be very careful removing the tape as the Decklid is very easy to dent. Use masking tape to protect the paint, and 30 lb fishing line to cut through the tape. A Bondo spreader or plastic putty knife may be very useful as well. Thoroughly remove all residue left from the tape.
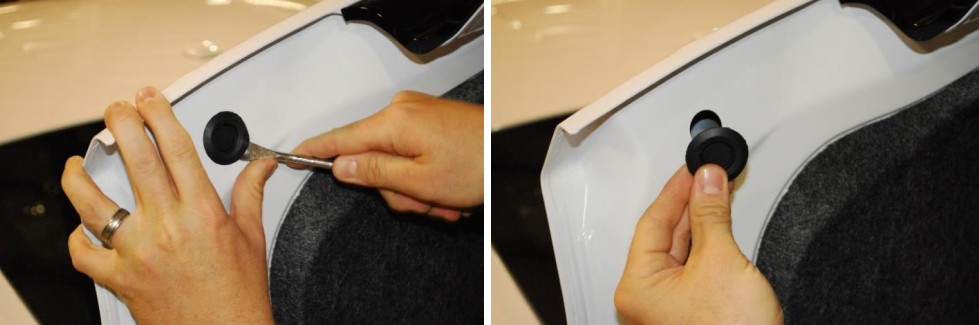
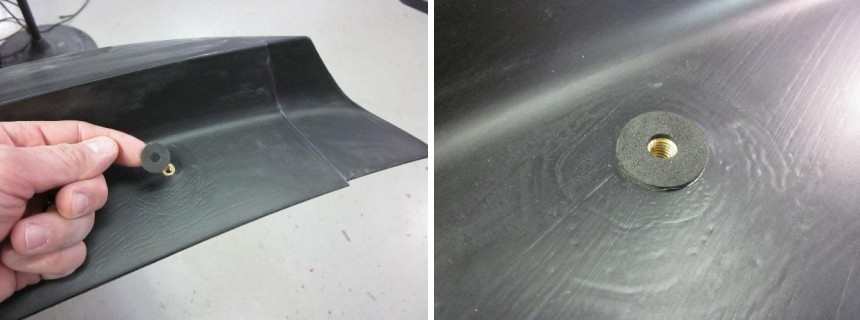
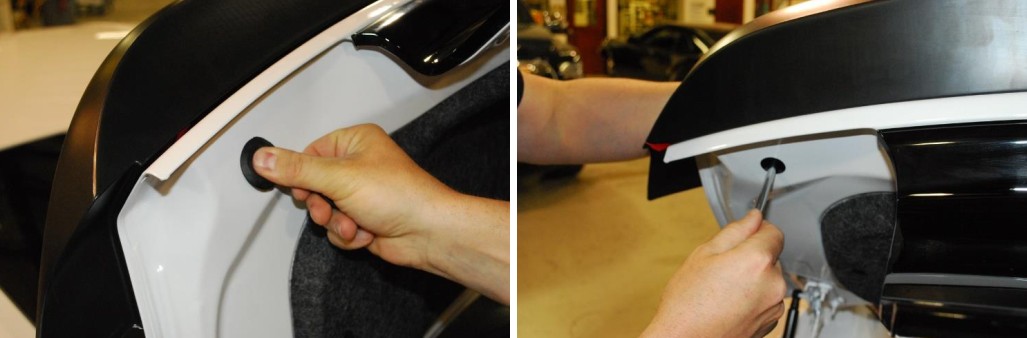
2. Remove Rubber Grommets from bottom side of Decklid.
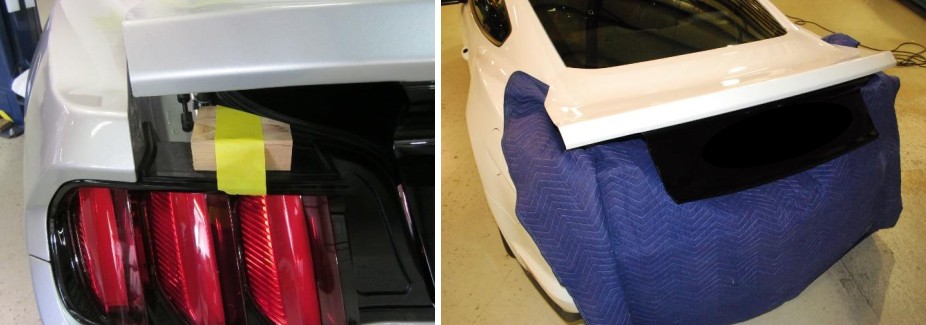
3. Place a Wood Block on top of the Taillight to prevent damage when drilling. Place drop cloth in trunk to catch any metal shavings.
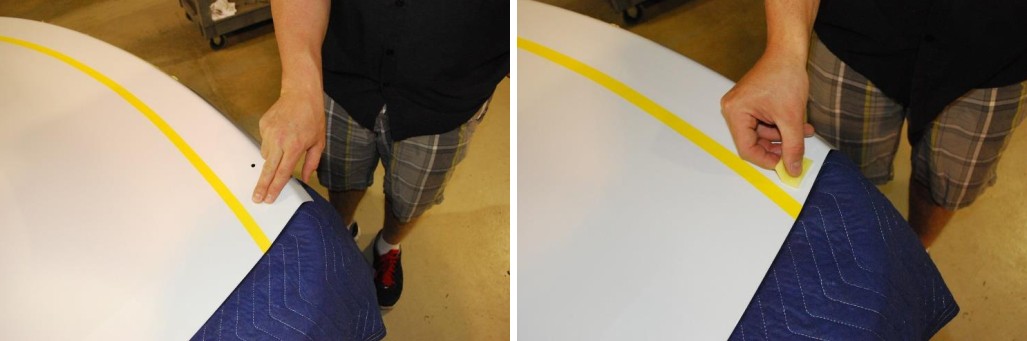
4. If car is equipped with Factory Spoiler, proceed to Step # 8. Insert the provided plastic Hole Locator Strips in the Outlaw Spoiler, secure with a small piece of Masking Tape.
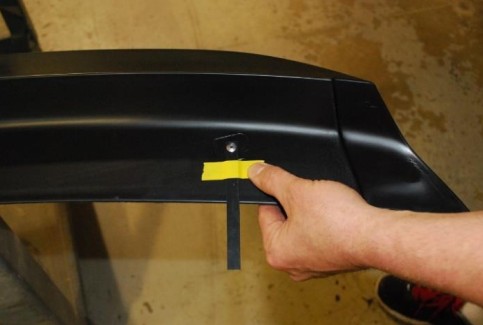
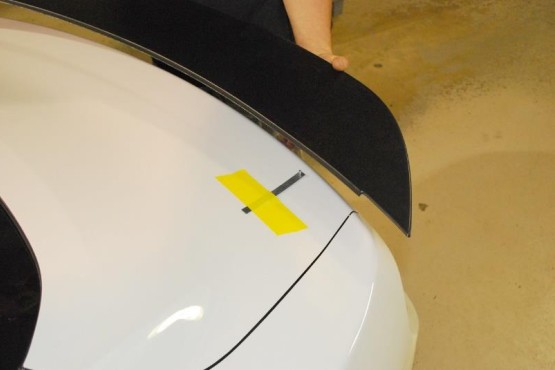
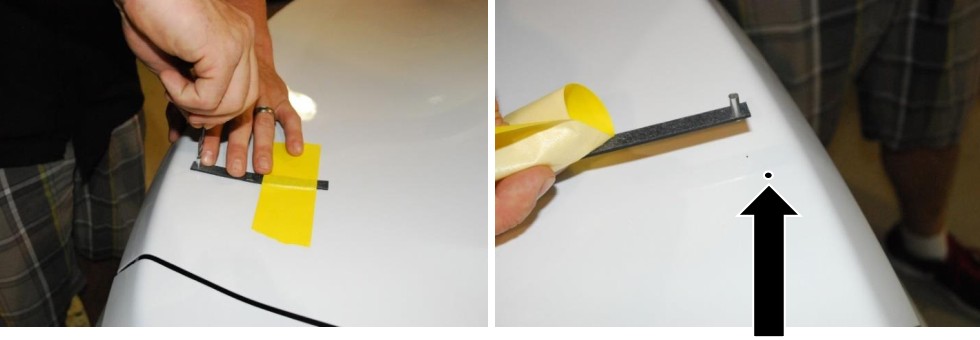
5. Place Outlaw Spoiler on Decklid. Make sure Spoiler is centered, and apply 2” Masking Tape to hold the Hole Locator Strips in place. Carefully remove Spoiler from Decklid, leaving the Hole Locators in place.
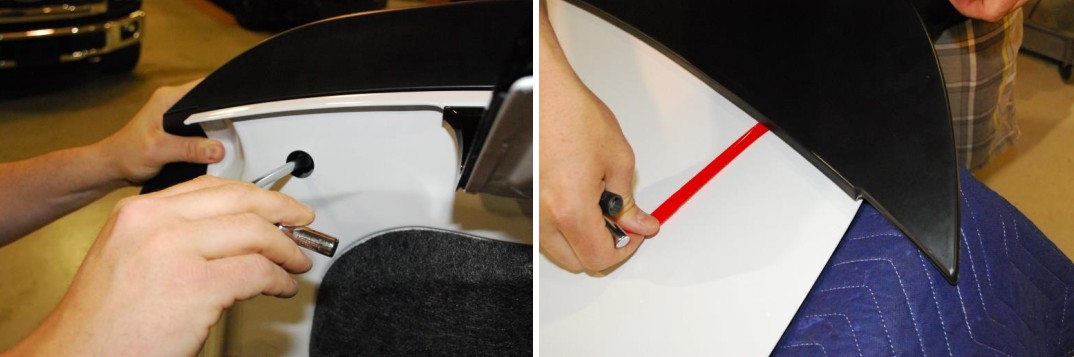
6. Use a 1/16” Drill Bit to mark the location of the holes.
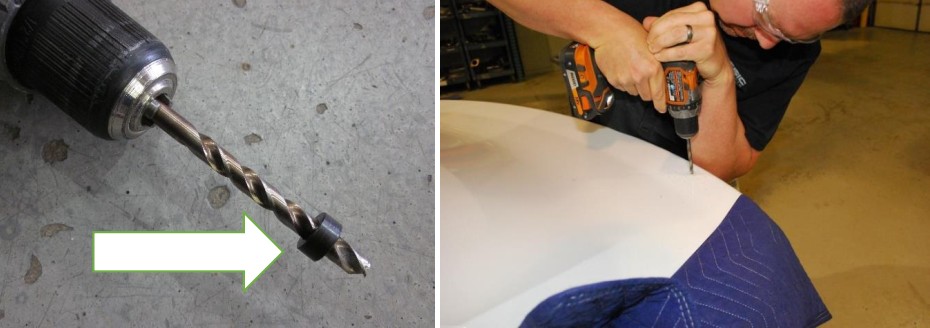
7. A.)Drill pilot holes with a 1/8” Drill. B.) Drill holes using 5/16” drill. NOTE: We strongly recommend using a Drill Stop to prevent any damage to the Taillights.
8. Apply the supplied Foam Gaskets as shown in pictures below.
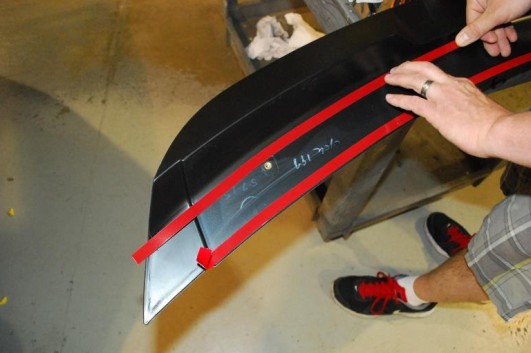
9. Apply 3M tape to the Spoiler as Shown in picture below. Clean the surface with the provided Alcohol Pack, and allow to dry completely. Apply the provided Adhesion Promoter, and allow to dry completely. Apply the provided 3M Acrylic Foam tape as shown in picture. HINT: Create “Pull Tabs” with the red backing as shown below.
10.Temporarily place Outlaw Spoiler on Decklid and check alignment of holes. Open holes if necessary.
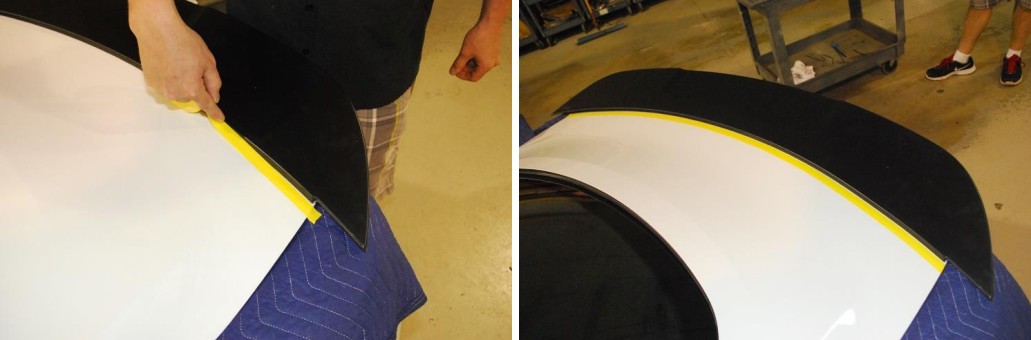
11.Temporarily place Outlaw Spoiler on Decklid and apply Masking Tape as shown in picture below. This will help for the following step.
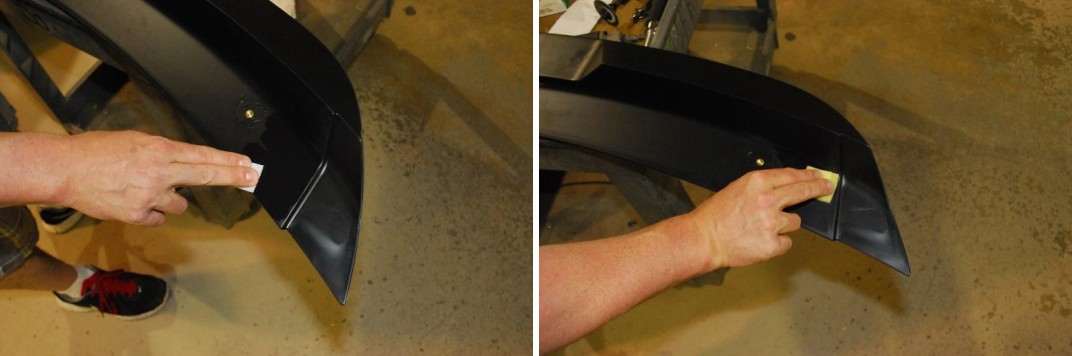
12.Clean Decklid with provided Alcohol Pack, and allow to dry completely. Apply the provided Adhesion Promoter, and allow to dry completely. Keep Adhesion Promoter about ¼” behind the masking tape. Remove Masking tape.
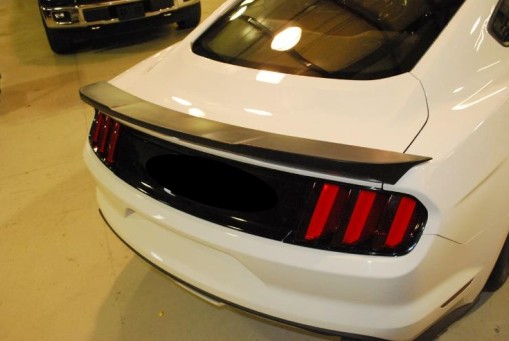
13.Install Spoiler. Place Spoiler on Decklid and start the provided (2) 6mm bolts, 10mm heads. Make sure your “Pull Tabs” are exposed. Pressing down at a 45 degree angle toward the front of the car, slowly remove the red backing, pressing the Spoiler firmly in place.

14.A.)Tighten the Spoiler Bolts. Caution: Do not over tighten. B.) Replace rubber grommets.
Thank you for choosing Classic Design Concepts for your restyling needs. If you have any questions or concerns regarding installation, please contact [email protected]
or call 866-624-7997.
