 FREE 1 to 3-Day Delivery on Orders $119+ Details
Best Sellers


Mustang Clutch Cable Installation Guide '96-'04
Installation Time
2 hours
Tools Required
- Basic Standard and Metric socket sets
- Basic set of Screw Drivers
- Pry Bar
- Jack Stands
- Floor Jack

Shop Parts in this Guide
Installation
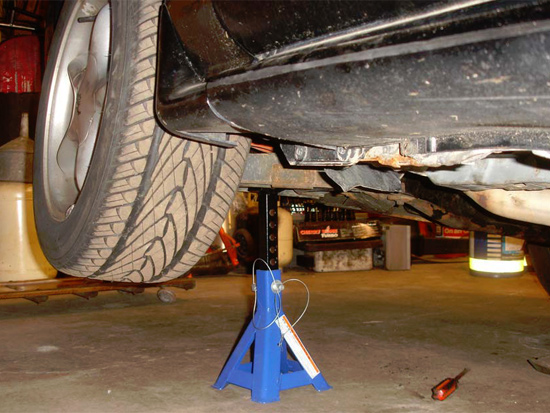
1. Disconnect your battery (because you can accidentally run the cable across the terminals when you’re removing it) and raise and support your vehicle properly with jack stands.
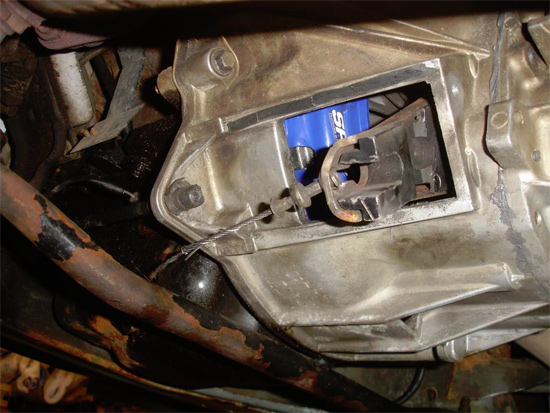
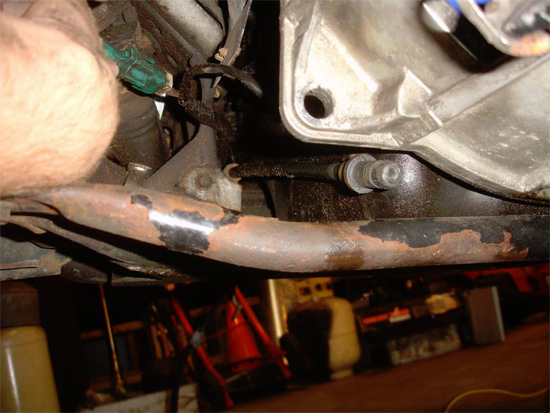
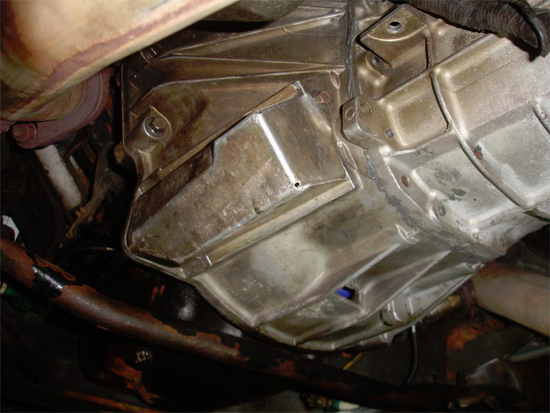
2. Underneath your Vehicle locate the dust cover on the transmission and remove the bolt..

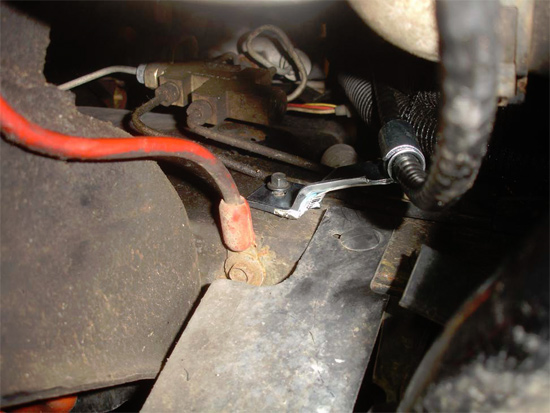
3. Then Remove the Cable from the shift fork, if your cable is broken it will be no problem, if not
broken, you can use a pry bar to compress the fork and pressure plate to release the cable.
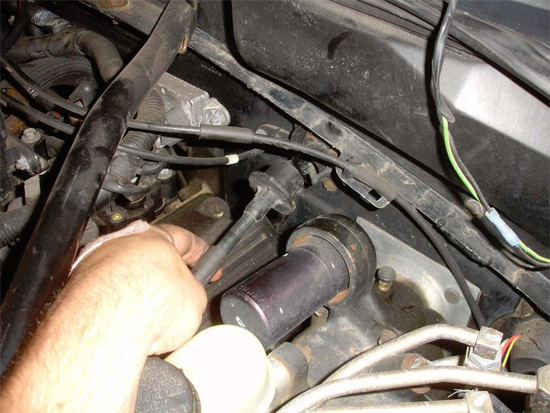
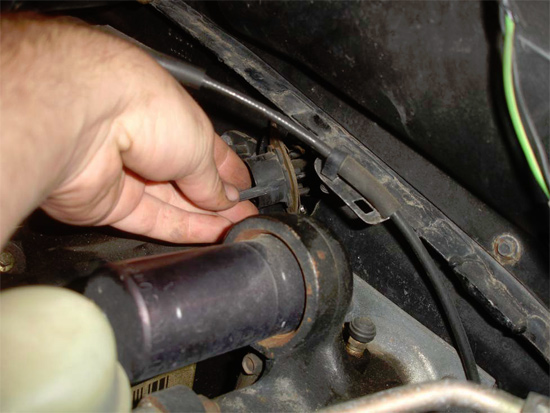
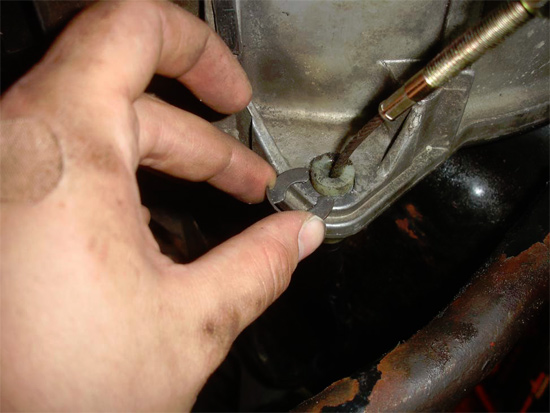
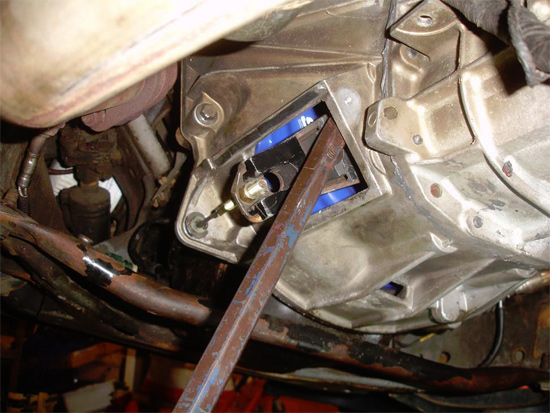
4. Then you will need to release the clip holding the cable to the transmission’s bellhousing. You can use a screwdriver to pry it loose.
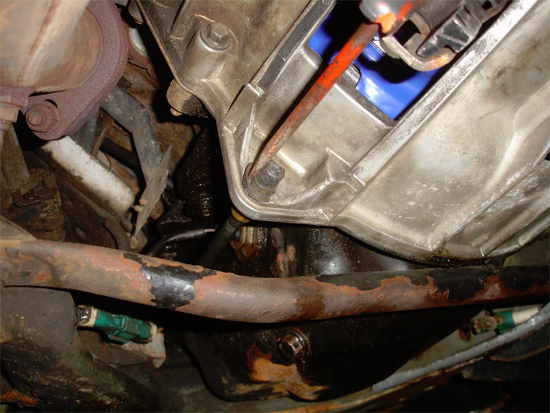
5. With a little force you can then pull the cable free from the transmission.
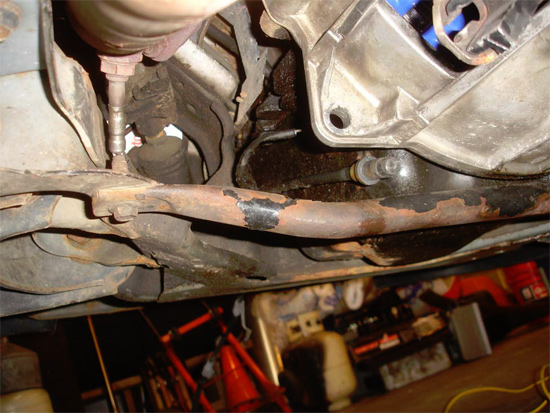
6. Then there is a bolt holding the cable to the k-member. Remove this bolt.
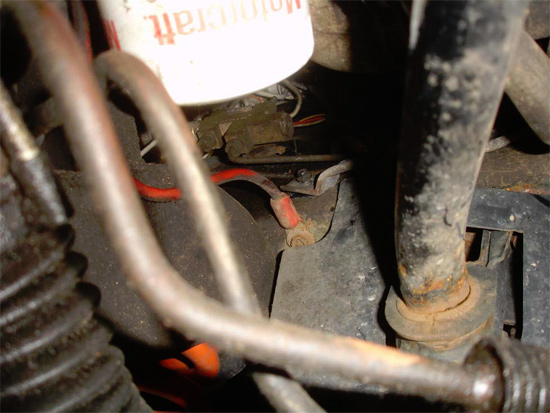
7. The next bolt you need to remove is located by the oil filter, kind of on the side of the strut tower, easily accessible from underneath.
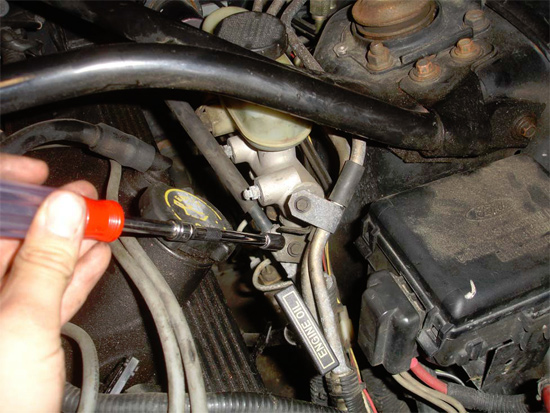
8. The last bolt is located up top by the oil filler cap, and below the brakes master cylinder. (Note: This was performed on a 96 GT and I noticed on my 98 GT that this bolt does not exist, so it may be there or it may not be.)
9. Then you will need to take out two small bolts holding the cable to the firewall(bulkhead). I found it easier to un-clip the outer cable cover and then get the bolts out.
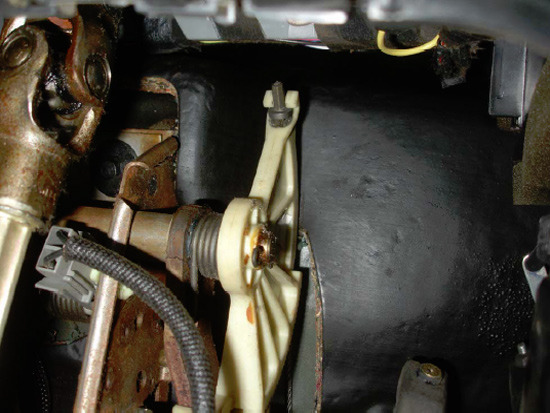
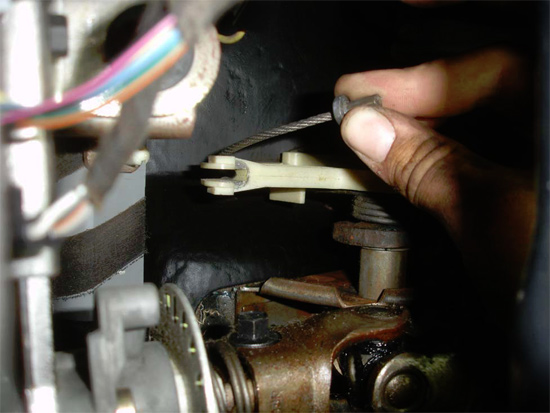
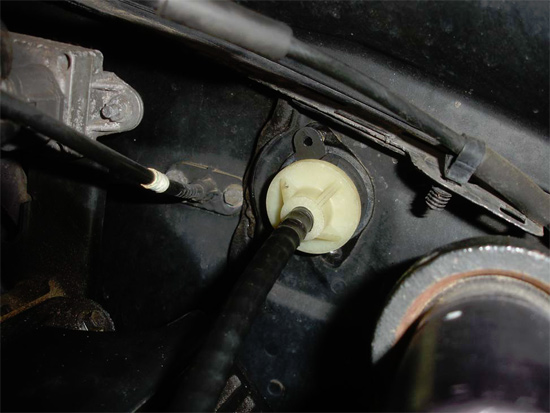
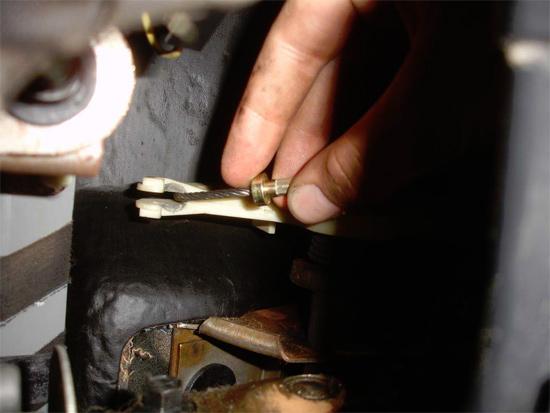
10. Your next step is to disconnect the cable from the clutch quadrant inside the car. You can find the quadrant above the gas pedal, the stock color is white. The cable should just slide off of the quadrant and then you should be able to pull it through the firewall (bulkhead).
11. After the cable is disconnected at each end you will need to take off a hanger or two to be able to slide the cable through everything, with a screwdriver you can get them to open up and slide off and then you can pull the cable out with no problem.
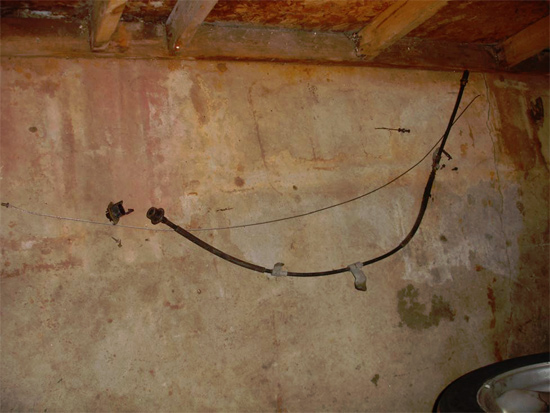
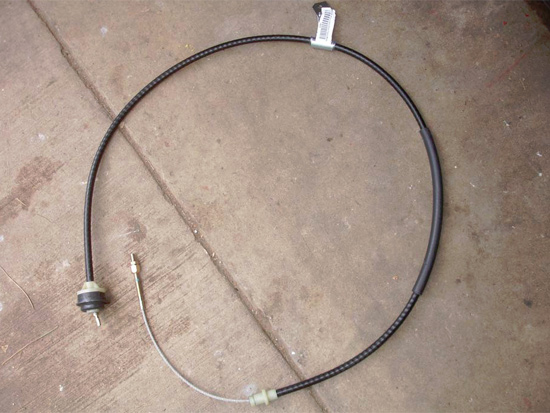
12. When you receive your new cable inspect it for any major defects or stuff like that. You will also notice the Steeda Adjustable Cable only has one hanger, this will be fine as it just needs to hold a bend and keep the cable away from moving objects such as the belt.
13. First thing is to run the cable from the top of the motor down to the bottom. The adjustable end will go down to the clutch fork and the non adjustable end will go inside the cabin. Run the bottom end between the k‐member and the oil pan and then up to the firewall. Keep an eye on where the hanger is so that it fits up where it belongs on the side of the strut tower.

14. Next you will secure the rubber bushing/plug that fits into the firewall (bulkhead) where the stock unit was. The Steeda cable only uses one bolt to hold it in, so you can put the extra one aside.
15. Now, inside the car you can run the cable into the clutch quadrant and slide it into place.
16. After that, go underneath the car and push the cable into the transmission and put the c-clip in place
17. After the cable is now in place, go and put the bolt in the hanger for the cable. You can do this step earlier but I wanted to make sure everything had enough length and went into place before securing it.
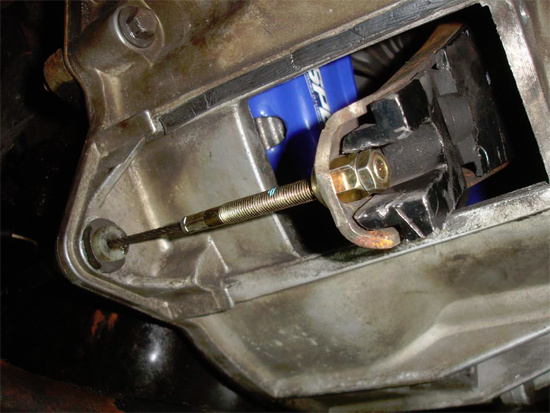
18. Then comes the tricky part. You may need an extra hand for this. You can put the adjustable end through the clutch fork and thread on the provided bolts, or you can tighten the bolts first then compress the pressure plate and slide the end into the fork. One person should hold a crow‐bar or something similar, and compress the fork and pressure plate while the other tightens the cable adjustment or slides the cable into the fork. Your choice. But tighten the big nut first then put the second nut on to “lock” it into place so that it will not move on you.
19. Now you can feel how your pedal feels. You can go back underneath and tighten it or loosen it as needed and you should be able to change where the engagement point will be.
20. After you have your pedal how you want it put the inspection cover back into place and lower the vehicle down, then connect your battery and go take it for a test drive. Adjust as needed.
Installation instructions provided by AmericanMuscle customer Will Lukas
