 FREE 1 to 3-Day Delivery on Orders $119+ Details
Best Sellers


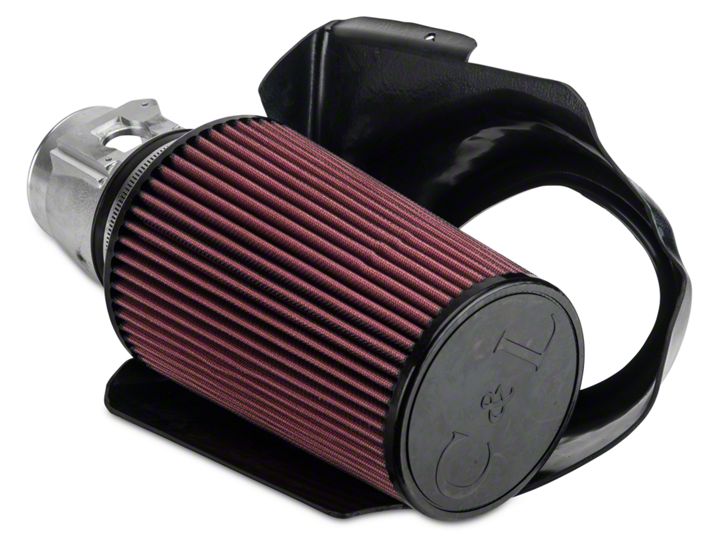
How to Install C&L Short Ram Air Intake w/ 85mm MAF on your Mustang
Installation Time
1 hours
Tools Required
- flat head screwdriver
- 1/4” drive socket wrench with 1/4” socket
- small adjustable wrench.
Shop Parts in this Guide
Installation of this kit is quite simple, and should take no more than 20 minutes to complete.
Tools needed: a flat head screwdriver, a 1/4” drive socket wrench with 1/4” socket to drive the torx screws (tool provided) and a small adjustable wrench.
1. Remove the factory MAF assembly. First, loosen the clamp on the back of the factory Mass Airflow unit. Next, disconnect the MAF harness from the factory electronics module located on the top of the stock MAF unit. If you squeeze the top and bottom of the connector, then the harness connector will slip off towards the passenger side fender. Then, loosen the bolt that holds the stock air filter assembly to the fender. Disconnect the flexible rubber boot from the hard plastic tube that runs down from the shaker hood assembly (on the solid pipe end) and remove the entire assembly (MAF and filter box) by lifting up on the filter end and slipping the back of the MAF unit out of the factory rubber ductwork. You will need to move the filter box assembly towards the engine before lifting up, so that you will clear the air horn that protrudes into the fender well.
2. Transfer your factory electronics from your stock MAF unit to the new supplied 85mm housing. There are two tamper resistant Torx style screws that hold the electronics to the top of the factory MAF. Use the supplied Torx bit by placing it into the 1/4” socket wrench and loosen the screws with it. Once the screws are loose, carefully lift the factory sensor electronics out of the stock housing and transfer them over to the new MAF housing. Note that the large rubber o-ring transfers with the electronics module. If this o-ring is not transferred and does not seal properly, it will throw off the MAF signal at idle and under low RPM conditions. Once the electronics are set into the new housing, be careful to ensure that the o-ring is seated properly and tighten the torx screws in an alternating fashion, being sure not to over-tighten.
3. Mount the supplied Filter on to the front of the 85mm unit. Use the screwdriver to secure the clamp after you have placed the filter all the way up the neck of the 85mm housing.
4. Re-install the new MAF and filter into the stock location by sliding the rubber inlet hose over the back of the new MAF unit and securing with the factory hose clamp. Clip the MAF harness connector back onto the MAF electronics. Pull the end of the air filter and meter assembly towards the passenger side fender so that the air filter is close to the opening going into the fender well. To finish installation, remove the oval shaped duct with flexible coupling from the stock air filter assembly and snap it into the opening of the new shield that was supplied with the kit. Lower the new shield into the engine compartment and secure it to the fender using the original bolt that held the factory air filter assembly in its original hole. You will find that it is easiest to hold the shield assembly by the flexible coupling by squeezing/collapsing it as the shield is lowered into the engine bay. This will allow you to freely move the shield into position. Line the new shield up with the existing bolthole and check to make sure that the end of the shield that drapes around the engine side of the filter is tucked in behind the frame rail lip that sticks up about 1” from the channel that runs under the air filter assembly. Snap the flexible coupler into the sold plastic tube that runs down from the shaker assembly. The shield will cover the filter as well as help to hold the MAF unit and filter in place. Installation is now complete!
In addition to this mass airflow system, you might also consider purchasing one of our new inlet pipe assemblies. This aluminum casting replaces the factory rubber inlet hose that goes between the mass air flow unit and the throttle body. It comes complete with all the necessary parts for installation, and really improves the appearance under the hood, while delivering a modest performance increase.
