 FREE 1 to 3-Day Delivery on Orders $119+ Details
Best Sellers


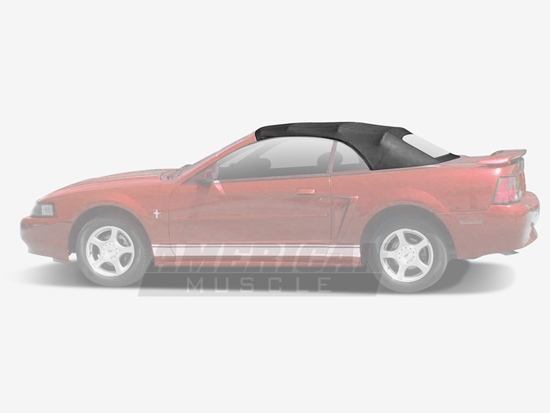
Mustang Replacement Convertible Top (83-04) - General Installation Overview, Tips And Tricks
Installation Time
2 days
Tools Required
- Heavy Duty Staple Gun
- Approx. 500 Staples (400 - 1 Staples, 100 Staples)
- Needlenose pliers- Heavy duty staple puller
- Flat head and Philips head screw drivers
- Short handled Phillips head screw driver
- Box cutter/Razor
- 8-12 Hour home install time
Installation
Getting Started:
1. You should start by removing the headliner (if applicable) as you can reuse this if you wish or replace it with a new one.
Note:You will need to begin your installation with the headliner should you wish to reinstall it, so do not damage it during removal.
2. Remove all exterior trim rings and hardware that secures the top to the car or top frame. Retain all hardware. Some screws may be behind side windows and special tools may be required to remove them.
3. Then unscrew and remove the rear paneling and rear seat.
4. At this point, you are ready to uninstall your old top. You will notice the old top is held in by press fittings screwed together and hundreds of heavy duty staples applied by a hi- powered staple gun. You will need to remove all the old staples from the plastic strips so your new staples will bite upon reinstallation. These staples are holding the top to the top frame in the front and to the body of the car in the rear. They go directly into a plastic retainer strip pressed between the top frame and/ or the car body. You will need to retain the plastic strips also, so again, be careful and remove all staples to avoid damaging the new top.

Bare Frame:
1. Once you have removed the entire top, window and staples you can lay out your new top next to your old top for reference and measuring if needed.
2. *There will be extra material you need to cut off after installation on ALL sections.
3. *If you are re-installing your headliner, now is the time to do that.
Reinstall:
1. Begin by running the guide loops over the frame and let the top hang freely over the rear of the frame. Make sure it is straight as you’ll be laying it over your rear window several times for fitment.
2. Then, secure by stapling the entire front lip of the top to the car at the front of the frame. Attach nothing to the frame or car on the sides. Next, you will want to get your rear window.
3. Your rear window secures with staples at the top and you’ll want to start there. You will want to use the shorter staples here. The longer staples will go over this layer of staple and window fabric when installing the top later. (You will be going through less material with just the window and the longer ones will buckle and bottom out on this section) Once the window is in place (It may take a few attempts to get height correct, use seams on the top as reference points for centering) then attach the top to the frame and begin to pull top down and tight towards car body.
4. Working from one side to the other, go around the rear of the car securing and wrapping the top around all original parts watching for wrinkling as you go. You will need to work carefully and patiently, as this is an easy but time consuming step.
5. If you are having trouble getting wrinkles out of a side or below the rear window (sagging areas) you may have pulled the fabric too tight on the opposite side. Check entire area for pulls, wrinkles and/ or sagging before installing all staples and retainer clips.
6. Re-install rear panels and rear seat.
7. DO NOT OPPERATE TOP FOR AT LEAST TWO (2) WEEKS. Longer is recommended in colder temperatures. This will allow the material to stretch and conform to your car and its frame for years of proper operation and appearance.
Installation instructions provided by AmericanMuscle customer Dave K. 8.1.10
