 FREE 1 to 3-Day Delivery on Orders $119+ Details
Best Sellers


Dupli-Color Brake Caliper Paint Kit - Installation Instructions
Installation Time
2 hours
Tools Required
- Hydraulic Jack
- (2) Jack Stands
- Star Wrench or Lug Nut Wrench
- Locking Lug Key (If Necessary)
- Old Toothbrush or Wire Brush
- Shop Rag
Installation
1. Start by making sure your car is in park and the emergency brake is on. If your rims are equipped with center caps remove them, and break loose the lug nuts with your star or lug nut wrench.
2. Place the jack under the car at the appropriate jacking point (may differ with model of car). Jack the car up slowly, until it's high enough that the front wheels are off the ground. Secure the car by placing your jack stands under the sub frame rails, and then SLOWLY lower the jack so that the car will rest on the jack stands.
3. Pull the jack out from under the car and proceed to finish taking off the lug nuts. After the lug nuts have been removed, put them somewhere you remember, so they don't become lost or get kicked, as you move around the front end of the car.
4. Now remove the two front wheels.
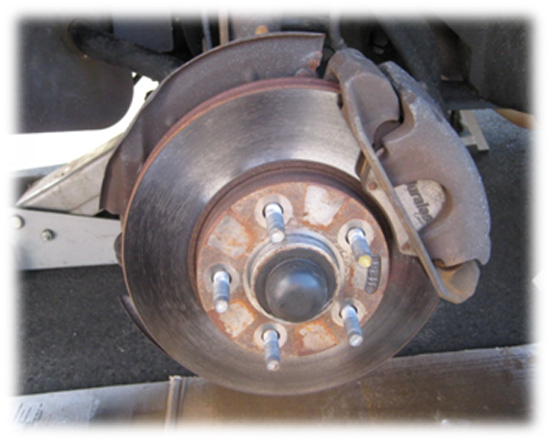
5. After the wheels have been removed, use the wire brush or tooth brush to remove any rust or other loose grime that is on the brake caliper. Use your rag to help clean off the dust that was created and left on the caliper.
6. Proceed to spray the calipers with the included bottle of brake caliper cleaner, to remove any grease or road grime off the caliper. You can also place a piece of cardboard underneath the brake assembly, so that any dripping brake cleaner won't stain your driveway or eat at the sealant you've got on it
7. After the calipers have been cleaned, tape off the areas where you don’t want paint to be applied, such as bleeder valve, rotors, and other rubber components of your brake caliper. Now you can open the small can of paint and stir the contents for one minute with the included stir stick, to ensure that the paint is well mixed.
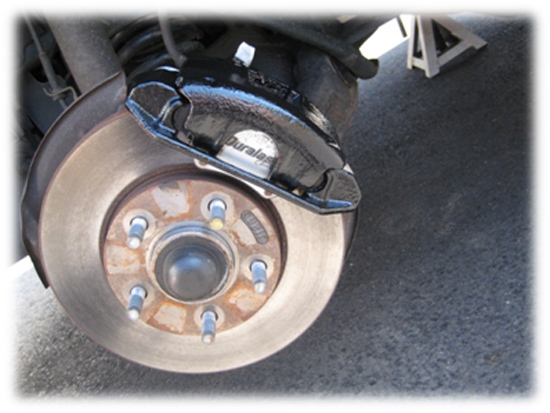
8. Start applying a light coat of paint to the caliper; remember, multiple light coats are better than only 1 heavy coat. Allow 15 Mins for the paint to setup before applying additional coats. Make sure to place the lid back on the can of paint, so that no contaminants mix with the paint, and so that the top layer of paint doesn’t start to settle. I found that 4 coats of paint are adequate enough to cover the caliper fully and won’t show any brush marks.
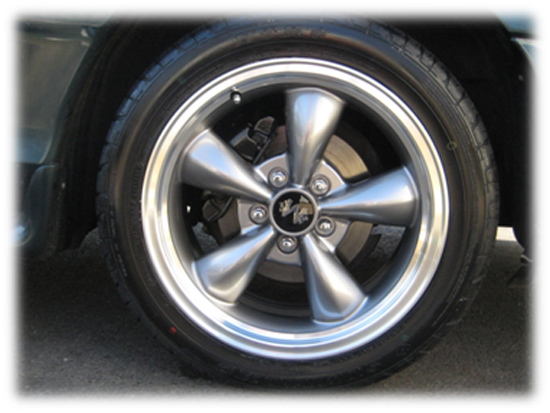
9. The paint will be dry to the touch within 60 Mins. After the paint is dry, you can then reinstall your wheels, finger tighten your lug nuts in the star pattern, raise the car slightly with the jack so that the jack stands can be removed and SLOWLY lower the car back to the ground. Finish by securely tightening the lug nuts with the star wrench in the same start pattern as before.
10. Now you can move onto the back calipers by following the same procedures as stated above! The only parts of the procedure that differs, is to make sure that you use the rear jacking points (may differ with car model) to raise the back end of the car, and use the jack stands in the appropriate rear support positions.
Installation instructions provided by AmericanMuscle customer Jay Giberson 2.25.09
