 FREE 1 to 3-Day Delivery on Orders $119+ Details
Best Sellers


How to Install Ford Racing Front Lower Control Arms on Your 2005-2012 Mustang
Installation Time
2 hours
Tools Required
- Floor jack
- Jack stands
- 18mm & 21mm box end wrench
- 18mm & 21mm socket
- 13/16 socket
- (2) Ratchets
- Breaker bar
- Torque wrench (0-150 ft/lbs)
- Pry bar(s)
- Rubber mallet (optional, may be useful in helping to loosen the ball joint from the steering knuckle when removing the stock control arm)
- Blue Loctite or equivalent thread locker
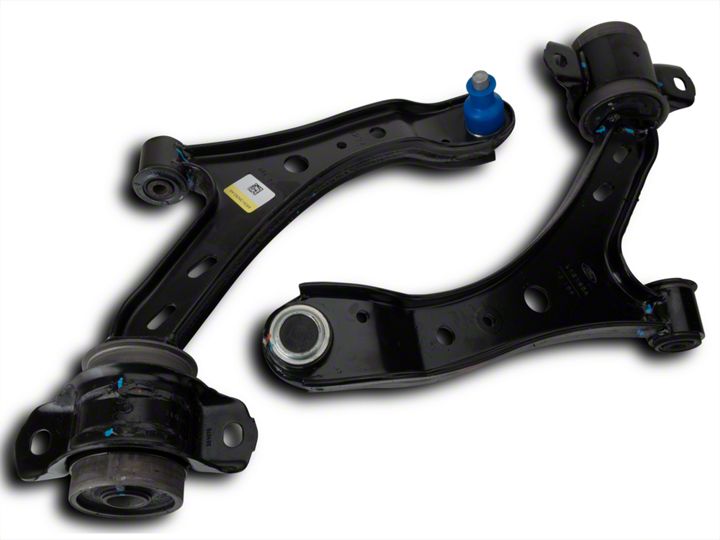
Shop Parts in this Guide
Installation
Special Notes:
- Some bolts may be tough to remove. Penetrating oil such as PB Blaster is very helpful in removing them.
- Be careful around exhaust manifolds, catalytic converters, engine, and transmission as they can remain hot for some time after driving the car.
- The process for each side, driver and passenger, is exactly the same.
- A partner will make the process easier, but it can be done by yourself.
- You will likely need an alignment after the installation of the new control arms. Even if it does not appear that you need one, it should still be checked as soon as possible.
Removal of the stock front lower control arms:
1. While the vehicle is on the ground, use a breaker bar to loosen the lug nuts with a 13/16 socket.
2. Raise the vehicle and support it securely on jack stands. Make sure the vehicle is in gear and the parking brake is engaged.
3. Remove the lug nuts and the wheel.
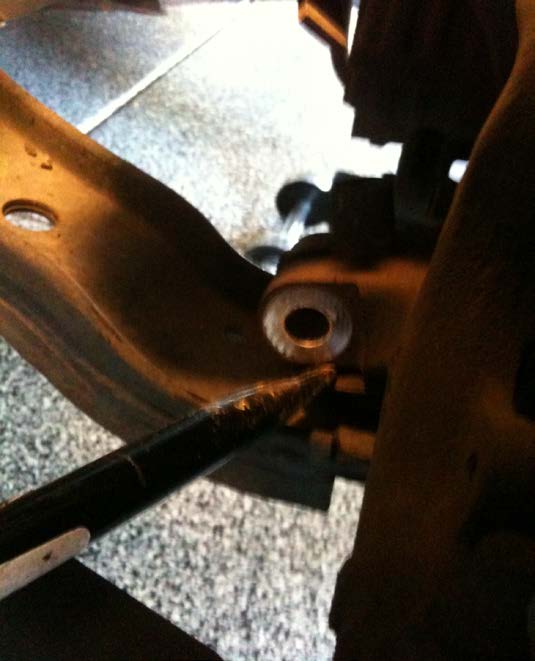
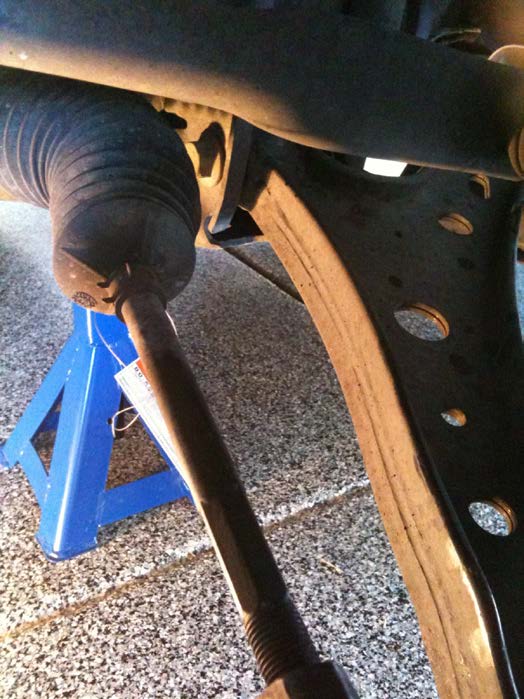
4. Remove the steering knuckle pinch bolt. It has a 15mm bolt head and an 18mm nut.
5. Carefully separate the steering knuckle from the ball joint and control arm. You will need a small pry bar for this. It may take 2 people with a pry bar on both sides of the ball joint. If pry bars are not available, you may use a large screwdriver or the flat end of a tire iron.
6. Remove both steering gear mounting bolts from cross member (18mm):
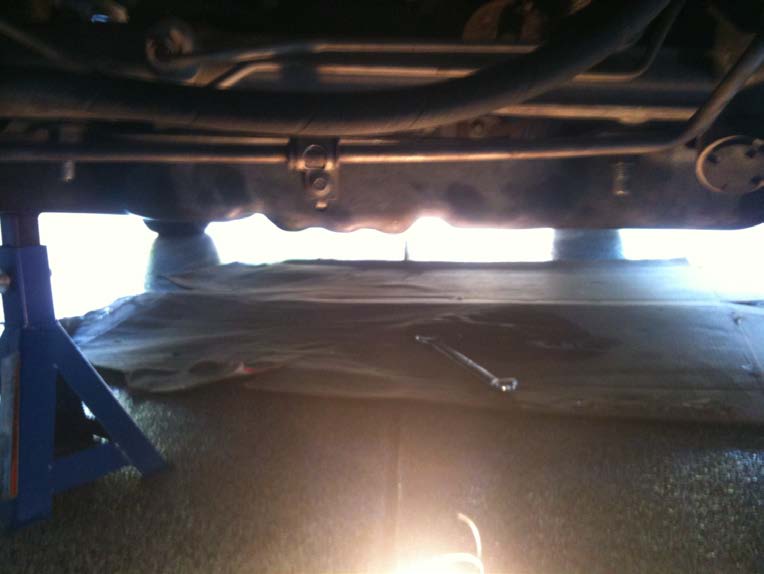
7. Pull the steering gear forward about 6 inches to allow for enough clearance to remove the forward pivot bolt.
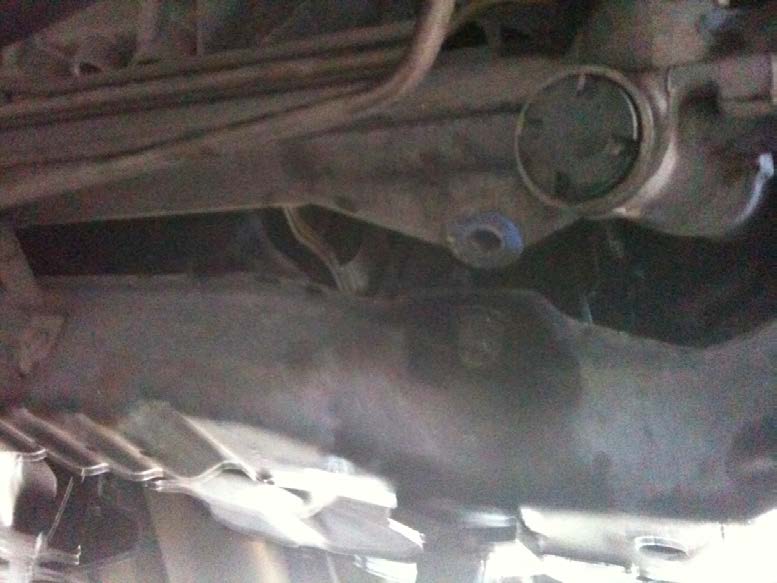
8. Loosen forward pivot bolt and remove with an 18mm socket. There is no need to hold the nut as it will not move; just turn the bolt head.
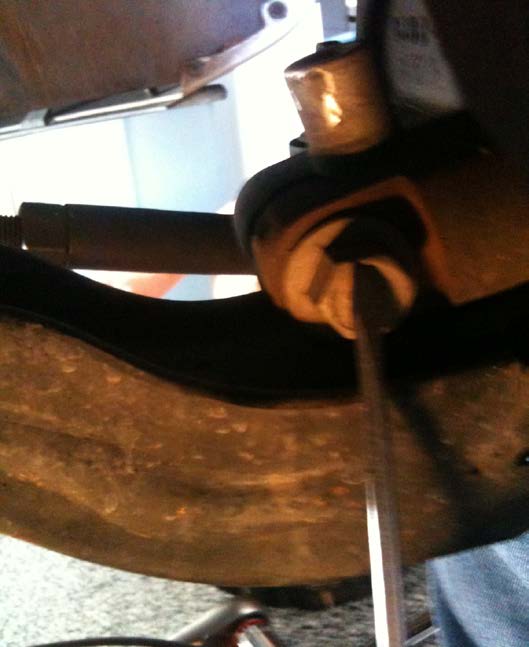
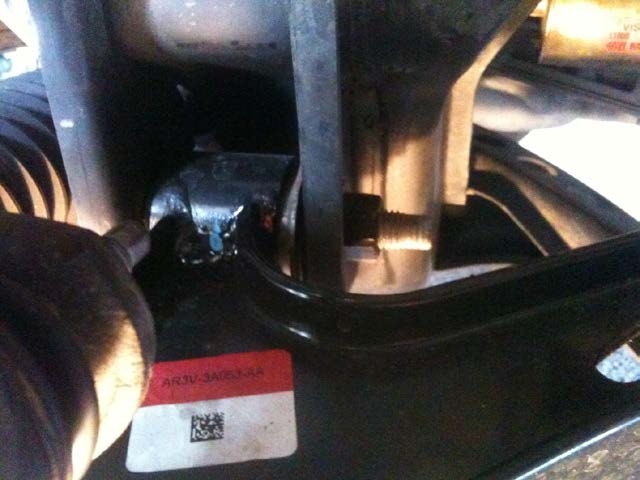
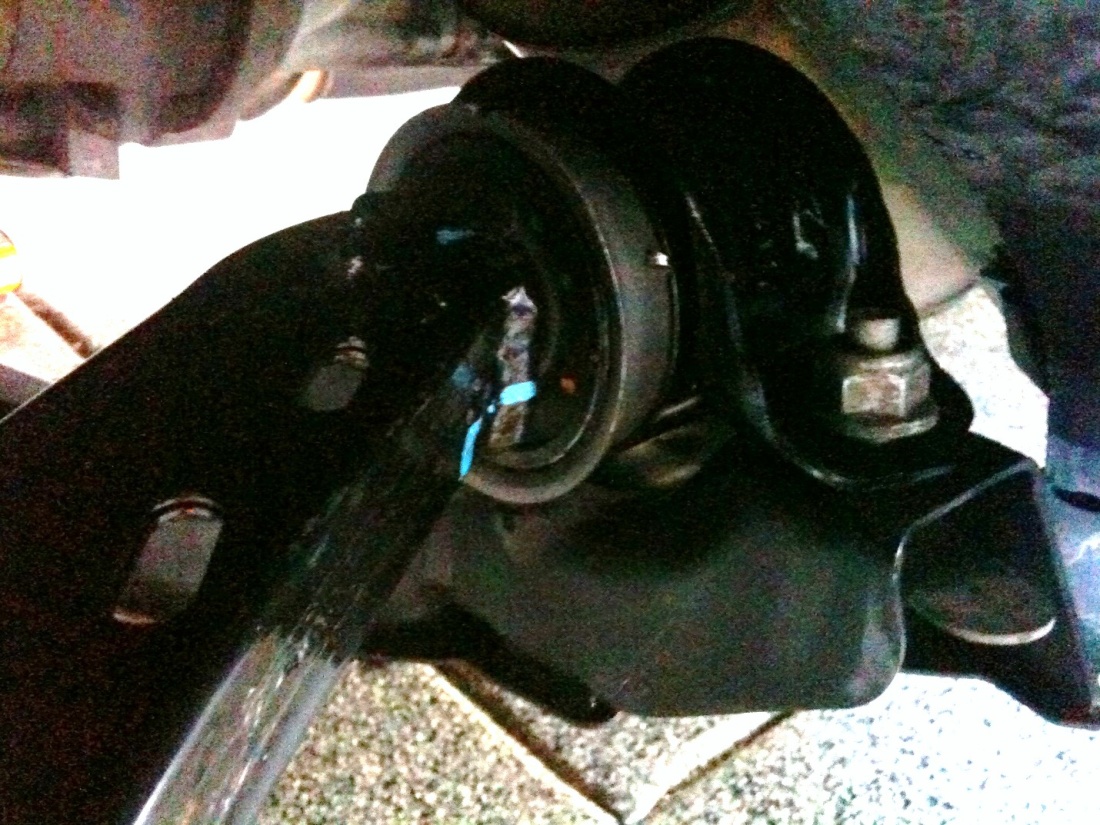
9. Remove the rear mounting fasteners (flag bolts) with a 21mm wrench.

NOTE:This picture was taken after installation of new LCA. When removing the stock control arms, these bolts will be facing the opposite direction with the nut on the bottom. If you choose, you may reinstall the flag bolts like this. The rear bolt is hidden in this picture, but looks the same – arrow pointing to general location.
10. Remove the lower control arm from the car. You will need to carefully hold the strut/brake assembly out of the way for this. A quick spray with some silicone lubricant in the pivot point of the control arm will make removal easier, but is not needed.
Installation of the GT500 style front lower control arm:
1. Position the control arm on the car. You will want to get the pivot point of the control arm in first.
2. Insert forward pivot bolt and secure with the nut.
3. Insert the ball joint into the steering knuckle. Ensure that the groove on the ball joint stud is aligned with the hole for the steering knuckle pinch bolt for proper installation. It may help to raise the control arm with a jack to push the ball joint up. If you do this, place the jack directly underneath the ball joint.
4. Put a small amount of blue Loctite or equivalent thread locker onto the steering knuckle pinch bolt. Insert bolt and secure with the nut.
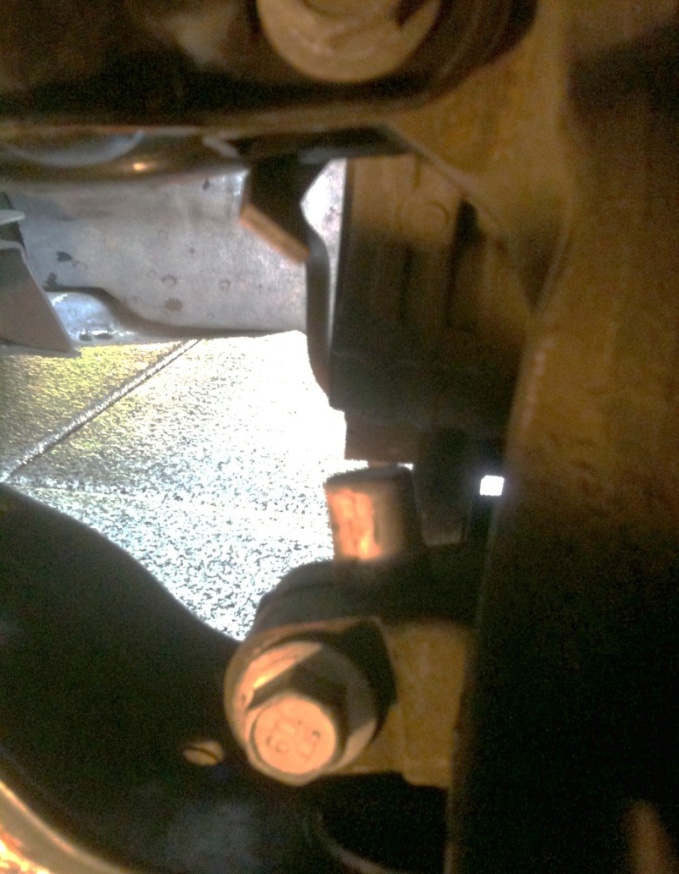
5. Install rear mounting bolts (flag bolts). These may be reversed from stock so that the flag bolts are on top and the nut is on the bottom to make installation easier, as shown in picture below.
6. Tighten forward pivot bolt and torque to 129 ft-lbs.
7. Tighten rear mounting fasteners (flag bolts) and torque to 129 ft-lbs.
8. Tighten ball joint to steering knuckle pinch bolt and torque to 79 ft-lbs.
9. Install steering gear to crossmember bolts and torque to 85 ft-lbs.
10. Put the wheel back on and install the lug nuts.
11. Jack the vehicle up high enough to remove the jack stands and then pull them out.
12. Lower vehicle enough so that the wheel cannot rotate, but do not take all of the weight off of the jack.
13. Torque the lug nuts to approximately 100 ft-lbs in a star pattern. After tightening each one, go in a circle and check each one.
14. Lower the vehicle all the way.
You are done!

Installation Instructions written by AmericanMuscle customer Stephen Mayo 10.24.11
Best Sellers
Related Guides
-
Installation
-
Installation
-
Installation
