


Installation Time
(approx) 2 Hours
Difficulty Level:
Mechanical expertise or professional installation required.
Installation Guides
- Customer Submitted:
- How to Install Ford Racing Front Lower Control Arms on Your 2005-2012 Mustang
 FREE 1 to 3-Day Delivery on Orders $149+ Details

$293.98 pair
CONFIRM THIS FITS YOUR VEHICLE!
Saved - View your saved items
We're sorry. We couldn't save this product at this time.
or use

Features, Description, Reviews, Q&A, Specs & Installation
| Brand | Ford Performance |
| Control Arm Type | Fixed |
| Control Arm Placement | Front Lower |
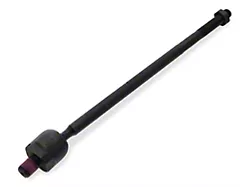
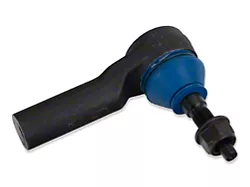
Enhanced Suspension Control. The Ford Performance Front Lower Control Arms are designed to improve the front suspension's strength and durability. They provide increased ball joint reliability and help maintain precise wheel alignment, enhancing handling and overall driving performance.
Construction and Appearance. These control arms feature reinforced construction with factory-grade ball joints for enhanced durability. They are assembled with high-quality materials and finished in a texture that provides corrosion resistance for long-lasting performance.
Installation. Installation is straightforward with no drilling required, but some fasteners may be one-time use which necessitates attention during removal. Basic mechanical skills and standard tools are sufficient to complete the upgrade.
Warranty. This product is backed by a manufacturer warranty for peace of mind.
Application. Specifically fits 05-09 Mustang V6, 05-10 Mustang GT, and 07-09 Mustang GT500 with the 18mm ball joint shaft configuration and excludes later models built after 8/3/09.
Technical Note. Reuses factory hardware for installation.
Ford Performance M-3075-E
CA Residents:  WARNING: Cancer and Reproductive Harm - www.P65Warnings.ca.gov
Installation Info
Installation Time
(approx) 2 Hours
Difficulty Level:
Mechanical expertise or professional installation required.
Installation Guides
What's in the Box
Tech Guides:
