 FREE 1 to 3-Day Delivery on Orders $119+ Details
Best Sellers


How to Install Hurst Billet Plus 2 Shifter - MT-82 on your 2011-2014 Mustang GT and V6
Installation Time
2 hours
Tools Required
- 10mm Deep Socket Ratchet with Extensions
- Lift, Ramp, or Jack and Stands
- 5/16" and 7/32" Hex Wrench
- Cutting Pliers
- Needlenose Pliers
Note
This guide is only for the Hurst MT-82 replacement. Do not follow this guide for other short throw shifters
.
Disassembly of stock shifter
1) Unbox everything. Hurst gives you a packing list of everything that should be in the package. Sort all the supplies out neatly on the table; this will make your installation fast and easy.
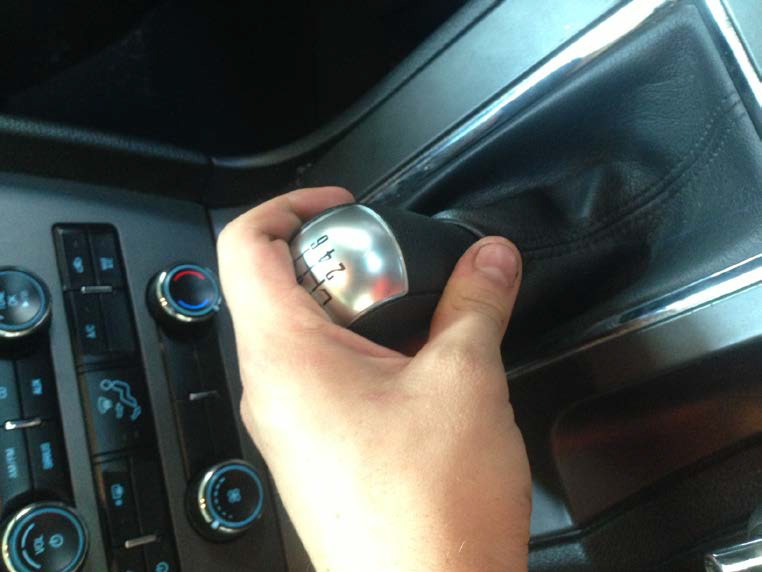
2) With the car on the ground, unscrew your shift knob, lefty loosie!
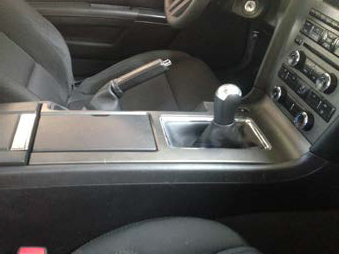
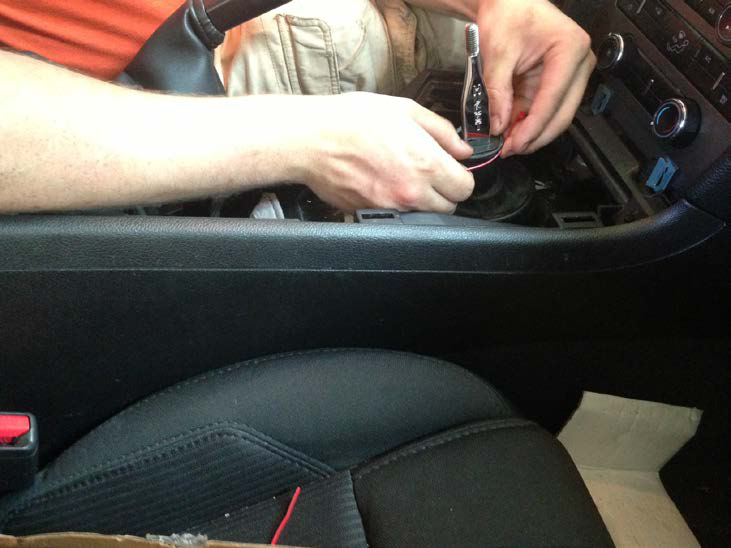
3) Open up the locking armrest compartment, and grab the center console from behind. Lift straight up, the clips will open nice and easy. The console slides straight back from the front.
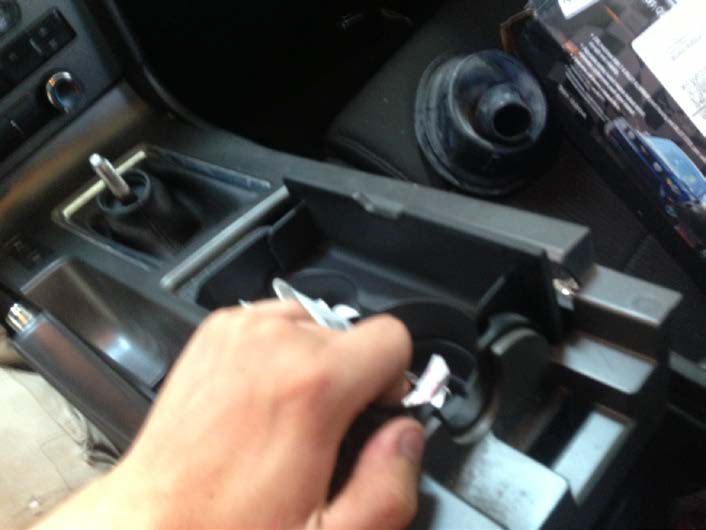
4) Before you take the console all the way off, you have to unclip the cable to your trunk buttons. Push the red clip open and let it be.
5) Now with the console removed you need to undo the two clips holding on the cable you just removed to get it loose and move it out of the way.
6) Now, take off the cloth-covered foam. Remember how these pieces go back in cause the can be a little confusing later.
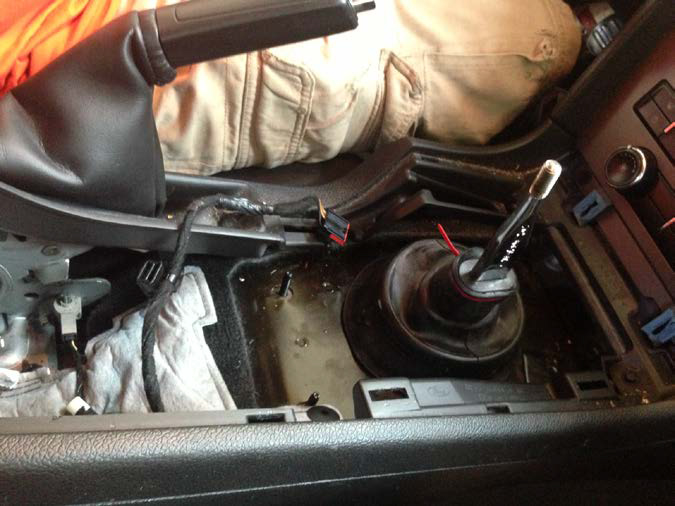
7) Now undo the rubber shift boot. It will come out of the oval ring and lift right off the old shifter.
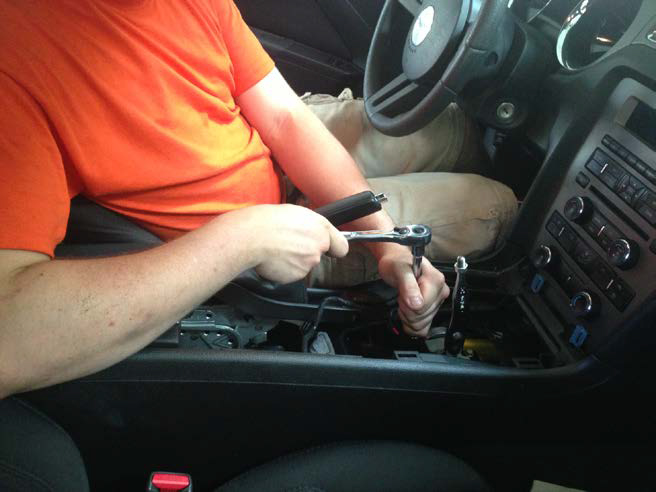
8) Take your 10mm ratchet and undo the 3 bolts that hold the shifter in that are reachable (top left and right, bottom left).
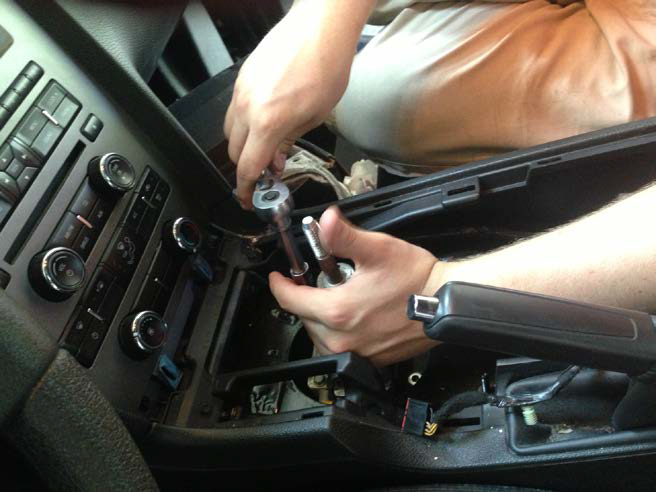
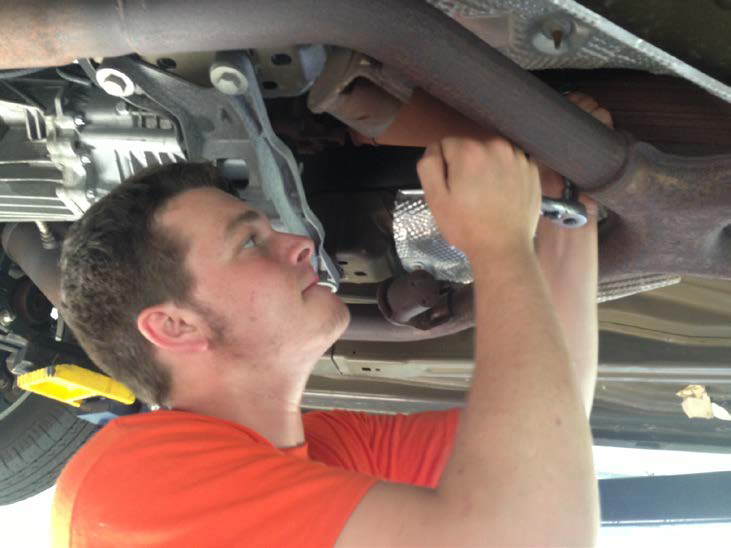
9) Lift the car. (lift or jack or ramp)
10) Under the car, you will see (2) 10mm nuts on long bolts holding the shifter bracket and bushing. I used two extensions and a deep socket with my ratchet. You can also drop the driveshaft and exhaust, but I do not believe that that is worth it.
11) With the bracket unbolted you are going to have to tug, wiggle or cut it off of the clip. This clip was used for manufacturing purpose only so it does not matter if it is destroyed or not.
12) With the bracket off, cut off the old zip ties and replace it with the new bushing Hurst gives you. It’s worth replacing because rubber wears down and the Hurst bushing helps firm things up.
13) Lower the car or climb into it.
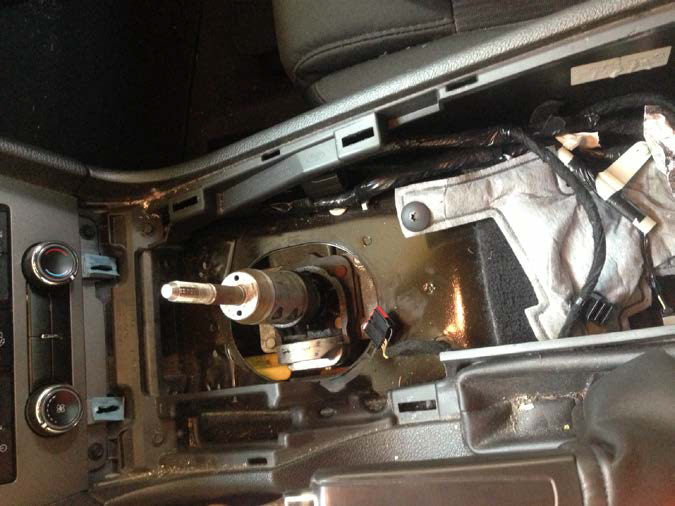
14) Using one hand (or a buddy), pull the shifter arm to the driver’s side and undo the last bolt. Remove the old factory shifter and do what you wish with it.
Installing the Hurst
15) Remove the little plastic bushing from the factory shifter, and with some of the supplied grease, put it on the bottom of the new shifter.
16) Flip the shifter over. It comes preset from the factory with a decent firmness in the spring lock out for reverse. I set mine firmer because I was nervous about ending up in reverse. It worked out just fine. Use a hex wrench to adjust it.
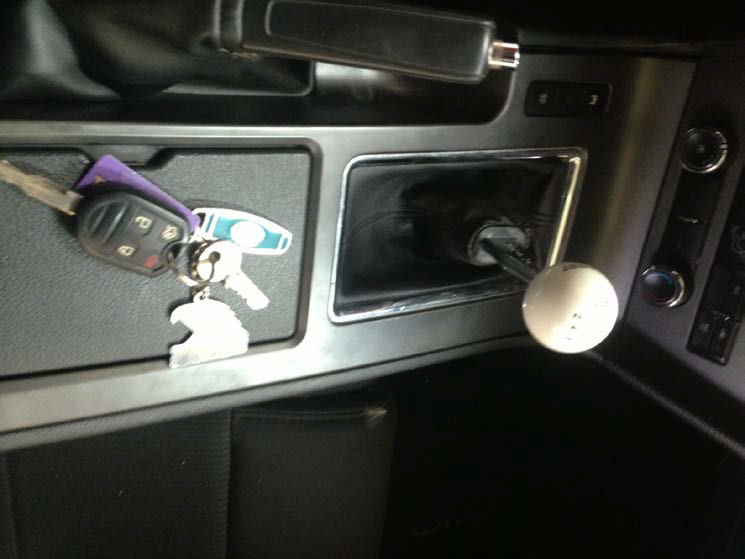
17) Decide whether you want to use the factory shift knob, put on the Hurst arm and knob. They feel great and look even better. Mount your arm of choice to the shifter base with the provided bolts and locking washers. Do not put on the shift knob yet.
18) Put down the shifter base gasket, text so you can read it. Place the shifter in, with the reverse lock out bolt on the driver’s side. Finger tighten all of the bolts, but make sure to tighten the bottom left bolt down firmly cause you cannot get to it later. Torque to 30-40 lb-ft.
19) Go under the car again (lift, jack, ramp).
20) With the remaining grease and some muscle, slide the new bushing assembly on to the shifter box. Use your ratchet, extensions and 10mm socket to tighten the nuts back onto the body of the car. Make sure they are tight, 40 lb-ft of torque.
21) Lower the car again. You are in the home stretch. Tighten the rest of the shifter bolts down again. Use your 10mm ratchet, and torque to about 30-40 lb-ft.
22) Slide the two plastic boot retainers tight onto the shifter arm, and put on the rubber boot. With the arrows on the boot facing forwards and backwards, secure the boot on with the provided zip ties.
23) Replace the cloth covered foam and clip it back in. Clip the console control cable back into place.
24) Have a buddy hold your center console up. If you don’t have any friends, it’s a little tricky. Use a zip tie to secure the dress boot upside down on the top boot retainer.
25) Slide the front mounts of the center console back in.
26) Push the console down to lock it in.
27) Screw on the shift knob.
28) Congrats! You are all done. Take it for a spin.
Installation Instructions Written By American Muscle Customer Alex Mitchell 9.1.2013
