FREE 1 to 3-Day Delivery on Orders $119+ Details
Best Sellers


How to Install Kooks Header and Off-road X-pipe Combo - Manual on your 2005-2010 Mustang GT
Installation Time
1 days
Tools Required
- 1/4” - Drive Ratchet
- 1/4” - Drive Extension 3”
- 1/4” - Drive Extension 6”
- 1/4” - Knuckle
- 1/4" - 1/2" Deep Socket
- 1/4” - 5mm Socket
- 1/4” - 5mm Deep Socket
- 1/4” - 8 mm Deep Socket
- 1/4” - 10 mm Deep Socket
- 1/4" - 13 mm Deep Socket
- 3/8” - Drive Ratchet
- 3/8” - Drive Ratchet (Flex Head)
- 3/8” - Drive Extension 3”
- 3/8” - Drive Extension 6”
- 3/8" - Knuckle
- 3/8" - 1/2" Deep Socket
- 3/8” - 9/16" Deep Socket
- 3/8” - 5/8" Deep Socket
- 1/2” - Drive Ratchet
- 1/2” - Breaker Bar
- 1/2” - Drive Extension 9”
- 1/2" - Knuckle
- 1/2” - 9/16" Socket
- 1/2” - 5/8" Socket
- 1/2" - 15mm Socket
- 3/8” - Ratchet Wrench
- 7/16” - Ratchet Wrench
- 1/2” - Ratchet Wrench
- 9/16" - Ratchet Wrench
- 5/8” - Ratchet Wrench
- 7/8” - Wrench
- 8mm - Ratchet Wrench
- 13mm - Ratchet Wrench
- Hammer
- Gasket Scraper
- Pry Bar
- Flat blade screwdriver
- Flashlight
- Razor Knife
SHOP SUPPLIES:
1 Can Penetrating Spray Lubricant (PB Blaster)
Exhaust System Removal
1. Use a penetrating spray lubricant on all exhaust fasteners and allow time for the lubricant to work.
2. Lift the vehicle and secure it on jack stands or a lift.
3. Disconnect the battery loosen the 8mm bolts and remove the terminals.
(8mm - Ratchet Wrench)
4. Remove the serpentine belt from the ac compressor. Use a 1/2" breaker bar in the end of the tensioner to relieve the tension.
(1/2” - Breaker Bar)

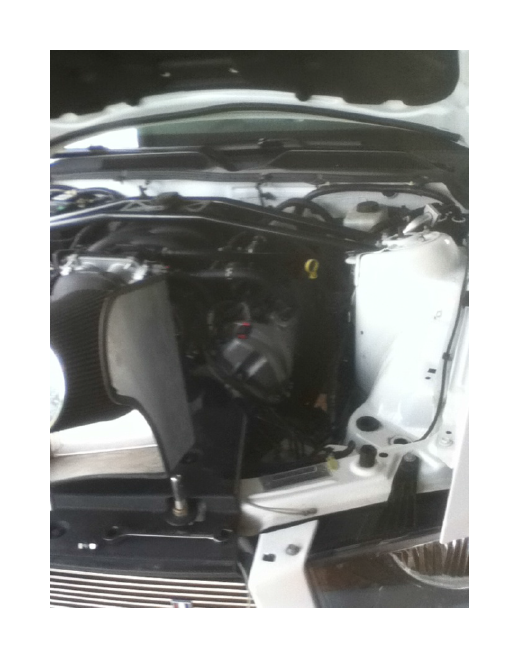
5. Remove the air filter and unbolt the air filter housing. Then, disconnect the sensor, loosen the clamp on the intake tube to the housing, and remove the filter housing from the vehicle.
6. Remove the 8mm bolt from the dipstick then pull straight up to remove the dipstick.
(1/4” - Drive Ratchet, 1/4” - 8 mm Deep Socket)
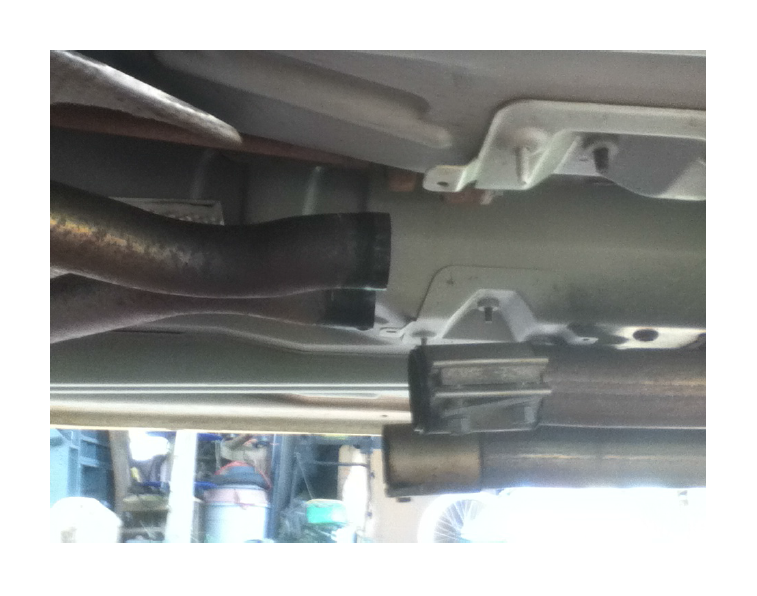
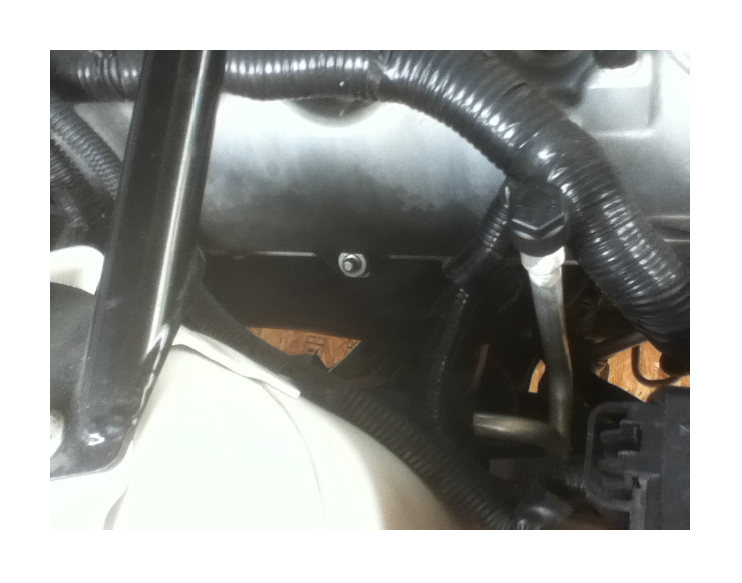
7. Loosen the clamps (9/16 nuts) located just behind the h-pipe. Using a flat blade screwdriver, pull the clip to disengage it from the pipe.
(1/2” - Drive Ratchet, 1/2” - 9/16" Socket, Flat blade screwdriver)
8. Disconnect all of the Oxygen sensor harnesses.
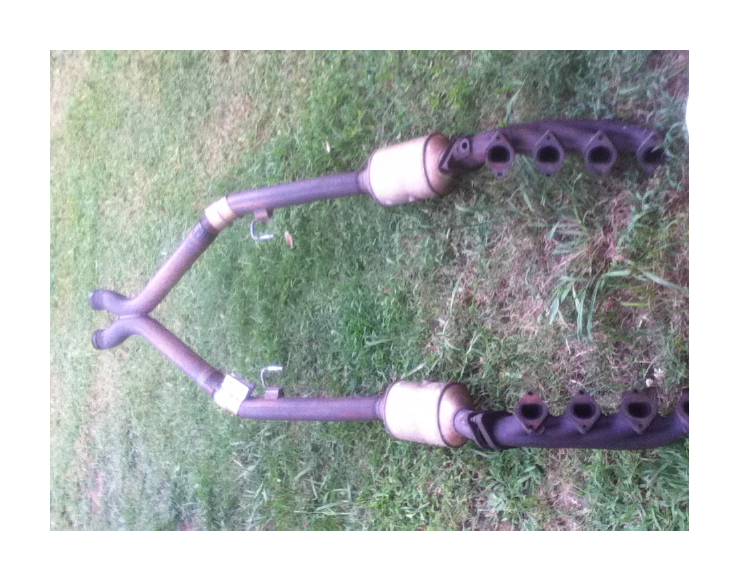
9. Remove the 4 - 15mm nuts from the flanges located just behind the catalytic converters, remove the hangers from the rubber isolators, and remove the catalytic converter/h pipe assembly from the vehicle.
(1/2” - Drive Ratchet, 1/2” - Drive Extension 9”, 1/2" - Knuckle, 1/2" - 15mm Socket)
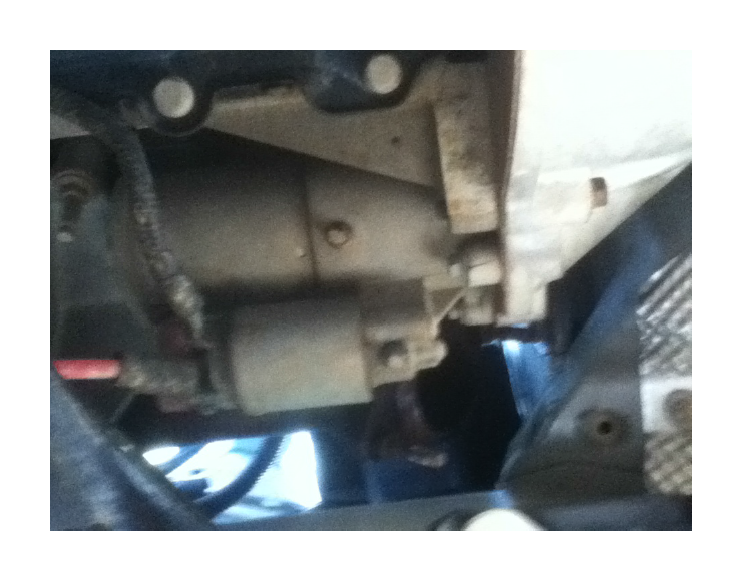
10. Disconnect the wiring, 13mm nut for the positive, 10mm nut for the negative, remove the (3-10mm bolts), and set aside the starter.
(1/4” - Drive Ratchet, 1/4” - Drive Extension 6”, 1/4" - 13 mm Deep Socket, 1/4” - 10 mm Deep Socket)
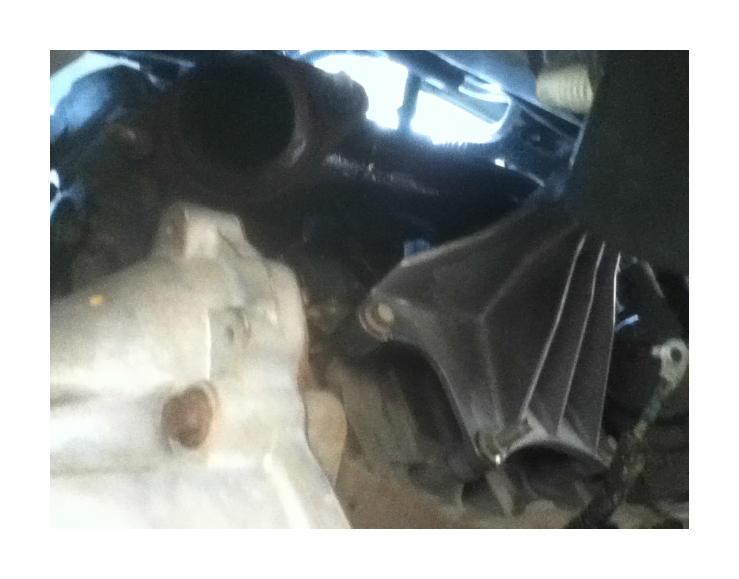
11. Remove the 1/2" bolt where the lower steering shaft connects to the rack and pinion.
(3/8” - Drive Ratchet (Flex Head), 3/8" - 1/2" Deep Socket)
12. Use a pry bar to collapse the lower steering shaft. Pry from the top side using the motor mount as leverage.
(Pry Bar)
13. Without disconnecting any hoses, unbolt (3-13mm bolts) the air conditioning compressor. Disconnect the electrical connection, and move it forward to allow you clearance.
(1/4” - Drive Ratchet, 1/4” - Drive Extension 6” 1/4" - 13 mm Deep Socket)
14. From the topside of the vehicle, remove the (8 - 1/2") nuts and (8 - 5mm) studs on the top side of the manifolds.
(1/4” - Drive Ratchet, 1/4” - Drive Extension 3”, 1/4” - Knuckle, 1/4" - 1/2" Deep Socket, 1/4” - 5mm Socket, 1/4” - 5mm Deep Socket, 1/2” - Ratchet Wrench)
15. From under the vehicle, remove the (8 - 1/2") nuts and (8 - 5mm) studs in the bottom of the manifolds. Then remove the exhaust manifolds.
(1/4” - Drive Ratchet, 1/4” - Drive Extension 3”, 1/4” - Knuckle, 1/4" - 1/2" Deep Socket, 1/4” - 5mm Socket, 1/4” - 5mm Deep Socket, 1/2” - Ratchet Wrench)
16. Use a gasket scraper to clean the face of the heads.
(Gasket Scraper)
17. Remove the oxygen sensors from the factory exhaust and mark their position
( 7/8” - Wrench)
Header Installation .
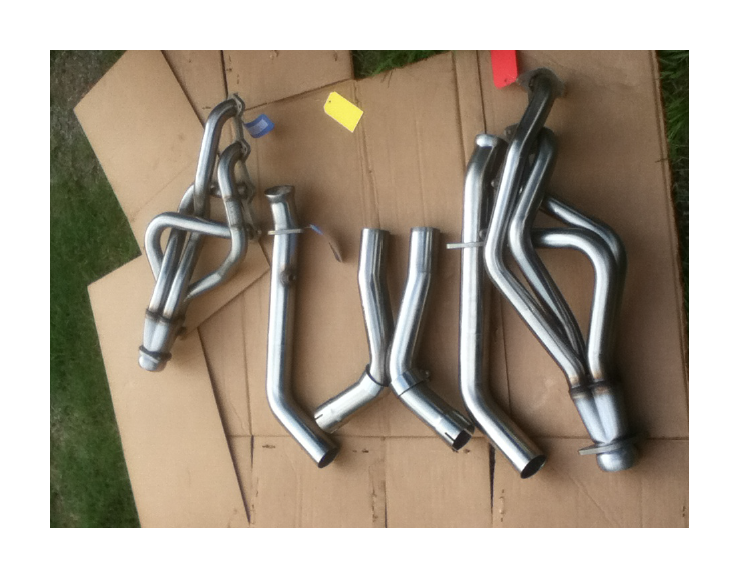
1. Using the supplied bolts, start the bottom four bolts then slide the header into position, setting it on the bolts.
2. Move to the top side of the car, slide the new gaskets into position between the header and the head. start the top four bolts.

3. Tighten all the 1/2" bolts to 13-23 ft. lbs. You will use several tools in this process to be able to access the bolts.
(1/2” - Ratchet Wrench, 1/4” - Drive Ratchet, 1/4” - Drive Extension 3” 1/4" - 1/2" Deep Socket)
4. Repeat steps 1-3 for other side.
5. Install the air conditioning compressor using the three original 13mm bolts . Reconnect the electrical connection.
(1/4” - Drive Ratchet, 1/4” - Drive Extension 6” 1/4" - 13 mm Deep Socket)
6. Extend the steering shaft back to the rack and pinion, you may need a hammer to tap back in place. Install and tighten the bolt.
(3/8” - Drive Ratchet (Flex Head), 3/8" - 1/2" Deep Socket, Hammer)
7. Install the starter using the three original bolts, then hook the wires back up.
(1/4” - Drive Ratchet, 1/4” - Drive Extension 6”, 1/4" - 13 mm Deep Socket, 1/4” - 10 mm Deep Socket)
8. Install the Oxygen sensors into the upper bungs (In the same position they were before.) and connect to the wiring harness. The extension is used on the passenger side, you will need to cut the alignment notches off the sensor.
(7/8” - Wrench, Razor Knife)
9. Connect the front half of the x pipes to the headers then install the x.
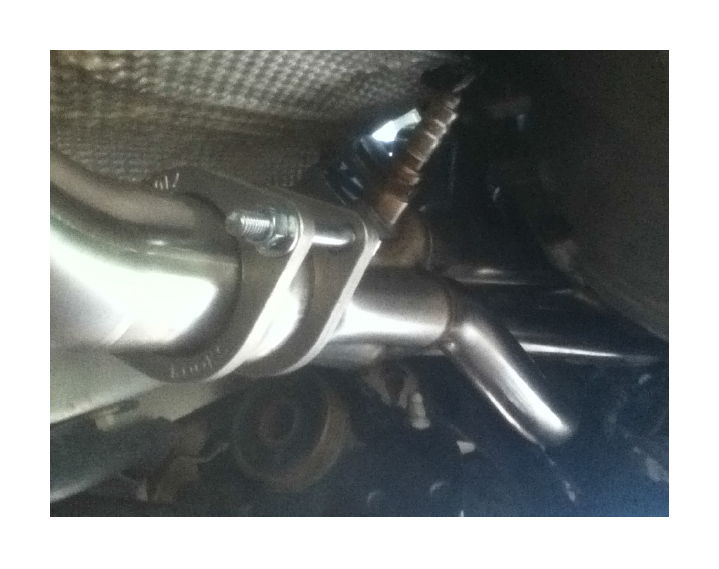
10. Connect the x to the existing tail pipes (make sure your exhaust tips are positioned where you want them) then tighten the bolts where it connects to the headers, then the mid pipes, and finally the tail pipes.
(9/16" - Ratchet Wrench, 1/2” - Drive Ratchet, 1/2” - 9/16" Socket, 1/2" - 15mm Socket, 1/2” - Drive Extension 9”, 1/2" - Knuckle)
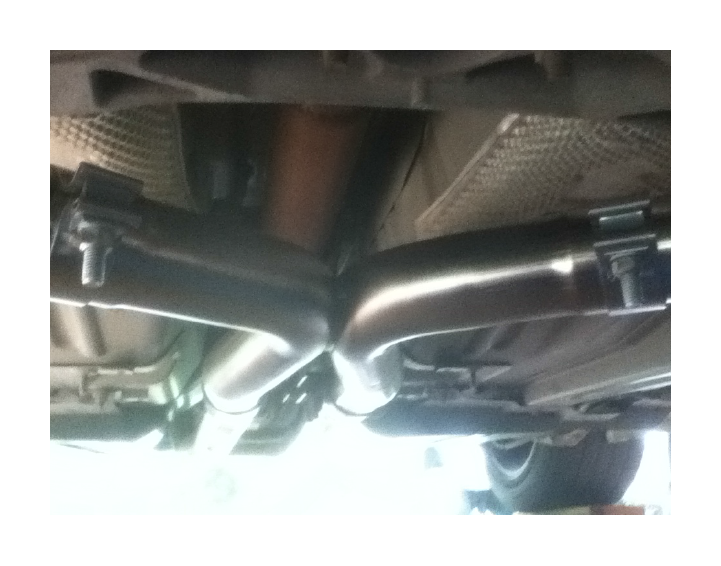
11. Check your exhaust system for proper clearance under the vehicle.
12. Install the Oxygen sensors into the lower bungs (In the same position they were before) connect to the wiring harness.
(7/8” - Wrench)
13. Install the dipstick using the original hardware.
(1/4” - Drive Ratchet, 1/4” - 8 mm Deep Socket)
14. Install the serpentine belt, reverse the removal procedure.
(1/2” - Breaker Bar)
15. Install the air filter housing and install the air filter into the housing.
16. Hook the battery back up
(8mm - Ratchet Wrench)
17. Start vehicle and check for any leaks. If any leaks are found repair as necessary.
18. Allow the exhaust to reach normal operating temperature and then turn engine off.
19. Allow the exhaust to completely cool and re-torque all fasteners.
20. Lower the vehicle.