FREE 1 to 3-Day Delivery on Orders $119+ Details
Best Sellers


How to Install MMD Decklid Panel on your Mustang
Installation Time
30 minutes
Tools Required
- Phillips & Flat Head Screwdrivers
- T15 Torx Bit & Driver
- Plastic squeegee or trim removal tool

Shop Parts in this Guide
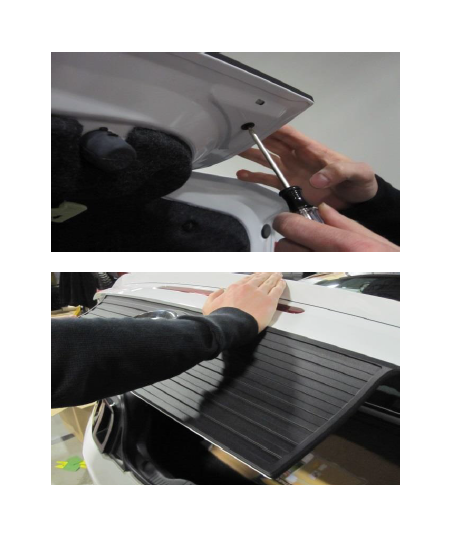
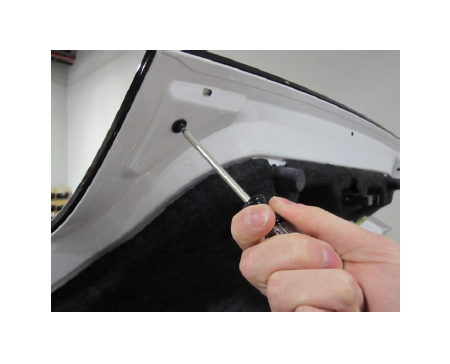
Step 1:
Using a T15 Torx bit, remove the two screws securing the factory panel from the inside of the decklid.
Step 2:
Using a plastic squeegee or similar, carefully pry between the panel and decklid to release the 12 factory clips. Once you pry the panel back slightly you should be abel to see the clips and where you need to place the tool.
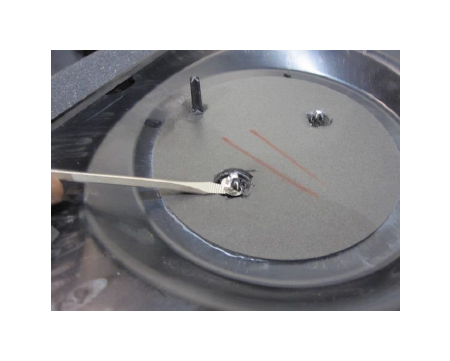
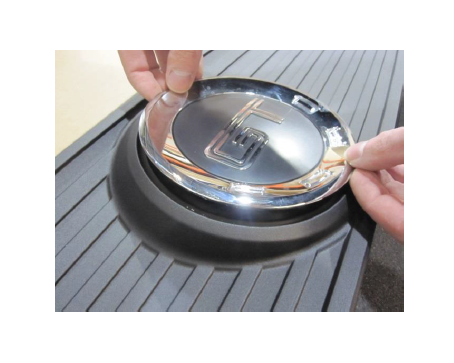
Step 3:
Remove the panel from the vehicle and place face down on a sheet or towel to prevent damaging the finish. Use a small flat head screwdriver or similar to gently pry the emblem retaining clips off as shown. It may help to pry the tabs open on the security clips before attempting to remove them.
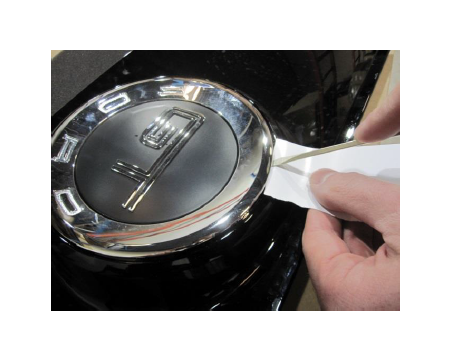
Step 4:
Once the clips are removed, turn the panel over and gently pry the emblem from the decklid as shown. Place something in between the panel and prying device to prevent damage.
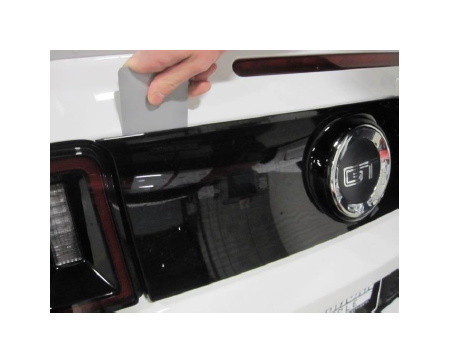
Step 5:
Place the emblem on the new decklid panel and secure with the clips removed in Step 3. Once secured, press down firmly to seat the adhesive tape.
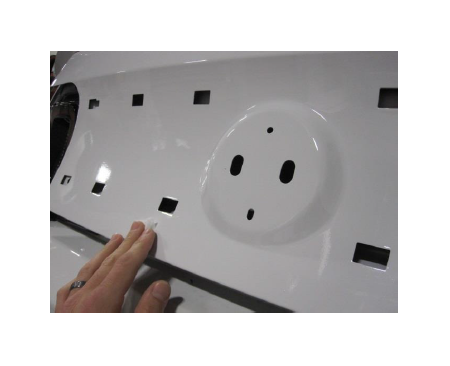
Step 6:
Thoroughly wipe the decklid of the vehicle with the supplied alcohol prep pads to ensure good adhesion of the tape.
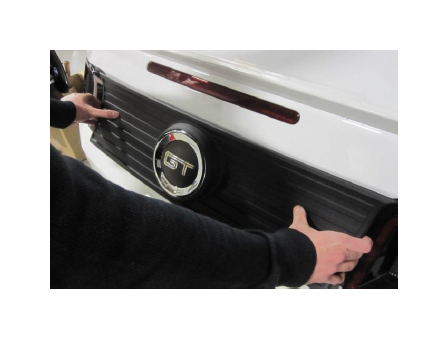
Step 7:
Remove the backing from the 3M tape and place the new panel over the decklid making sure to align the mounting holes with the factory provisions on the lower corners of the decklid. Do not press down on the panel to seat the adhesive tape just yet.
Step 8:
Install the T15 Torx screws removed in Step 1 as shown. Tighten until secure, being careful not to over tighten. Once the screws are installed and the decklid is properly aligned, press down firmly around the edges of the panel to fully seat the adhesive tape.