FREE 1 to 3-Day Delivery on Orders $119+ Details
Best Sellers


How to Install MP Concepts GT350 Style Rear Diffuser on your Mustang

Shop Parts in this Guide
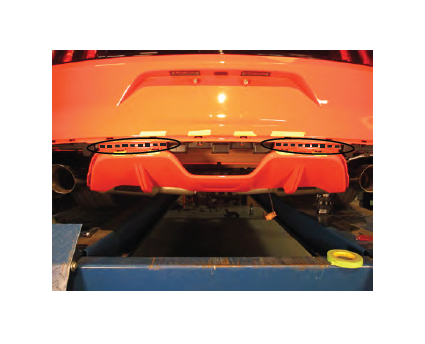
Step 1:
Jack the rear of the vehicle up and support with jack stands.
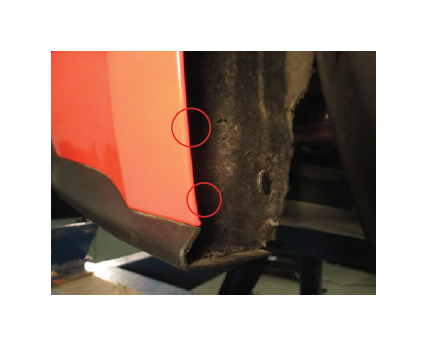
Step 2:
Remove two fender clips to gain access to one of the (3) 7mm bolt holding the rear trim piece to the bumper. The rest are accessible from under the bumper.
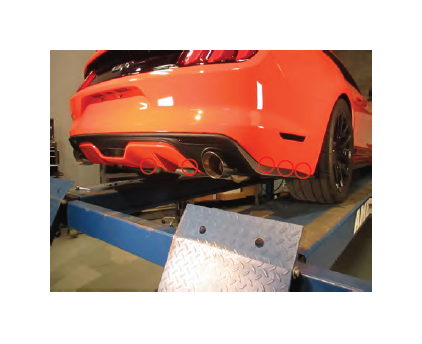
Step 3:
Remove the (3) 7mm bolts holding the trim panel to the outer edge of the bumper. There is also a 7mm bolt below the reverse lights, and a push clip on the factory diffuser. All fasteners are the same on either side of the bumper.
Step 4:
Applying light pressure, push the factory diffuser down for easier access to the upper reverse light bolts. Loosen the (4) 7mm bolts holding the reverse light to the bumper. Remove the plug from the light, then remove the light from the bumper.

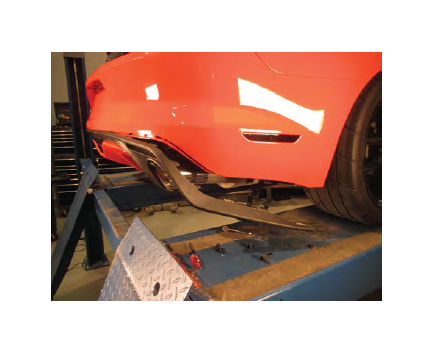
Step 5:
Apply firm pressure to remove the factory trim tabs from the bumper.
Step 6:
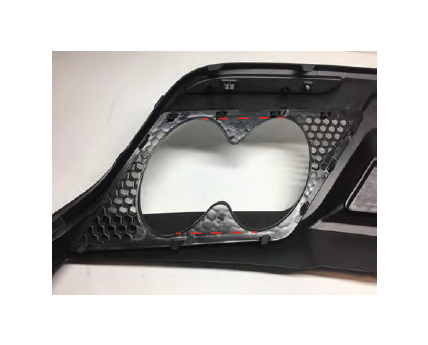
After the factory trim is removed, you will need to cut factory diffuser free from the bumper.
**NOTE: Use the dotted lines below as reference.
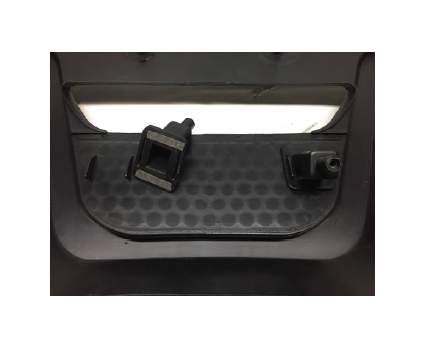
Step 7:
Install the supplied reverse light screw bosses using double sided tape. align the bosses with the tabs on the diffuser.
Step 8:
Install the reverse light using the factory screws.

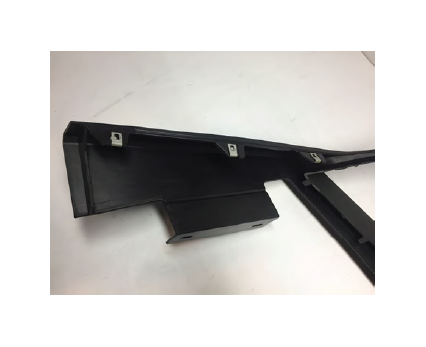
Step 9:
Transfer the screw clips from the factory diffuser trim panel to the new diffuser.
Step 10:
Transfer the reflectors from the factory bumper to the new bumper. They are held on with a 10mm nut.
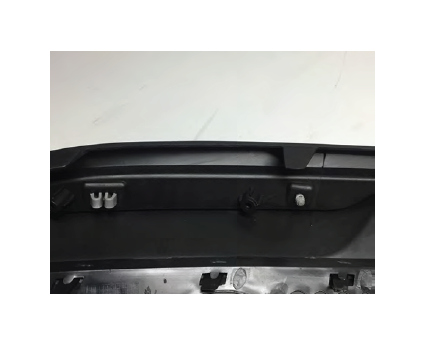
Step 11:
Install the mesh inserts by clipping them onto the diffuser clips. **Note: If using an aftermarket single tip muffler trim along the dotted lines below.
Step 12:
Reinstall the diffuser to the bumper in the reverse order.