 FREE 1 to 3-Day Delivery on Orders $119+ Details
Best Sellers


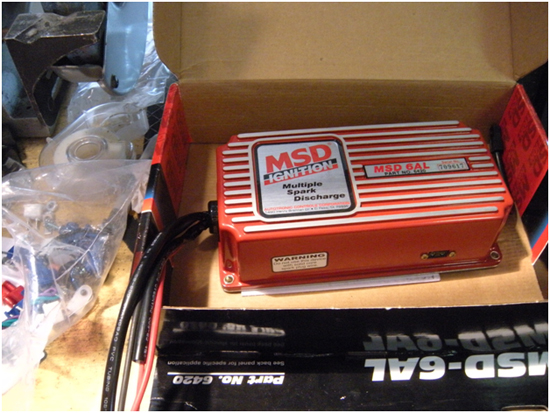
MSD 6AL Ignition Module w/ Rev Control - Installation Instructions
Installation Time
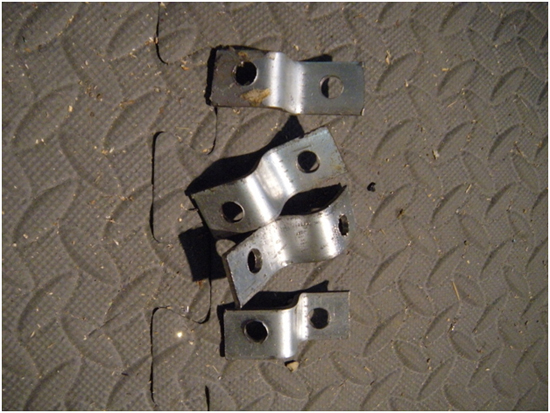
3 hours
Tools Required
- Phillips screwdriver
- Standard screwdriver
- box wrench (to remove battery cables)
- Electrical tape
- Zip ties
- Mounting hardware
- Wire loom tubing 6-8 feet
- *If youre mounting box more than a few feet from the coil, you will need these supplies to extend wiring
- Wire strippers
- 4 feet 10 gauge black
- 4 feet 10 gauge red
- 8 feet 16 gauge black
- 8 feet 16 gauge red
- Wire crimp connectors (10 gauge-18 gauge)
Installation
1. It is a good idea to hook up the box and make sure everything works FIRST, before you mount it and splice any wires. Before starting work, remove negative battery cable first, and then remove positive cable.
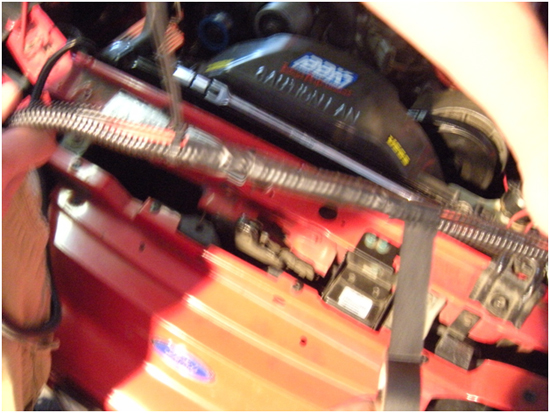
2. Your box needs to be mounted in a place that is away from extreme heat and liquids. The most common places are in the glove box, down by the ecu, or (if you have relocated your battery to the trunk) where the battery would go.
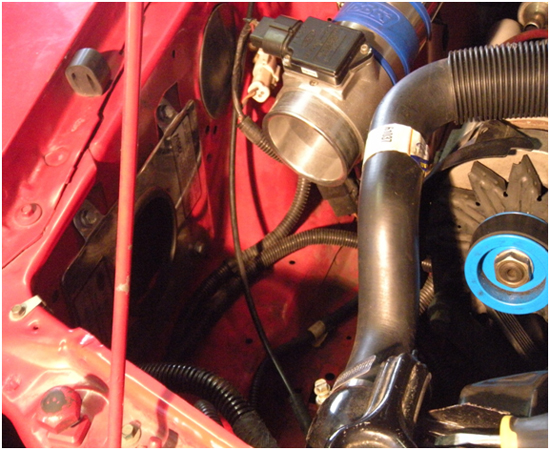
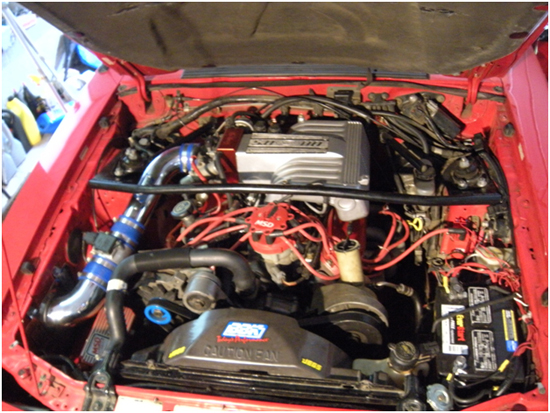
3. With my car’s engine compartment layout, it was hard to find a place to mount the box since I have not relocated my battery and I don’t want to lose glove box space. I decided to mount the box right under the air intake pipe of my BBK cold air intake.
4. Since this position is close to my headers, I decided to wrap the box with heat insulation wrap to protect it from the heat. Doing so will greatly extend the life of the part.
5. First, I made mounting brackets. They are just simple pieces of steel that I bent into shape and drilled to make an easy bracket to hold my ignition box. Or you can also purchase mounting plates online for around $30-40.
6. To access to the mounting location, it was necessary to remove the lower intake pipe and filter assembly.
7. After positioning the metal brackets to the correct angles (angling the box at about a 45° angle) I used a magic marker to mark where to drill my holes.
8. Next drill holes in the marked locations.
9. Using a ¼”x1” nut and bolt set, secure the brackets to the sheet metal into the new holes
10. Don’t forget to use the black rubber vibrations dampeners (supplied) when mounting the box.
11. Replace the air intake pipe and filter
12. I only had about a ¼” gap between the air intake piping and the MSD box, so I used a small piece of rubber to keep them from rubbing and scratching one another.
13. With the box in place and mounted, now it’s time to wire it up.
14. First you must cut the connectors that are already attached to the supplied wiring.
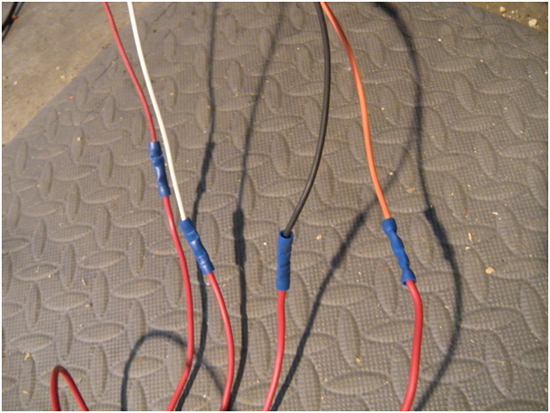
15. The supplied wiring isn’t very long, so I added about 4 feet to each wire
16. When you add length to the wiring, you must use a higher gauge wire to extend it (10 gauge for battery wires, and 16 gauge for the rest)
17. Next I lengthened each wire by 4 feet using the wire stripper and wire connectors (I only had red 16 gauge wire around so I used that and marked the ends with electricians tape so I would know which is which. Using the correct colored wire will make things much easier for you.)
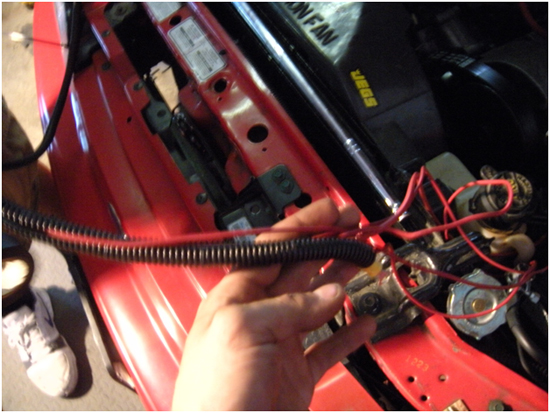
18. Once you have your lengthened wires, you will need to route all of the wires around to the coil and battery.
19. Next, take off the top radiator support brackets
20. Slip all the wires into a wire loom tube, and use electricians tape, or zip ties, to keep the wiring tight and secure in the tubing
21. Slide the tubing down in front of the radiator (there should be tubing there from the factory as well) If possible, secure the new tubing to the existing tubing so that it’s not touching the radiator
22. Replace the radiator support brackets
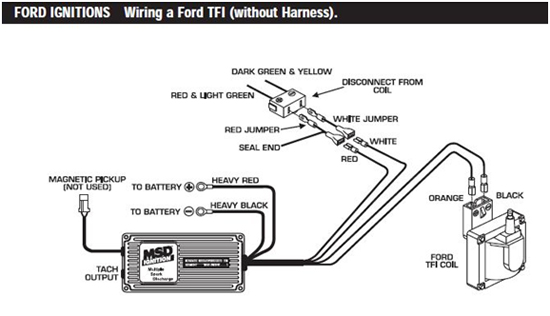
23. There is an optional wiring harness available from MSD p/n 8874 that will plug straight into the coil and make this part much easier.
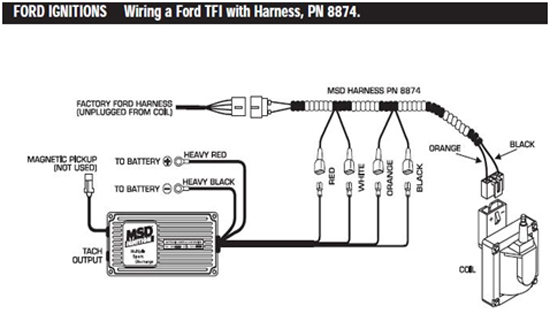
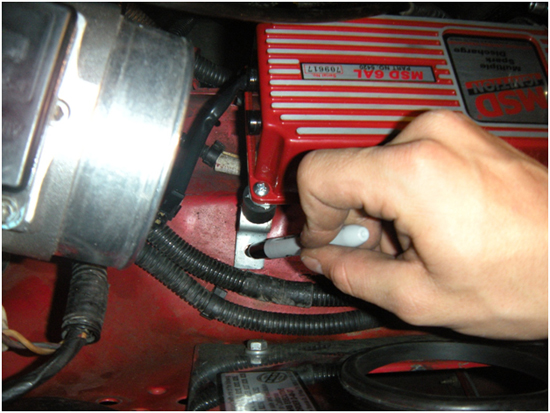
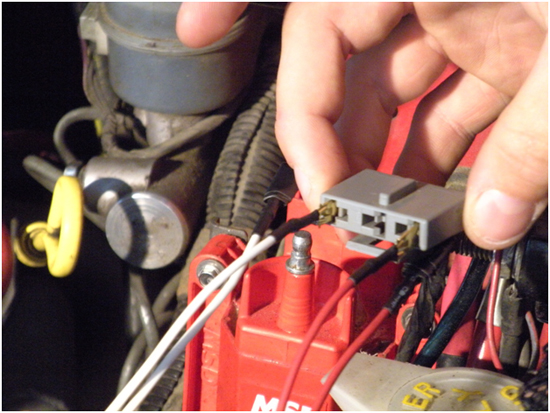
24. Next, you will need the 2 jumper connectors (supplied)
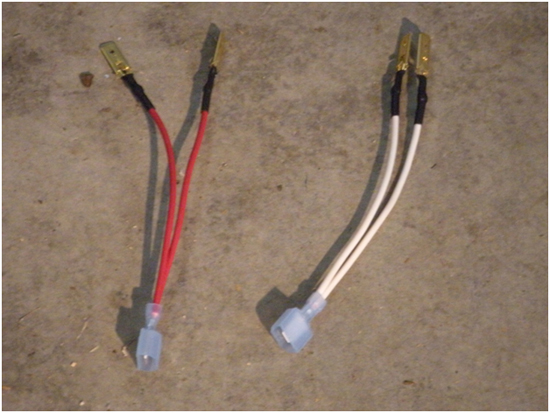
25. Unplug the connector from the coil, and insert the red jumper to the left ( ) pin, and the white jumper to the right (-) pin. I used electricians tape to tape off the unused wire. (in the picture, look at the orientation of the plug to tell which pin is positive and negative)
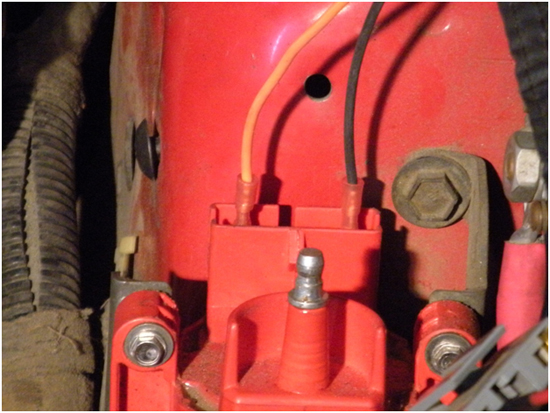
26. The wires that were red and white coming out of the box connect here
27. The orange and black wires coming out of the box, will connect to the coil.
28. Orange wire connects to the left pin( ) in the coil. Black wire connects to the right pin(-) in the coil
29. Finally, connect your POSITIVE battery cable first.
30. Then connect the negative battery cable
31. Now you can connect the heavy 10 gauge Red ( ) wire that is coming from the box to the battery.
32. Then you can connect the heavy 10 gauge black (-) wire coming from the box to the battery.
33. Check all connections and make sure that no wires got damaged in the process.
34. Now start up your mustang to make sure everything is working
35. If it doesn’t run, check all wires and connections and make sure that you didn’t mix up any of the sets of wires. The booklet included with your ignition has all the troubleshooting information you will need.
36. To set rev limiter, insert the jumper with desired RPM number into the side of box. Included jumpers were 3000, 6000, 7000, and 8000.
37. Secure all loose wiring with zip ties, wire loom, and/ or electrical tape.
38. Enjoy your new horsepower and fuel economy!
Installation: Optional Theft Deterent:
1. The MSD 6AL comes with a theft deterrent feature that lets you flip a switch, and won’t let the car start.
2. Plug in the short Purple/green wiring into the magnetic pickup socket
3. Using any regular toggle switch, connect the purple wire to the switch, and connect the switch to ground.
4. When the purple wire is grounded, the car will turn over, but not start
Installation instructions provided by AmericanMuscle customer Noah Baker 5.25.10
