 FREE 1 to 3-Day Delivery on Orders $119+ Details
Best Sellers


How to Install Axle-Back Exhaust (11-14 GT) on your Ford Mustang
Installation Time
60 minutes
Tools Required
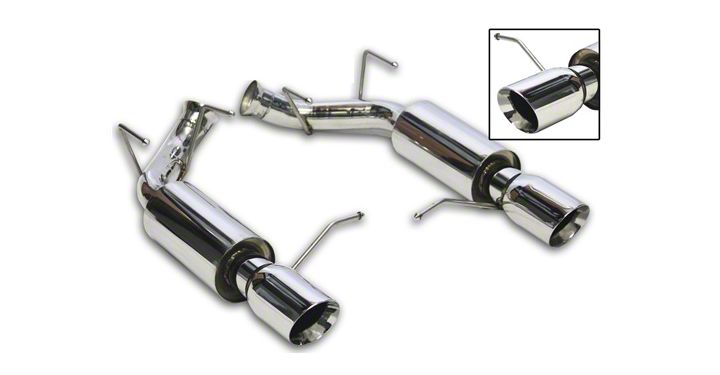
- Axel-Back Exhaust Am part # 398966
- 13mm Socket
- Jack and Jack Stands (optional but recommended)
- WD 40 or similar lubricating oil (for clamp bolts and rubber hanger)
- Safety Glasses (to prevent falling debris and or rust from getting to eyes... AGAIN HIGHLY RECOMMENDED)
Shop Parts in this Guide
Installation Notes, Pre-Installation notes:
Warning:
1.When working on, under, or around any vehicle exercise caution.
2. Please allow the vehicle's exhaust system to cool before removal, as exhaust system temperatures may cause severe burns.
3. If working without a lift, always consult vehicle manual for correct lifting specifications.
4. Always wear safety glasses and ensure a safe work area.
Installation Instructions:
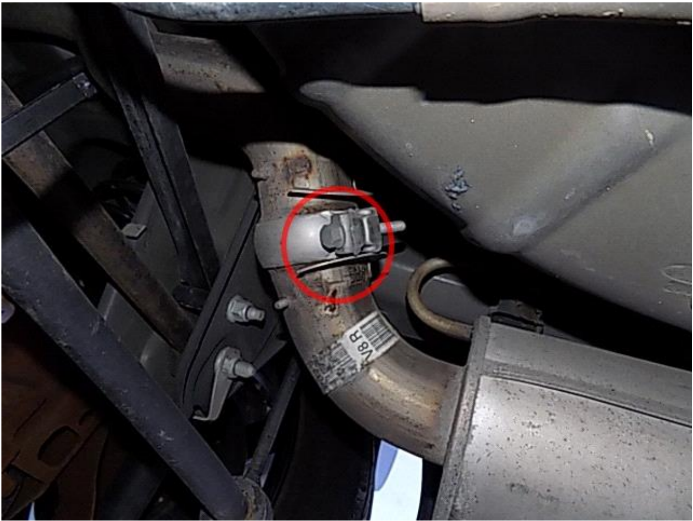
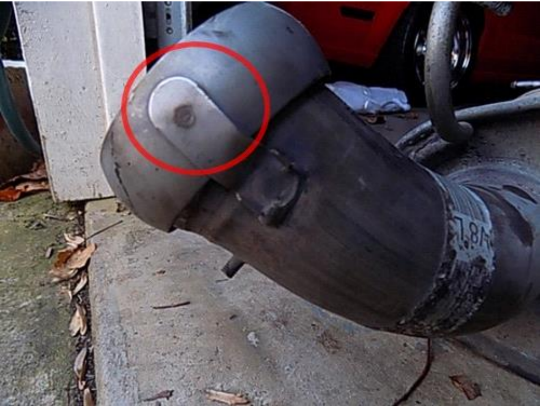
Step one: Choose a side passenger or Driver and raise that side up according to vehicle manual.....Use 13 mm socket to loosen the clamp of the Axel-Back Exhaust and the over the Axel Pipe as seen in the picture, loosen as much as possible then disconnect the exhaust from the pipe.
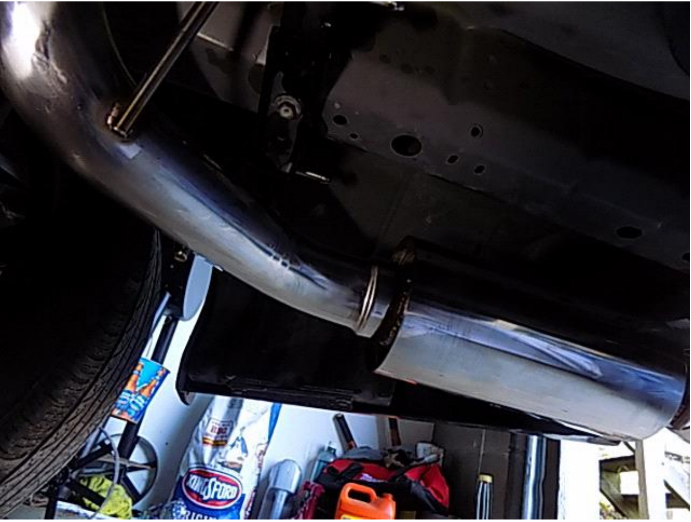
Step 2: There are 3 hangers on the Axel-Back Exhaust..... 1 on the rear of the exhaust (bumper) and the other 2 on the front of the exhaust (near the axel).
Step 3: Remove REAR most hanger first (with safety glasses on) spray some Lubricating oil on in the rubber hanger (makes hanger removal easy) once removed allow muffler to rest.
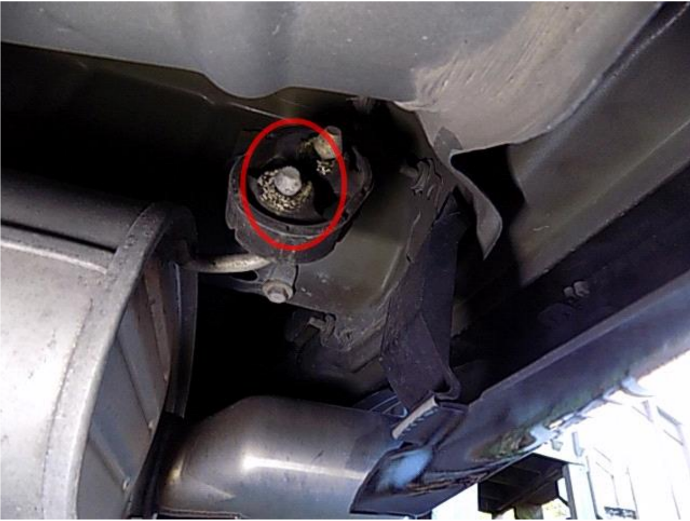
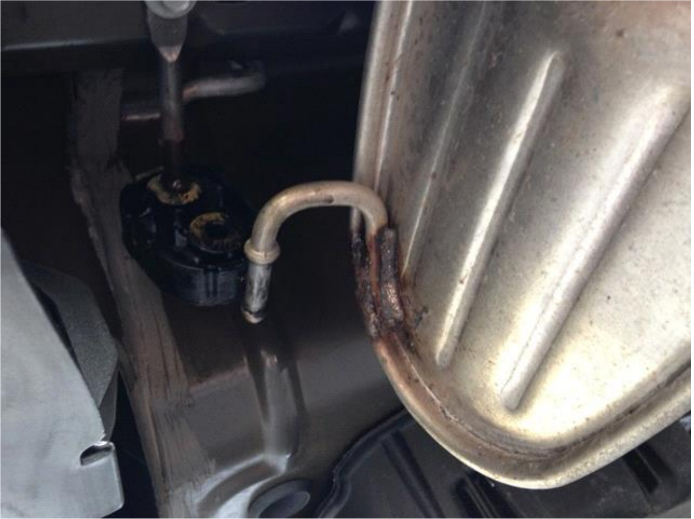
Step 4: Remove the 2nd set of hanger pins (pushing slightly to the front of vehicle, again Lubricating spray comes in handy) some maneuvering will be required, once removed the exhaust will drop freely.
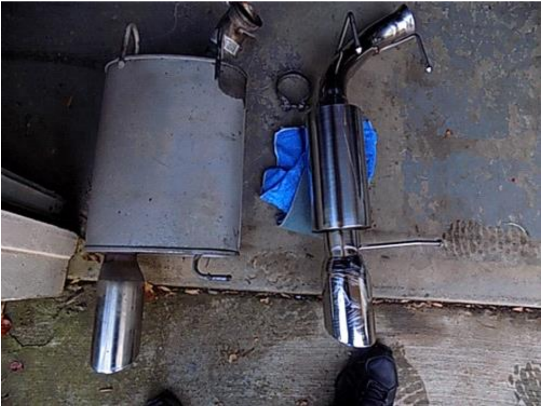
Step 5: Once removed, the clamp from the exhaust will need to be removed, as clamp is need for installation of new Axel-Back exhaust. Cut the tab or wiggle the clamp back and forth to break the tab.
Step 6: Once Clamp is removed, slide it over the new exhaust.
Step 7: Installation is in reverse order, Attatch the rear hangers first and then the front hangers (again lubrication oil helps).
Step 8: Connect the align the new Axel-back exhaust and the over the axel pipes and snug the 13mm bolt down (do not competly tighten as you want to make sure the new exhaust is centered and level and the rear valance.
Step 9: Once centered and level Torque the clamp bolt to 32-35 foot pounds.
Step 10: Once that side is complet take a moment and examine wires, brake hoses, rubber bushings in shocks, sway bar, examine inside tires for wear and my personal favorite clean the inside of your wheels....once you have gave a once over lower the vehicle and repeat steps 1-10 for the other side. Start the car and check for any leaks and ensure the exhaust isnt loose in any way..... Enjoy!
Installation Instructions Written by AmericanMuscle Customer Edward Newton 12/04/18
