 FREE 1 to 3-Day Delivery on Orders $119+ Details
Best Sellers


How to Install a GT500 Style Rear Spoiler on your 2010-2013 Mustang
Installation Time
2 hours
Tools Required
- 10mm Socket
- Scotch Blue Painter’s Tape
- Phillips-head Screwdriver
- 40lb Fishing line
- Quarters wrapped in painters tape (or any other type of shim)
- Utility Knife
- Alcohol Prep Pad
- Goo gone (optional)
- A buddy (optional)
- Gloves (recommended)

Shop Parts in this Guide
Installation
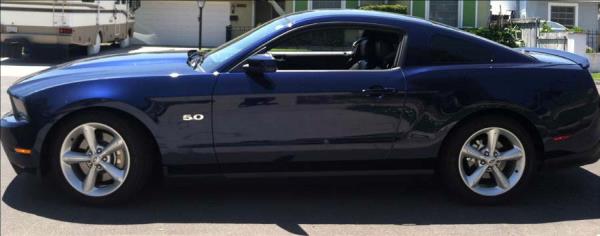
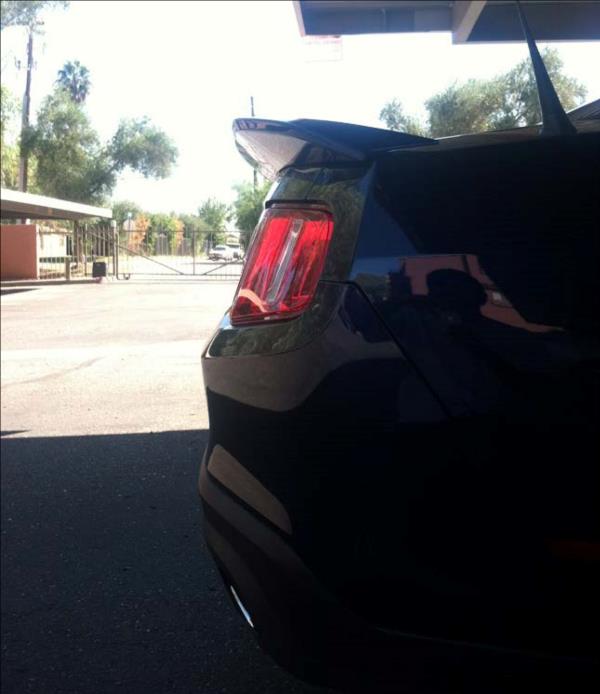
1. Begin by admiring your car one last time with the OEM lip spoiler as it will soon be replaced by your newly purchased, more aggressive GT500 style spoiler
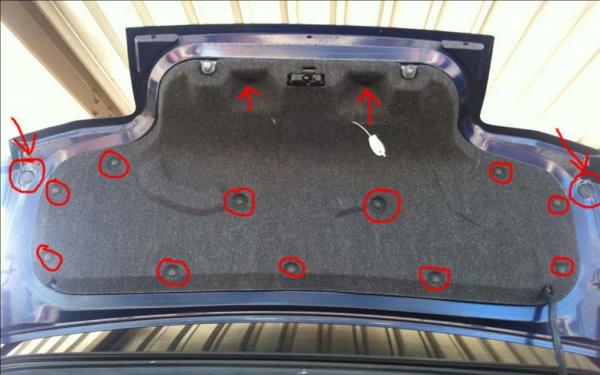
2. Pop your trunk to reveal the 13 pins holding your trunk liner into place (shown below, highlighted in red). The two rubber grommets (marked with both circles and arrows) will also need to be removed and should simply pop off by wedging your fingernail or any other thin object underneath
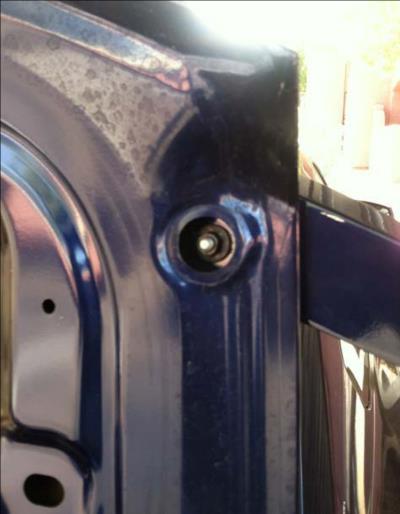
3. Once the trunk liner is removed you will then notice four (4) nuts that will need to be removed. They are all the same size and can each be removed using your 10mm socket. The nuts under the rubber grommets will be labeled below as (A) and the same bolts, just under the trunk liner, will be labeled as (B). They will all be highly recognizable once the trunk liner and grommets are removed.
(A)

(B)
4. After removing the four nuts (the bolts will remain in place) start by masking the areas around the factory lip spoiler. This will be done to assure no damage will be done to your paint while you are cutting through the adhesive holding the factory spoiler in place.
5. (This is when the gloves will come in handy) Once the vehicle is masked start on your side of choice using the 40lb fishing line and begin sawing through the adhesive until you can’t go anymore. You will know when this point is because you will continue to saw only to have your fishing line break, due to the bolt that is left in place from the factory spoiler. At this point lift up the lip spoiler as much as possible and place a shim underneath to prevent the spoiler from again adhering to the deck lid.
6. Now, get out your utility knife. Slowly and carefully cut any of the adhesive that you can see sticking up on the side of the spoiler you shimmed. Then, once again slowly and carefully begin cutting through the adhesive in the middle section of the spoiler.
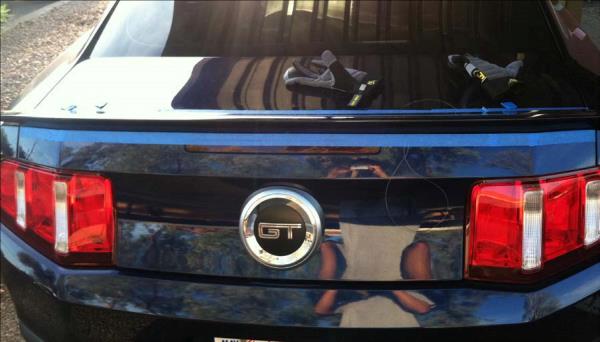
**USE YOUR UTILITY KNIFE AS LITTLE AS POSSIBLE TO PREVENT ANY SCRATCHING. The easiest way to cut through the adhesive is with the fishing line, the same way you would if you were flossing your teeth. Once you reach the point when you can thread your fishing line through both sides of the spoiler, DO SO (as shown below)
7. Once you have cut through the entire adhesive in the middle, repeat the process you began with to cut through the adhesive on the opposite side you started.
8. When the entire adhesive has been removed, the spoiler should simply lift off. The next step in the process is to remove the residue left behind you weren’t able to remove with the spoiler. This can be done in one of two ways:
- a. Use your finger(nail) to rub off the adhesive. It’s not on there and this is certainly a viable option, but will take some time.
- b. Your second option is to use the well-known product Goo Gone. Simply follow the instructions on the bottle and you will have it off in no time.
9. Once the entire adhesive has been removed, go over the area with an alcohol prep pad to promote better adhesion.
** At this point you are ready to begin the installation process
10. Remove the red film protecting the adhesive on your new GT500 spoiler. (A second pair of hands will come in handy at this point to help you properly align the location of the your new spoiler).
11. Lightly touch the spoiler to the deck lid once you have found the proper location. This can be done by lining up the end of the spoiler to the end of the deck lid and also by aligning the indentation in the center of the spoiler with the third brake light. Ultimately you want to ensure the holes on the underside line up and the best way to do so is by having your buddy lightly hold the spoiler in place while you check on the underside of the deck lid.
12. Using the supplied screws and your Phillips-head screwdriver, loosely tighten the outermost screw once you have checked the alignment then repeat the process on the other side. At this point you should be able to tackle the rest of the job on your own.
13. Screw in the remaining two (2) screws, making sure not to over tighten and most importantly, making sure not to drop them in between the deck lid.
14. Now, refer back to step two (2) of the instructions and repeat the process, only in reverse order.
15. Finally, you’re done! Now stand back and admire the new, aggressive rear end of your ride.
Installation Instructions provided by AmericanMuscle Customer Kevin Glover 10.23.2012
