 FREE 1 to 3-Day Delivery on Orders $119+ Details
Best Sellers


Mustang Replacement Floor Carpet ('94-'04) - Installation Instructions
Installation Time
4 hours
Tools Required
- Basic Socket Set
- Metric Socket Set
- 15mm Wrench or Adjustable Wrench
- Phillips Head Screwdriver
- Flathead Screwdriver
- Scissors
- Sharp Knife or Blade
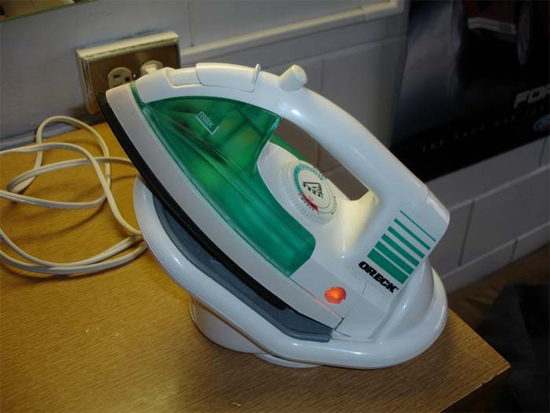
- Steamer or Iron w/ Built-in Steamer
- T-50 Torx Bit
- Pick
- Vacuum Cleaner
Shop Parts in this Guide
Installation
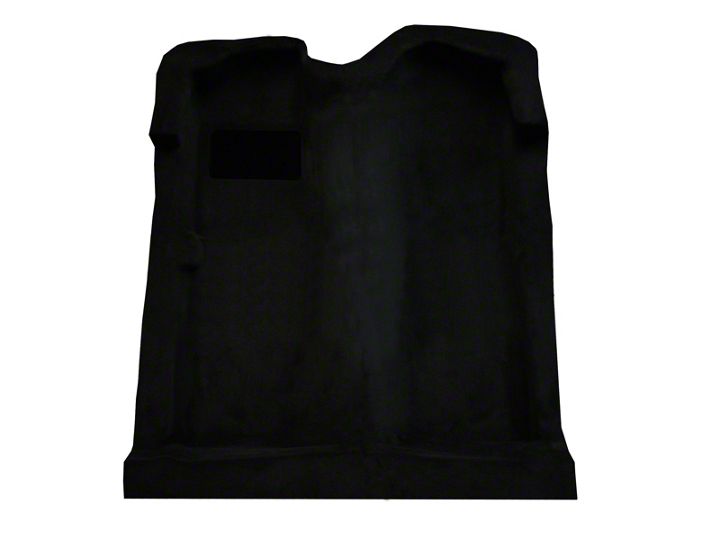
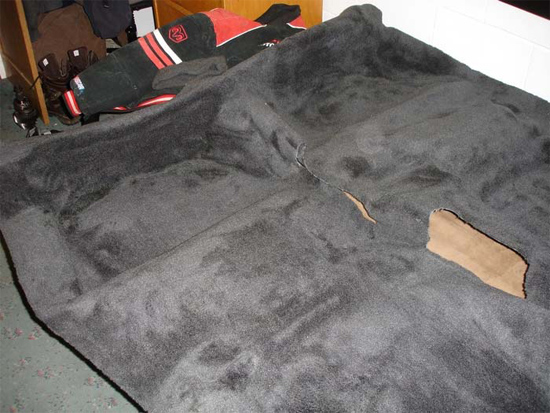
1. Your first step will be pulling out that new carpeting you got and spreading it out. Once you have it on the floor all spread out, look for any abnormal cuts in the carpet and make sure it is in one piece. If there are any abnormalities, call the company ASAP. They will not warranty anything that has been cut or trimmed.

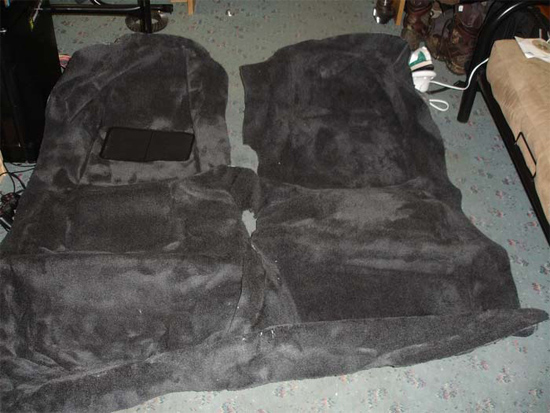
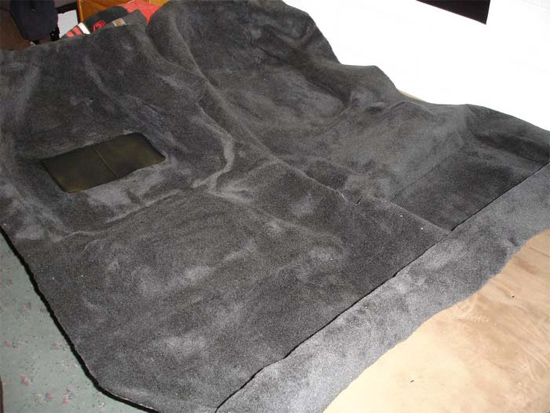
2. Now we start the work. First thing is to start up that steamer or the iron. When it's warm, you can begin by working your way from the front of the carpet to the rear. What you are doing is "ironing" out all the wrinkles in the carpet and kind of helping it form back into the shape it will be when it goes into the car. You will use the steam to help slightly melt the glue on the back of the carpet and then use your other hand to push the carpet back into the shape and smooth it out. This will be time consuming so I decided to do it before putting it in the car, so I wasn't bent over in awkward positions in the car while trying to use the iron.

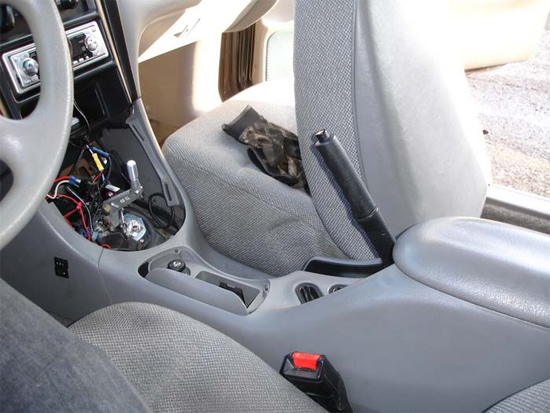
3. After you have finished straightening out the carpet, you can head out to your car and begin there. First thing we are going to do is pull the center console. It might be easier to pull the seats first, but I didn't find it very hard to pull everything with the seats still in.
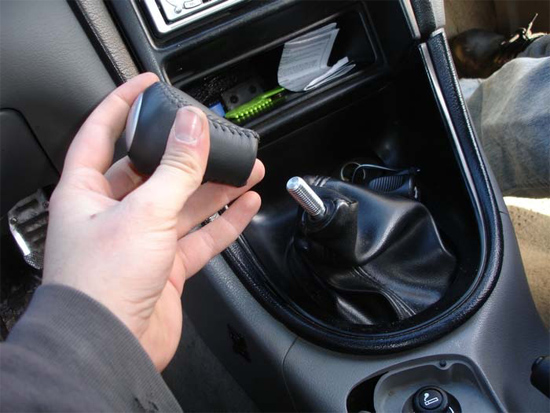
4. You can pull off the shift knob and boot. The boot comes off with a firm pull upwards. (I'm not sure how the automatics are, but I'm sure the basic principle applies: pull the automatic handle off and take out the shifter cover).
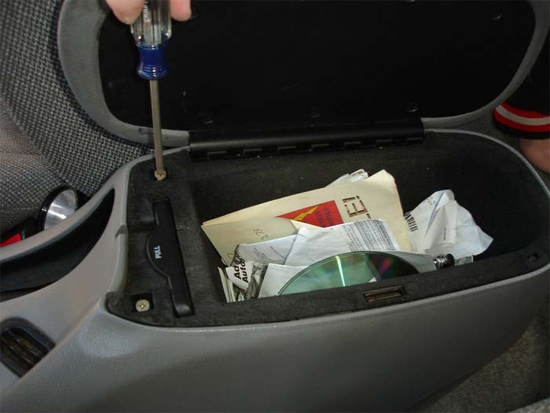
5. Next, pull out the center console cubby. There are two screws holding it in, and they are covered up with some rubber pieces. Then pull upwards on this and it will pop right up and out.
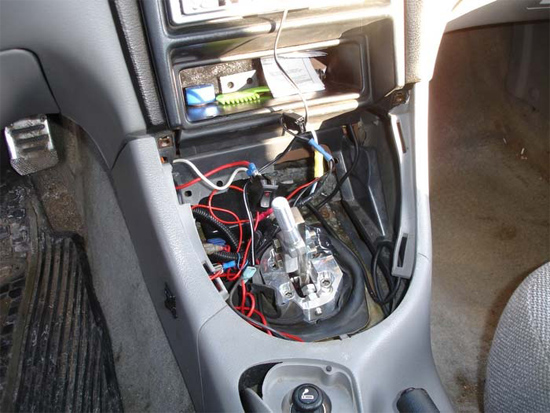
6. Now, pull the e-brake handle as far up as you can get it. There will then be two screws where the shifter boot was. These are holding it into the dash. (Mine were broken off and are not there.)
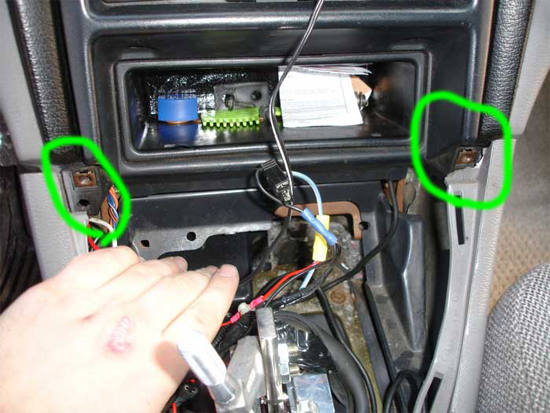
7. There are two more bolts to take out, where the center console cubby was. Take these out as well.
8. Now this gets tricky, taking the center console out. I found it easiest to pull the console a little towards the back and then tilt the back end up. While doing this, either your or a friend should disconnect the wires for your fog lights, and also the cigarette lighters, if applicable.
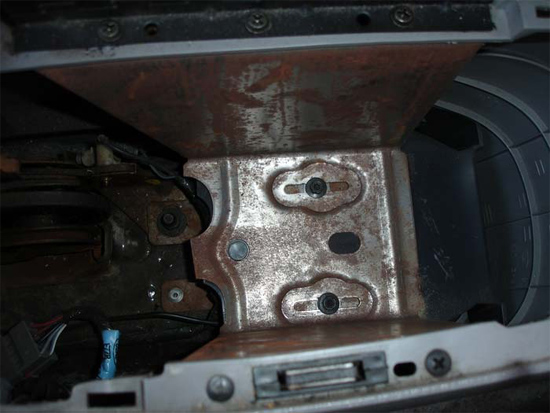
9. The hard part is done and you can take out the seats. There are two bolts on the front of the track and also two on the back. They are both 15mm. Take the four out and lift the seats up and out. If they are electric seats, make sure to disconnect any electrical wires before yanking the seats out.
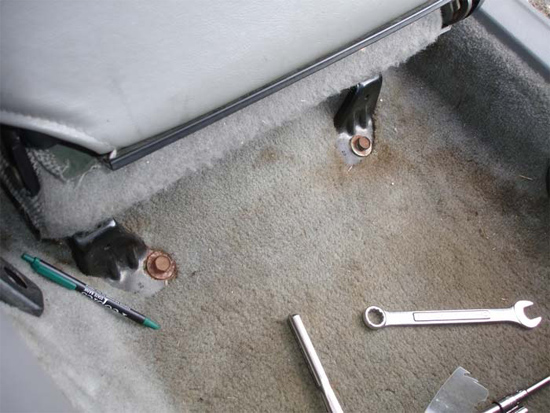
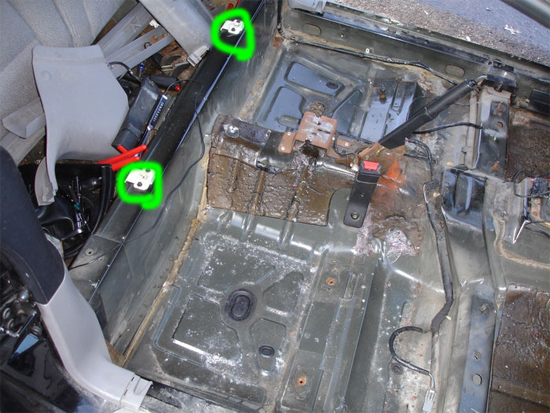
10. There are now four seat belt bolts to take out. These can get a bit tricky. They take a T-50 Torx bit that you can get at any auto parts store, if you don't have one. I would recommend getting one from a company that has a warranty on their tools. Sometimes these bolts can be very stuck and you will break the bit trying to bust the bolts loose. There are two of these where the front belts lock into, and then there are the two next to the door sills where they are anchored.
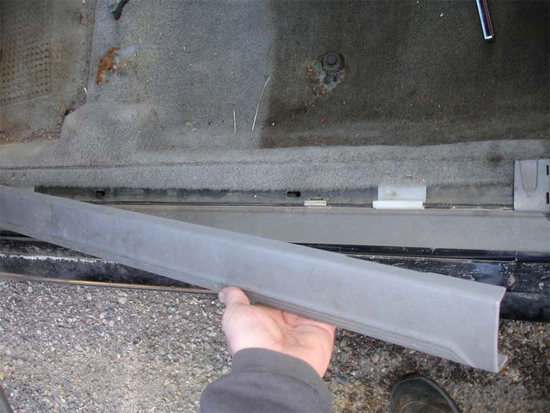
11. Start taking out the trim at this point. The door sills pull straight up and off. They may need some persuasion from underneath with a screwdriver because there are metal clips that hold them down and they can be very hard to let loose.
12. You can then pull the kick panels from each side. There is one plastic push pin on each one, and if you can get your hand up and underneath the kick panel, it will pull straight out with a little force.

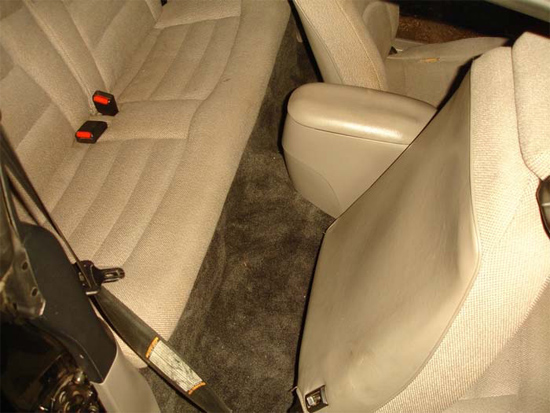
13. Now you can pull the rear seat. There are two clips under the seat that allow it to pop up. In the middle of where each person sits in the back, there are two white clips; one on each side. Get a screwdriver and push these in and lift up on the seat. The rear seat should come up and out with no problem.
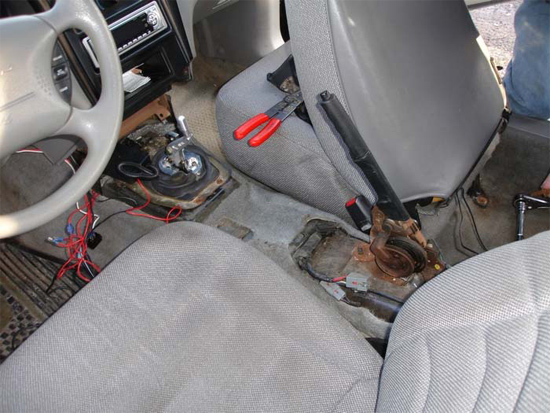
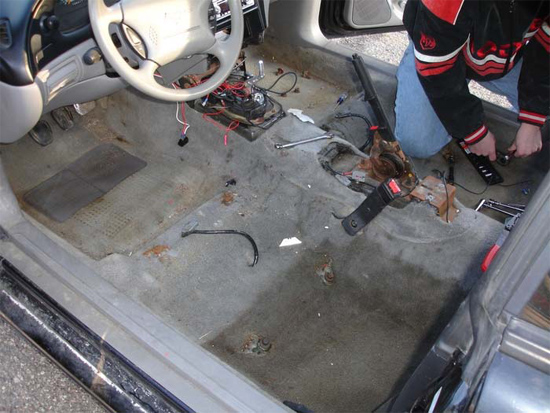
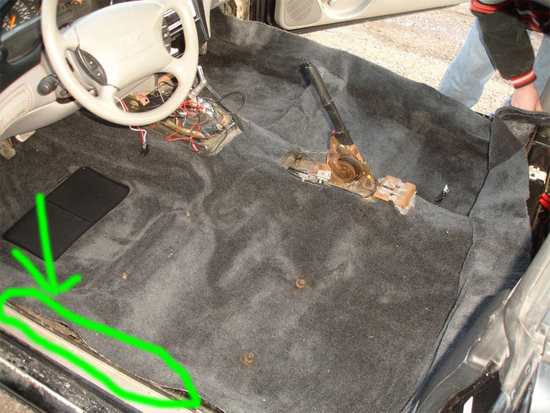
14. You can finally pull up that ugly, stained carpet. You can rip it right out, or you can roll the front towards the back and try to collect as much dirt and dust as you can as you pull it out.
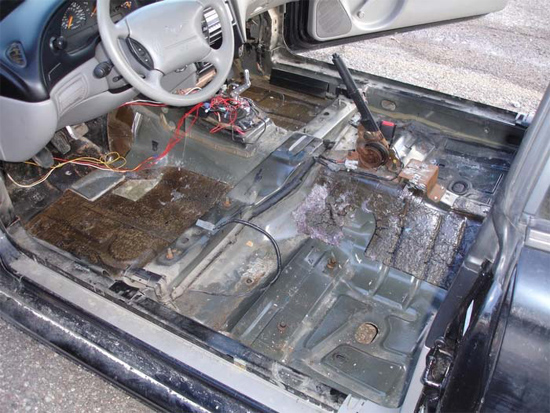
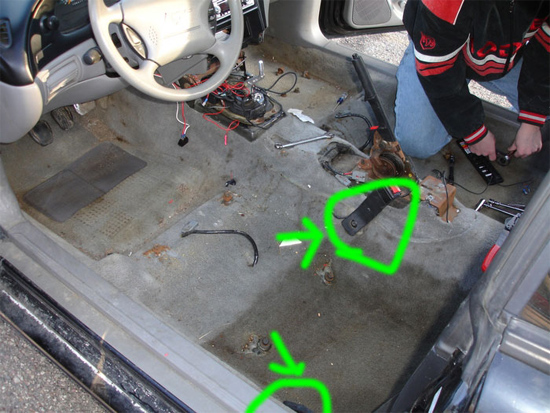
15. Now would be a great time to clean out underneath the carpet. Grab the vacuum and suck up everything in there. Make sure you have all of the rubber grommets too. If you can see the ground from inside the car, make sure to go get one, I was missing my driver’s side one where the passengers feet go, as you can see in the previous picture.
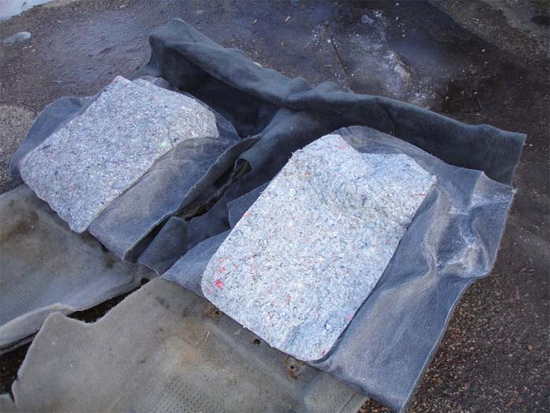
16. If you are also interested in putting down sound deadening material, this would be a good time to do it. If you have any type of wires running in your car, this would be a good time to route them underneath the carpet to hide them and keep a nice clean look.
17. Grab the new carpet. Roll the carpet up so that the front is laid out, in half, and folded over on itself. Then bring it into the car.
18. Now comes the fun part. Lay the carpet in the car and spread it all out. Once it's laid out, you can see where you will start to need to trim some excess off and also where you will need to cut holes. The first thing I found is that you will need to cut it in the middle, towards the back, so the carpet will settle all the way down. Be careful not to cut too far and always double and triple check what you are going to cut.

19. Once that is done, you have a general idea of where the center is. You may have to pull the carpet to one side or the other to center it and so you have enough carpet on each side of the car so you don't short yourself on either side.
20. Next you are going to need a sharp pick, like a punch, but thinner so you can find the holes for the bolts for the seats and the seat belts. Start probing around with the pick and find the two holes for the back two bolts for the seats. Once found, keep the pick where it is and use your knife to cut a small "X" in the carpet. You may need to cut through the padding underneath too. Once you do this for each hole, put the bolt into the hole and tighten it down a couple turns to hold the carpet in place. Also, push down on the carpet where the front two bolts are and cut a small slit for those to protrude out of the carpet.

21. Then you should also cut some holes for your power seat wires, if applicable.
22. Now that you have done that for both seats, you can start trimming your carpet. The side of the carpet should be about 3/4" from the door sill on both sides. You will see where the holes are for where the door sills snap back into the floor. You want to make sure those are exposed.
23. Once you get that all straightened out, you can worry about the seatbelt holes. Grab your pick again, and find the hole for the inside seat belt buckle and then also where the seat belt is held down near the door. Cut some small holes for those and put them in.
24. Next, you can start cutting the carpet for where your feet go and the kick panels. I didn't have to cut much off, but make sure you can push your gas, brake, and clutch pedal all the way to their full positions. Also, you may need to cut a hole in the carpet where the kick panels are, so that you can push the plastic pin back in.
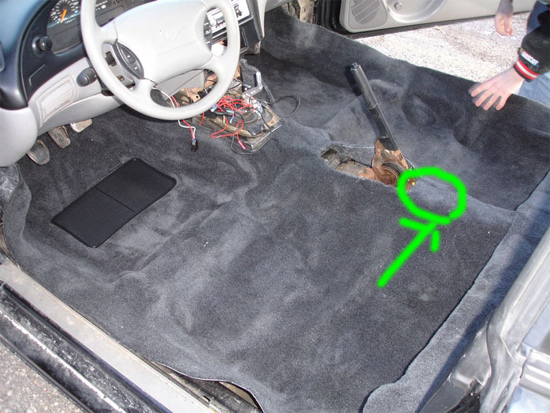
25. Once you get the kick panels back in place, you can then start with the back of the carpet in the backseat. Make sure the back carpet is folded over where the rear seat goes, and cut out a section of the carpet so that the rear seat will be able to clip into the white clips on the floor.
26. Then push the carpet underneath the rear side interior panels. If you can't get it under them by hand, you can use a screwdriver to push it under. Or, if you need to, take out the interior pieces in back, (which can be a big pain) and then put the carpet in.
27. After these are all set, you can put the door sills back in and most of the trim pieces are all in place.
28. Now you can start putting interior pieces back in. Slide the center console back into place and bolt it down. Attach the shifter boot and shift knob.
29. Before you put the seats back in, you can go through with your steam iron again to help push the carpet into its final form inside the car.
30. Put the rear seat back in, and then the front seats. Make sure to tighten everything down really well. You wouldn’t want your seats shifting around while you’re driving.
31. After everything is tightened up, go ahead and admire your new carpet. No eating or drinking in it now!
Installation instructions provided by AmericanMuscle Customer William Lukas 2.16.09
