 FREE 1 to 3-Day Delivery on Orders $119+ Details
Best Sellers


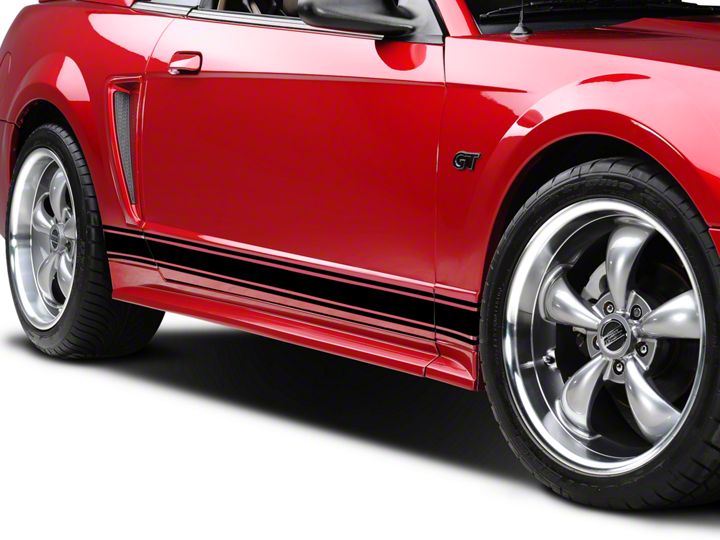
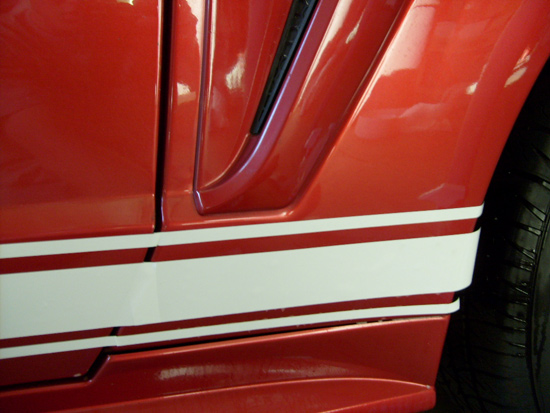
Mustang Rocker Stripe Installation Guide
Installation Time
60 minutes
Tools Required
- Scissors (x1)
- Razor blades (x2)
- Paper towels (x1)
- Full bottle of Windex cleaner (x1)
- Ruler (x1)
- String (x1)
- Hair dryer (x1)
Shop Parts in this Guide
Installation
Note:Allow the car to sit in the shade or garage for about 20 Mins to cool the surface before you begin. You should not install the Rocker Stripes in direct sunlight.
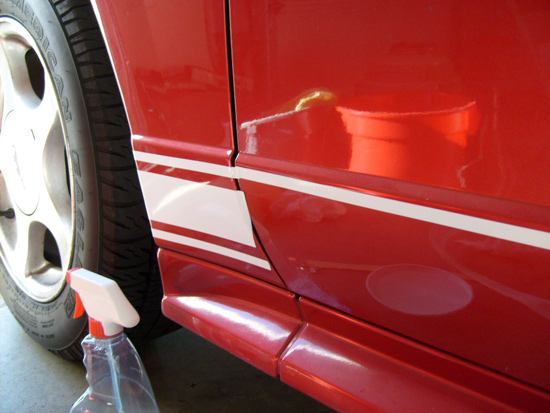
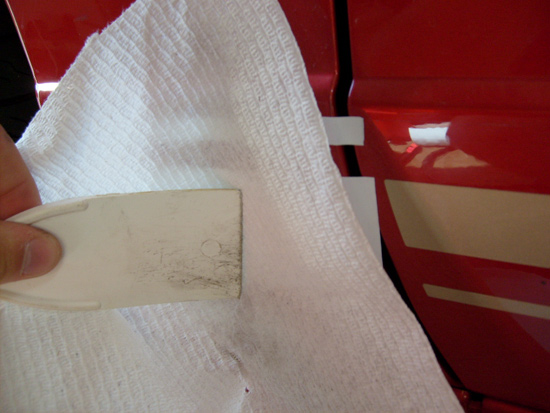
1. To remove the original or old rocker panel stripes, hold a hair dryer up to the edge of one of the decals and count to ten. Remove the hair dryer and peel the old rocker panel stripe away with your finger nail so as not to scratch the finish on the car. Continue this process until all of the original rocker panel decals have been peeled off.
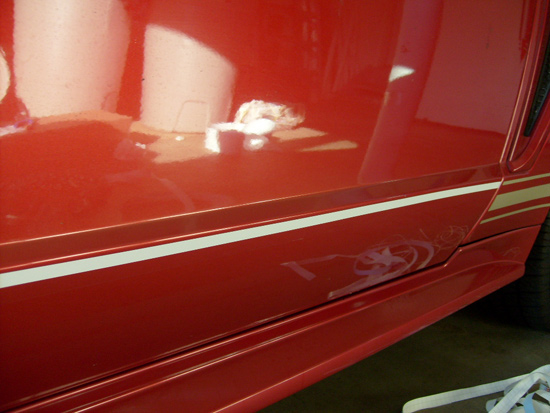
2. After the decals are removed, you will be able to see the cleaner part of the car where the decals used to be. Now is a good time to wash that part of the door to remove any dirt/debris/wax that will stop the new rocker panel stripes from sticking properly.THIS STEP SHOULD BE TAKEN EVEN IF YOU ARE INSTALLING ROCKER PANEL STRIPES FOR THE VERY FIRST TIME!Make sure the car is clean or they will not stick!
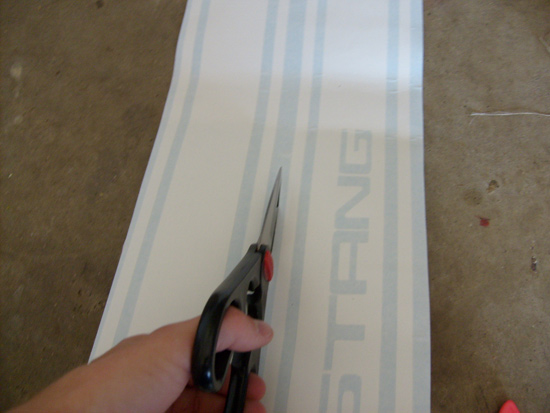
3. I am going to install the rocker panel stripes on the driver’s side first, but the installation instructions for the passenger side are the exact same. I started by cutting the two different sides of the rocker panel stripes into two different pieces because both sides arrive as one piece.
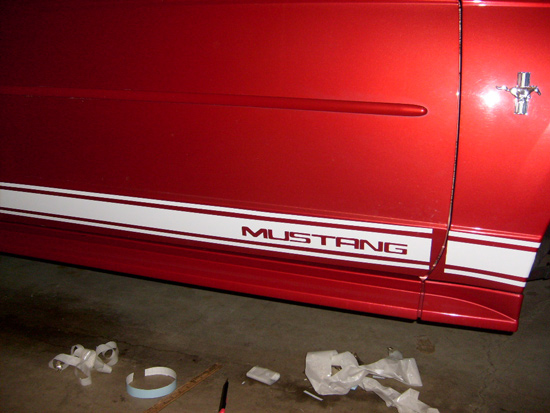
Note:The Mustang lettering goes towards the front of the car and it should read left to right.
4. I started with the section of rocker panel in front of the door on the driver’s side.
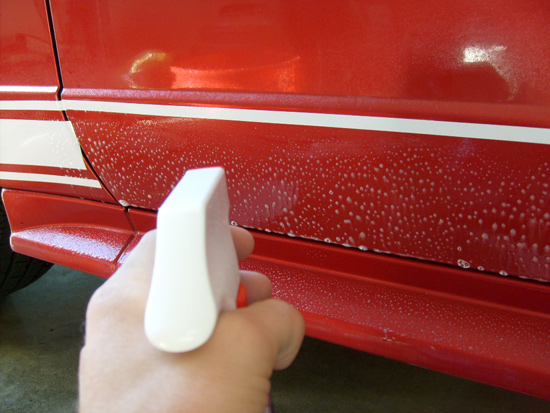
5. Peel off the decal and spray it with Windex. Make sure to also spray the car liberally with Windex. The more Windex used, the easier it is to position the decal. Also, the more Windex you use, the longer it takes the rocker panels to dry.
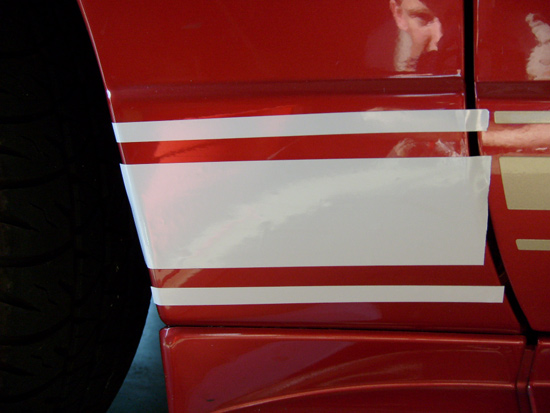
6. To make sure that they were straight, I lined up the top stripe with the trim on the car and then just measured a quarter-inch below the first stripe, and placed on the second stripe. I measured another quarter inch below the large middle stripe and then placed the thin one below that one.
7. To finish the rest of the rocker panel stripes, line up the small stripe on the top first.
8. Be sure that the decal and the car are covered with Windex so that it is easier to move the decal into place.
9. Next, place the larger middle decal on the car as shown below
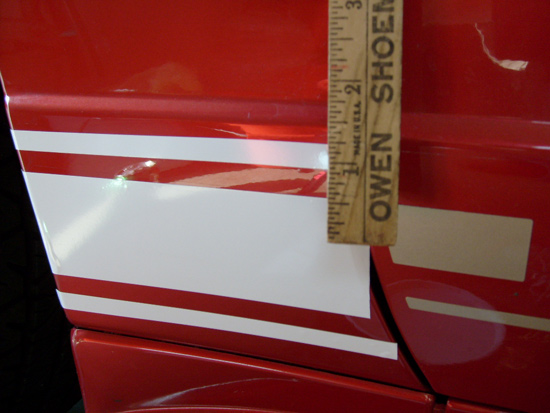
10. To make sure the middle stripe is straight, take a ruler and measure a quarter inch between the thin top stripes and the large middle stripe. This will work and make the stripes straight as long as the top stripe is straight. Sometimes if youcan’t make the stripes straight by using a ruler, it works to just stand up and eyeball the straightness of the stripes.
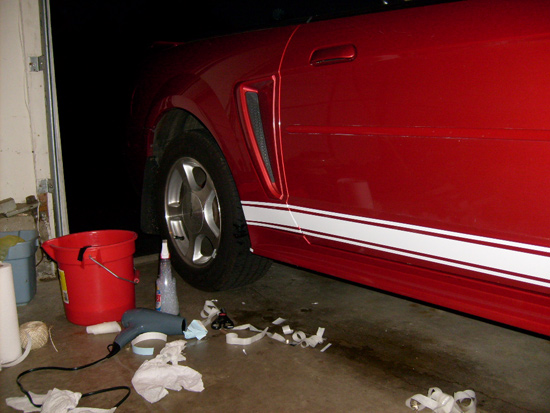
11. After positioning the stripes, wait a few Mins and squeegee out all the extra Windex that is behind the stripes so that they can dry as shown below.
12. Once the stripes are centered and on the car, it is time to cut them to the proper length. I decided to follow the cut design of the stock stripes on the car where they were cut about an inch before the end of the body panel. Many people choose not to cut the stripes, but to let them look like one continuous stripe, either design looks good it is just personal preference. It is best to use scissors or a razor blade while the stripes are still wet so that it does not move too much.
13. Once everything is cut and trimmed to where you want it to be, let it dry. After the stripe is somewhat dry, go back and make sure that all of the air bubbles are out of the stripes. Leave the car in a cool and dry place for at least 24 Hrs so that the rocker panel stripes have a chance to dry completely. Also, it is not a good idea to drive the car until the stripes are completely dry.
14. The installation for the passenger’s side rocker panel is the same as the driver’s side and can be done while the driver’s side is drying
15. Congratulations! You have completed a fairy difficult installation on your pony. You will feel so much better knowing that you did it yourself! Now go out and show off the new look!
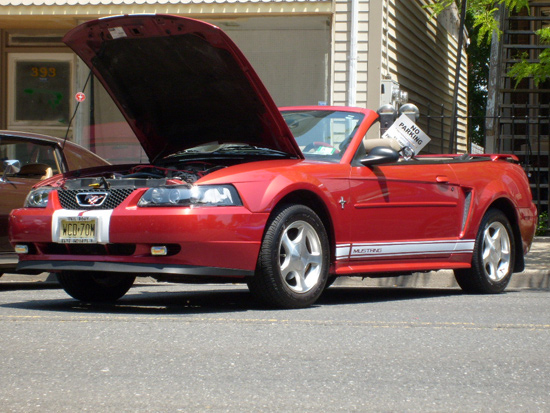
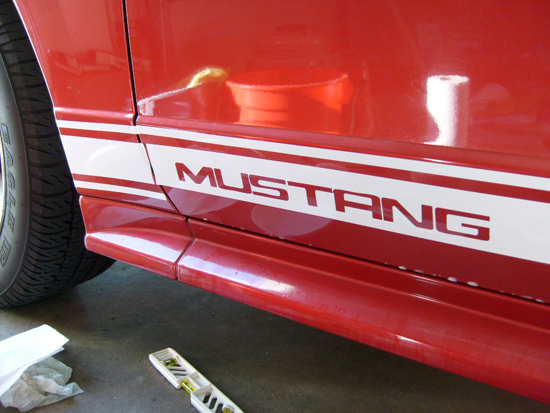
Finished Installation
Installation instructions provided by AmericanMuscle customer Will Rimmler 6.19.08
