 FREE 1 to 3-Day Delivery on Orders $119+ Details
Best Sellers


How to Install Roush Fascia Corner Pockets (18-19 GT, EcoBoost) on your Ford Mustang

Shop Parts in this Guide
Templates found at: https://www.roushperformance.com/media/parts/manuals/422084-
instructions.pdf?fbclid=IwAR1_0QGmkETmFumMe26rnKY96cyarq7HIW8Q4_hg59hZdNcH2OMwVazFnm0
Installation Instructions:
1. Safely raise vehicle using a jack and jack stands, ramps, or a lift. For ease of installation, remove front two wheels.
2. Remove the 8 push pins that secure the radiator cover.
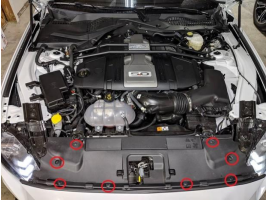
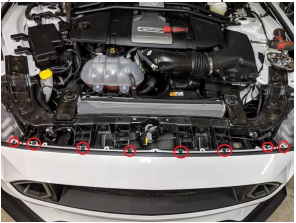
3. Remove (6) 8mm bolts and (2) 5.5mm bolts that secure the bumper to the core support.
4. Remove the 6 push pins to allow the inner fender liner to be pulled back. Pull this back and tuck out of the way.
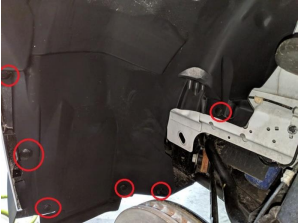
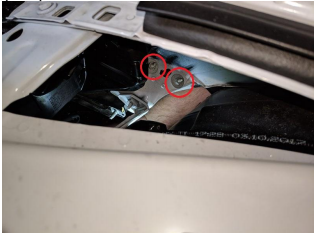
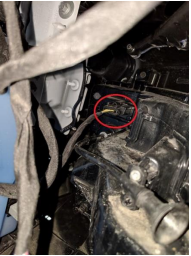
5. Remove the (2) 10mm nuts that hold the bumper to the fender and pull the black bracket (pull straight down). This is secured by a push pin.
6. Unplug fog light.
7. Repeat previous steps on other side of vehicle.
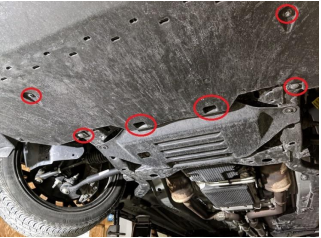
8. Underneath the vehicle, remove the (4) 7mm bolts and 2 push pins that secure the belly pan to the subframe.
9. Remove bumper from vehicle. It is recommended to have an extra set of hands for this step as to not damage the bumper.
10. Lay the bumper face down on a soft surface such as a blanket. Remove the fog light assemblies by removing the (3) 7mm bolts securing them into place.
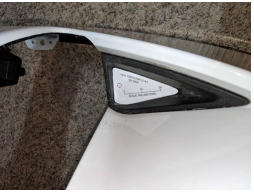
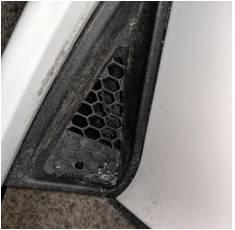
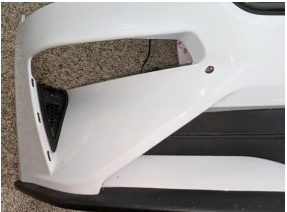
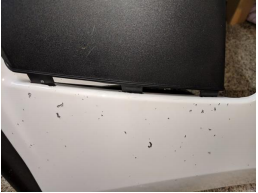
11. Flip bumper onto its back and align template inside the vent. Center punch the part of the template shown. It will be in the center of the honeycomb.
12. Drill the mark first with the 1/8” drill bit followed by the 1⁄4” drill bit.
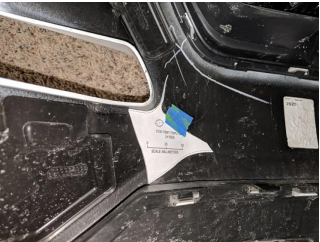
13. Next, fold along the dotted lines on the long template. Slide the template behind the vent until it stops. Align the rest of the template with the chin spoiler and the fog light cutout and tape into position.
14. Mark all 15 holes on the template with a center punch. Drill all of these holes with the 1/8” drill bit.
15. Once all 15 holes are drilled use the drill bit with some force to bore them out to create 3 long holes.
16. Flip the bumper face down on a soft surface and grab the third template and align it under the fog light cutout close to the lower grille and tape into place.
17. Use the center punch to mark the location on the template and drill out starting with 1/8” drill bit followed by 3/8” drill bit.
18. Flip bumper back on its back and prepare for installing the vinyl pieces.
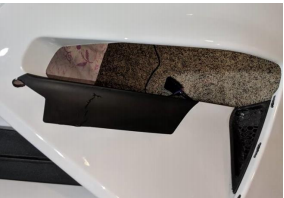
19. Install the vinyl pieces on the bumper under the fog light cutout using the soapy water solution and squeegee. These are intended to hide body color behind the pockets so if there are creases they will not be easily seen.
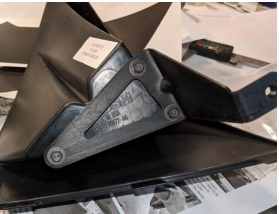
20. Install the metal bracket onto the pocket using the (6) supplied 7mm screws.
21. Stick the supplied double sided 3M tape to the back of the Roush pocket along the front-most part.

22. Remove the other side of the tape and prepare to install onto the bumper. Line up the 3 tabs with the 3 holes drilled out. The stud will line up with the large hole drilled.
23. Once lined up, firmly press down on the pocket to adhere the tape.
24. Flip bumper back over on its face and secure the bracket through the hole made in the vent with the supplied 8mm screw.
25. Install the angled washer onto the stud sticking through the bumper and top with the supplied nut. Tighten until snug (plastic stud not threaded).
26. Reinstall fog lights using screws previously removed.
27. Reinstall the bumper on the vehicle using steps 2-8.
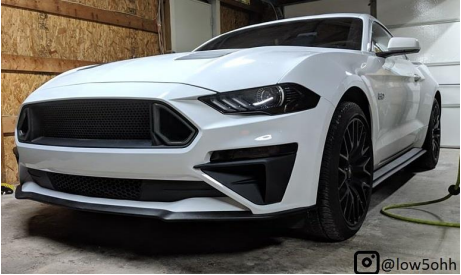
28. Enjoy your new Roush Corner Pockets!
Installation Instructions Written by AmericanMuscle Customer Bradley Davidson 12/13/2018
