 FREE 1 to 3-Day Delivery on Orders $119+ Details
Best Sellers


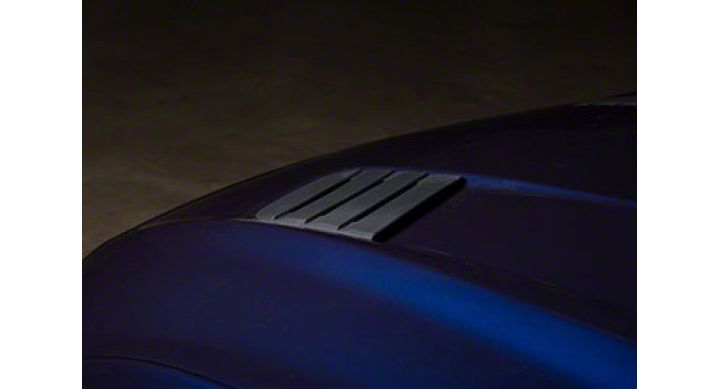
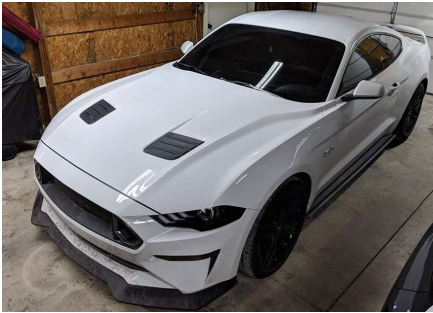
How to Install Roush Hood Heat Extractors (18-19 GT, EcoBoost) on your Ford Mustang
Installation Time
60 minutes
Tools Required
- Flat Head Screwdriver or Push Pin Removal Tool
- Ratchet
- 8mm Socket
- Heat gun/Hair Dryer
- Squeegee
- Soapy water in a Spray Bottle
- Tape
- Safety Glasses
- Drill
- Drill Bits (1/8, 7/32 and a 1” hole saw)
- Center Punch
- Clear coat (can be found with touch up paint bottle) or clear Nail Polish
- Rubbing alcohol
- 1/16” Allen Wrench
- Blue Thread Locker
- Template (printer, ruler, scissors)
Shop Parts in this Guide
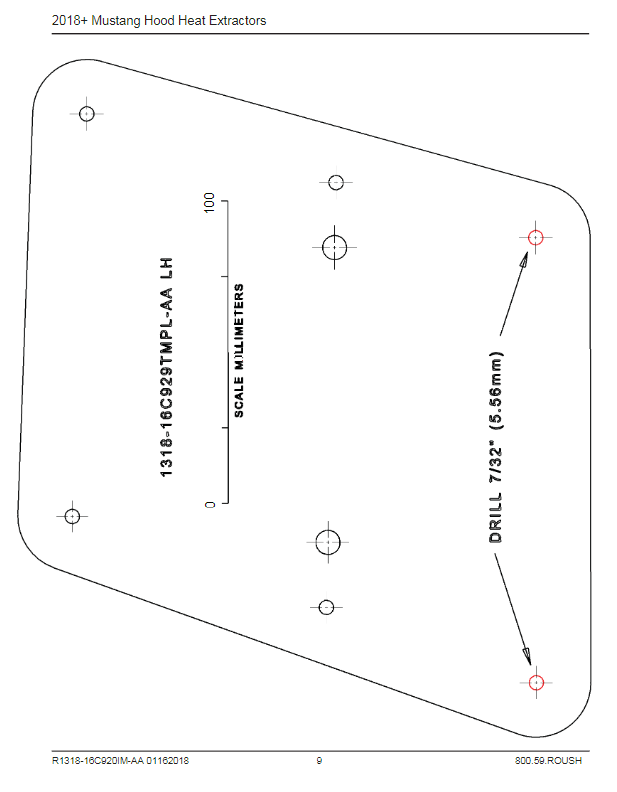
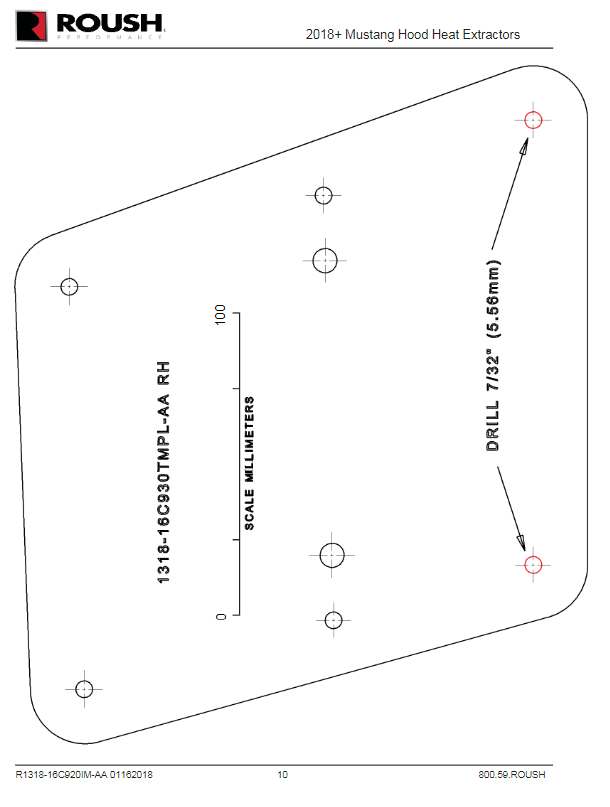
Note: Templates required for installation at the end of this guide. Once printed, be sure to check scale using reference lines and ruler.
Installation Instructions:
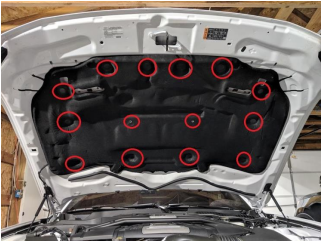
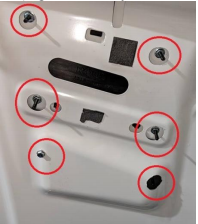
1. Ensure engine is off and the hood is in the popped position. Remove (14) factory push pins securing the under-hood insulation.
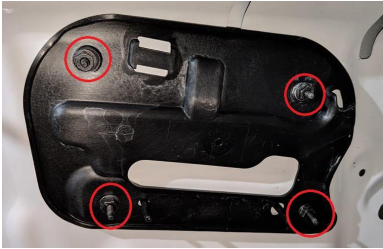
2. Remove (4) 8mm sockets securing the factory vent backing and pry off. They are held on using adhesive tape.
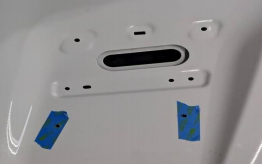
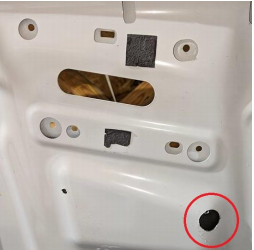
3. Remove factory vents by pushing the tab on the underside of the hood and pulling off from the top of the hood. Thoroughly clean the hood surface where the vents were located.
4. Cut the templates out and place on the correct sides. Tape the templates into place making sure the holes in the hood line up with their location on the templates. Spend extra time on this step to ensure you are drilling in the correct location.

5. Using a center punch, mark where the holes will need to be drilled towards the rear of the hood. Start by drilling a 1/8” hole. Drill the same holes with the 7/32” bit next. Be sure to go completely through both layers (skin and skeleton) of the hood.
6. From the underside of the hood, drill the outermost holes using the 1” hole saw only going through the skeleton of the hood. DO NOT go through to the skin of the hood.
7. Paint the exposed metal on the hood using touch up paint, clear coat, or clear nail polish to prevent oxidation.
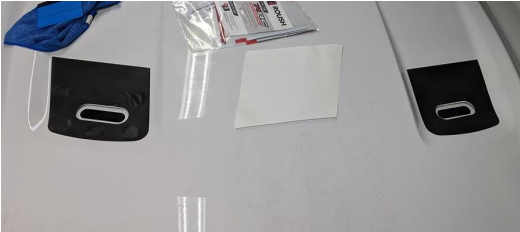
8. Remove the template and install the included vinyl pieces lining up the holes. Use the soapy water mixture, squeegee, and heat gun or hair dryer to get this as smooth as possible. These will not be seen once the vents are installed, they are to hide the body color through the new vents. Poke through the vinyl where the holes are located for easier installation.
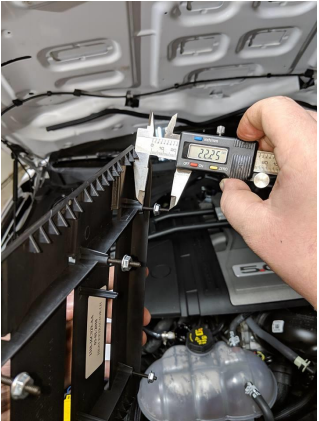
9. Thread the provided studs 10mm into the extractors leaving 22mm of them sticking out using Allen wrench. Be sure to leave the end with a hole exposed.
10. Clean the edge of the extractors using rubbing alcohol and apply the 3m double-sided tape onto the ribbed area.
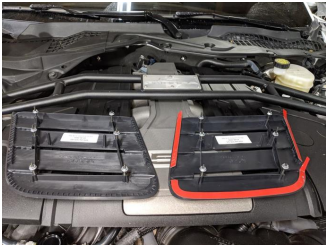
11. Pull off the other side of the tape and install the extractor to the hood applying even pressure.
12. Secure the extractors from the underside of the hood using the provided (6) 8mm nuts and some blue thread lock. Tighten to 2 in-lb (Tighten these by hand to avoid stripping).
13. Reinstall the hood insulation with the (14) factory push pins.
14. Enjoy your new Roush Heat Extractors!
Installation Instructions Written by AmericanMuscle Customer Bradley Davidson 12/09/2018
