 FREE 1 to 3-Day Delivery on Orders $119+ Details
Best Sellers


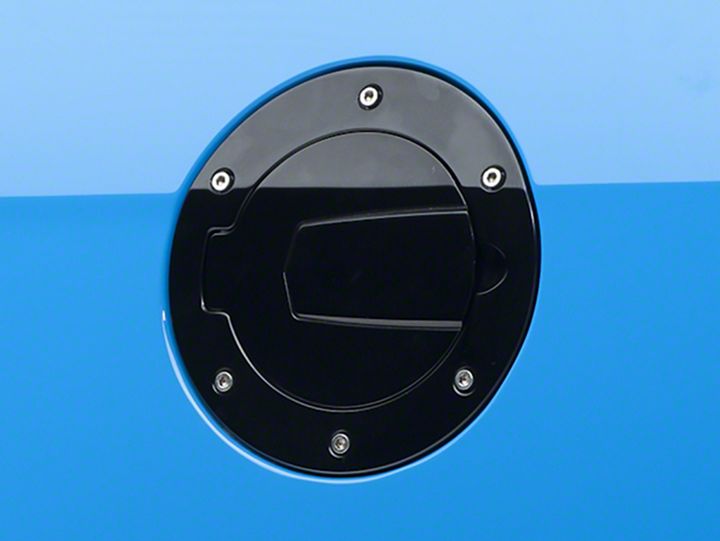
How to Install a Fuel Door on your 2010-2013 Mustang
Installation Time
15 minutes
Tools Required
- Small rag
- Drill with a ¼” drill bit
- Flathead screwdriver
- 3/8” combination wrench
- 7mm socket wrench
Shop Parts in this Guide
Installation Instructions:
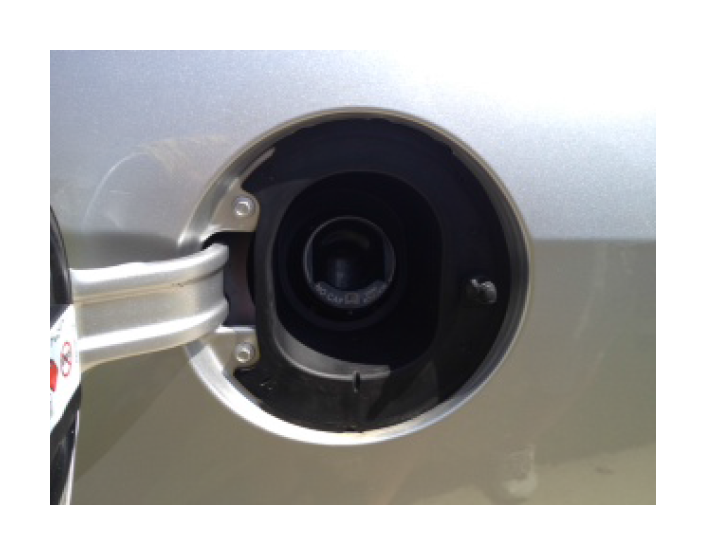
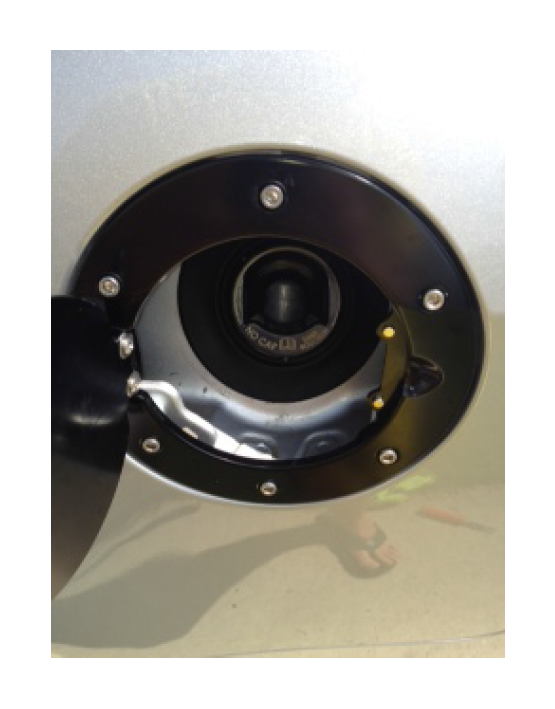
1. With your car off open the factory fuel door. Plug the NO CAP filler neck with the small rag to prevent plastic shreds from entering it.

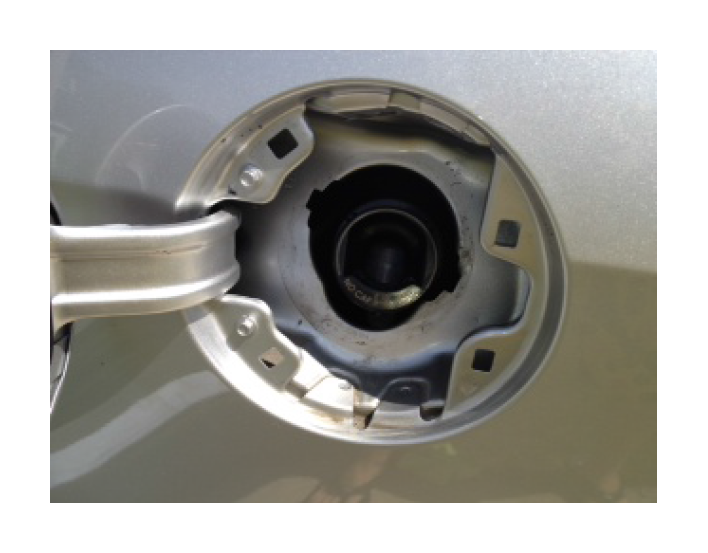
2. Drill 4 holes in the plastic housing using the dimples in the plastic as a centering guide for the drill. You will need to push the drill. There is nothing behind it.
3. Stick the screwdriver into the holes where the housing is and break off the tabs holding the plastic on. This may take a couple tries.
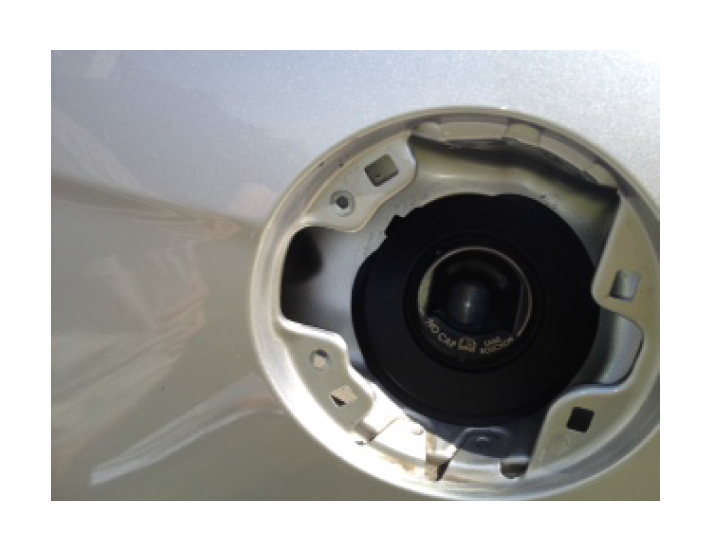
4. Remove the plastic housing by carefully wiggling it towards you. Be careful not to damage the filler neck. Take the rag out of the filler neck.
5. Hold the factory fuel door and, using the 7mm socket wrench, take off the two bolts holding the door on. Do not let go of the door because it will fall and damage your quarter panel.
6. Put on the new flange gasket by placing the whole thing over the filler neck with the smaller end facing you. Tuck the end with the larger diameter beneath the sheet metal on the sides of the filler neck. It is a tight fit.
7. Remove the nuts and top spacer from the new fuel door, but leave the bottom spacer on it. The top right bolt only has a stud on it, which is not to be removed. Open the door to get the proper alignment and put it on the car by placing the bolts into the corresponding holes. Reach around the back and place the spacer then the nut on each bolt. Hand-tighten each one.
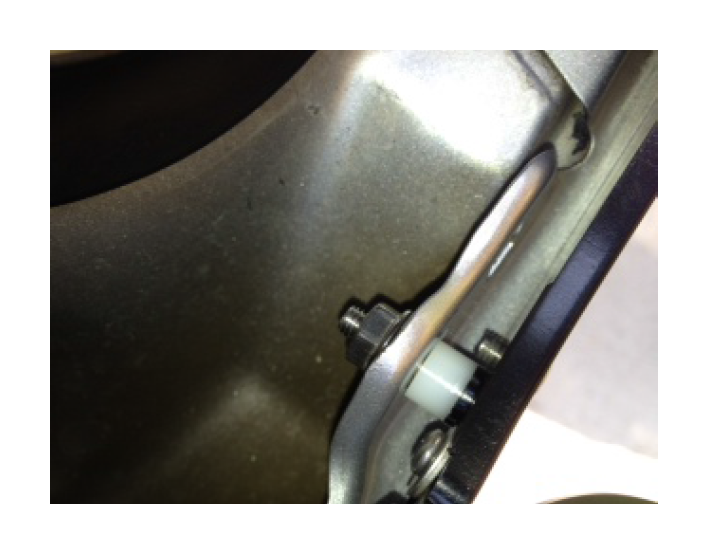
8. Use the 3/8” combination wrench to tighten each of the back bolts and locking in the alignment.
9. Shut the fuel door and drive!

