 FREE 1 to 3-Day Delivery on Orders $149+ Details
How to install a BBK Cold Air Intake on your 2011-2012 V6 Mustang
Installation Time
1 hours
Tools Required
- Flat head screwdriver
- Phillips head Screwdriver
- Socket wrench
- 10mm socket
- 5 inch extension for socket wrench (recommended for easier access)
- Allen/Hex key set (for MAF Sensor)
- Vacuum line plug set (can be bought at NAPA or any parts store & is for MANUAL transmissions only.)

Shop Parts in this Guide
Installation
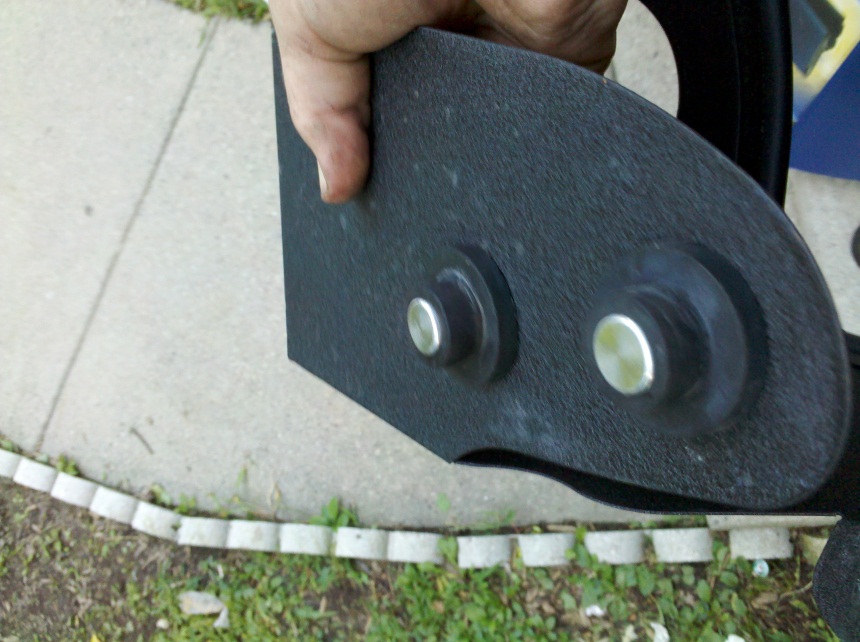
1. Removing the radiator cover:
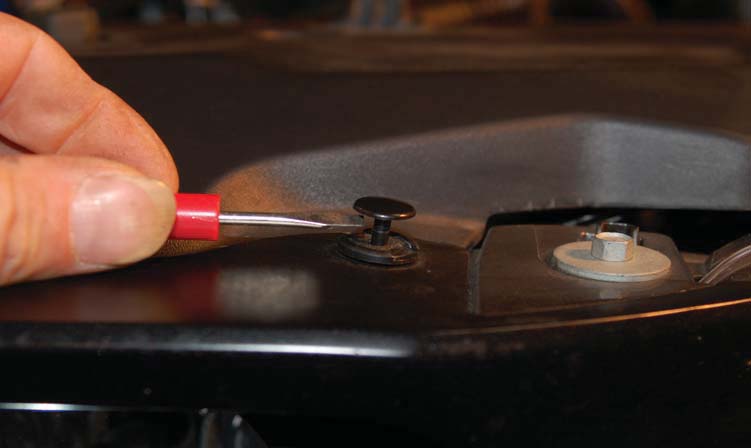
- There are several rivet pins holding the radiator cover down. These can be removed by sliding a flathead screwdriver in the slot and prying the center up.
- Once the center is pulled up, the pin will slide out. Repeat to remove all pins.
- After removing the pins, slide the radiator cover out.
- The pictures above show how to pry up the pins without breaking them.
2. Removing the stock intake pipes and air box:
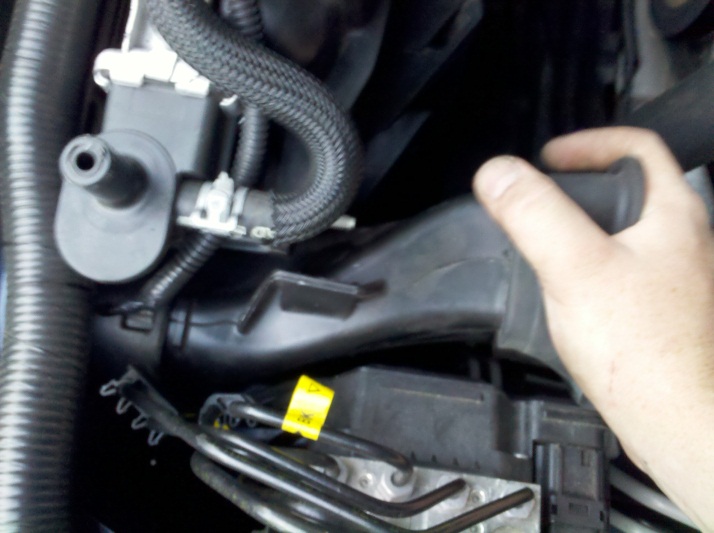
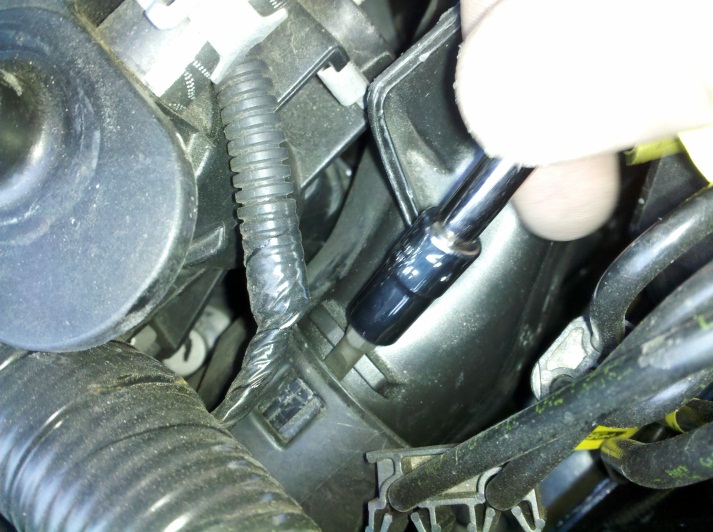
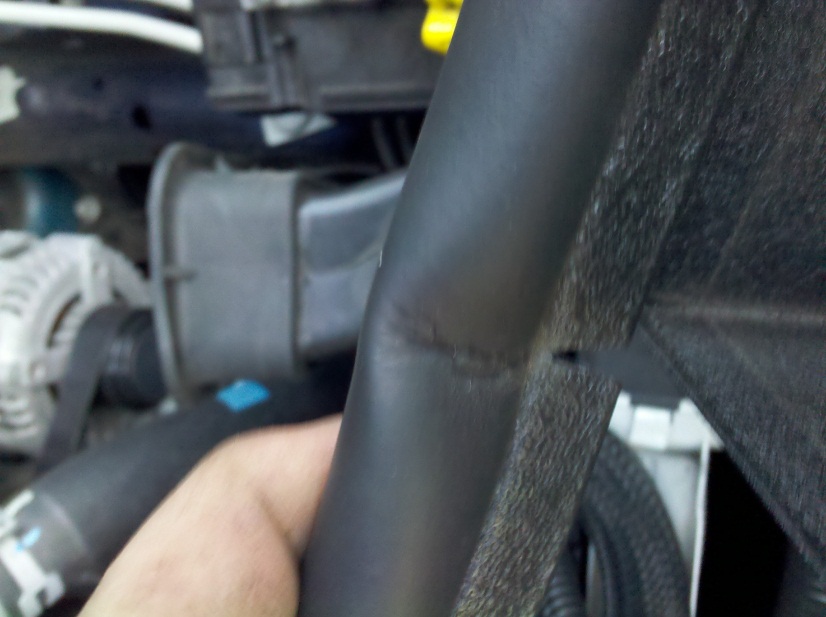
- In the center of the intake pipe, there is a vacuum line that goes into the valve cover. You do not need to remove the line completely from the car. Push the gray tab over, as shown in the picture above.
- While the tab is pushed over, pull the line towards the rear of the car to pop it off. Then move the line out of the way.
- The picture below shows the vacuum line attached to show its location. On an automatic, there is another vacuum line you will have to pull off.
- Hose clamps #1 and #2 shown in the above picture connect the pipes to the air box and throttle body.
- Using a flathead screwdriver, loosen the hose clamps until they can spin freely.
- Once this is done, grab end #1 of this pipe. Spin it back and forth while pulling away from the throttle body and the pipe will slide off.
- Repeat the same process to remove the pipe from the air box.
- Remove the pipe from the vehicle.
3. Removing the air box:
- The picture above shows the connector to the mass airflow sensor.
- Slide the red tab out and pull the sensor out. If it is stuck, lightly wiggle it side to side while pulling.
- The MAF sensor wire has a clip holding the wire to the air box. Place a flathead screw driver behind the clip in the center and pry outwards to have it pop off. The picture below shows an arrow pointing to the clips location.
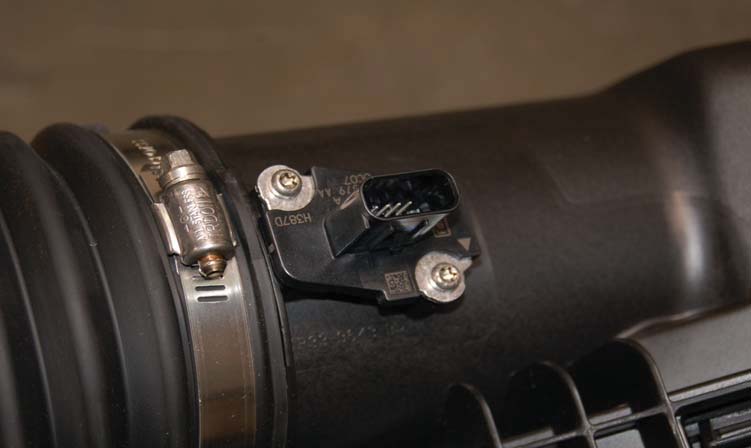
- There are (2) small Allen head screws holding the Mass Airflow sensor into the air box. Remove the (2) screws and carefully remove the sensor.
- Warning: The mass airflow sensor is fragile and should be handled with care. Damaging the sensor will cause the engine to run improperly and rough or not at all. It is important not to drop or damage the sensor.
- At this time, transfer the sensor into the new BBK intake tube immediately to prevent any damage.
- Again, be careful not to drop the tube or sensor.
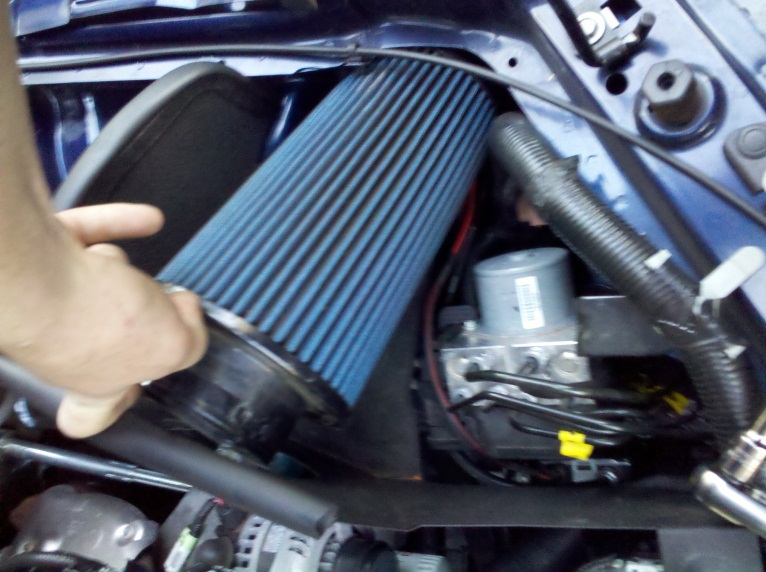
- Hold the BBK pipe so that the spot for the Mass Air Flow (MAF) sensor is furthest to the right of the pipe. The sensor should slide in so that the opening in the sensor faces towards the driver’s side of the car.
- Tighten the screws down and make sure the sensor is seated completely down on the intake pipe. Be careful not to over tighten as you could strip the screws.
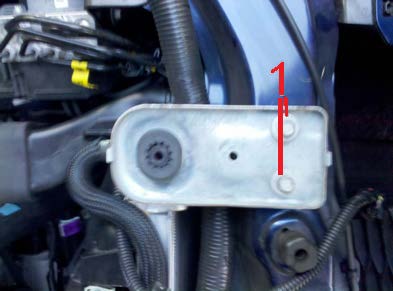
- Remove the 10mm bolt, #1 in the picture shown above. It may be beneficial to use a 5 inch extension bar to raise your wrench above the intake box and gain better access.
- At this point, you can pull up on the intake box -- it may take some effort to remove.
- There are (2) rubber grommets on the bottom of the air box that hold it down. These may stay attached to the air box or may stay in the fender. Remove them and set them aside.
- This is the final tube to the stock air box and is a little tough to remove. Take your flat head screwdriver and place it in the tube as shown. Pry up gently on the connection to push the tab out. With your other hand, wiggle the tube up and down and it should pop out.
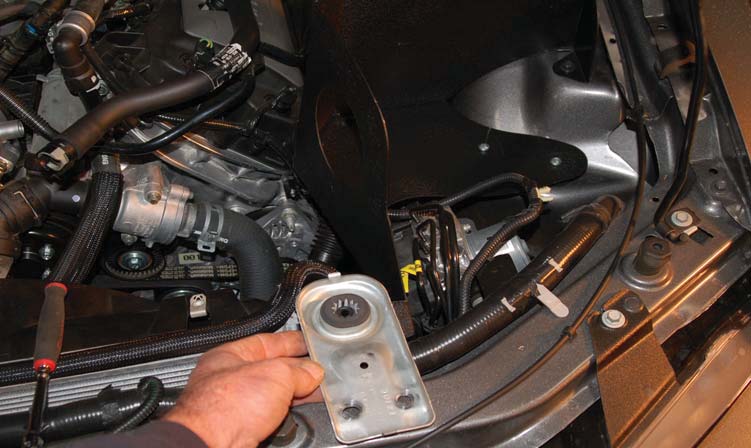
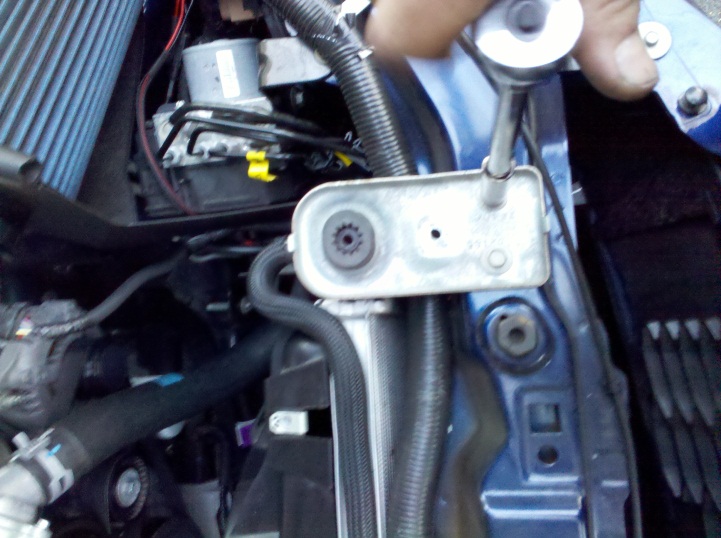
4. Removing the radiator mount:
- Remove both 10mm bolts from the radiator mount as shown above.
- Set the mount and bolts aside.
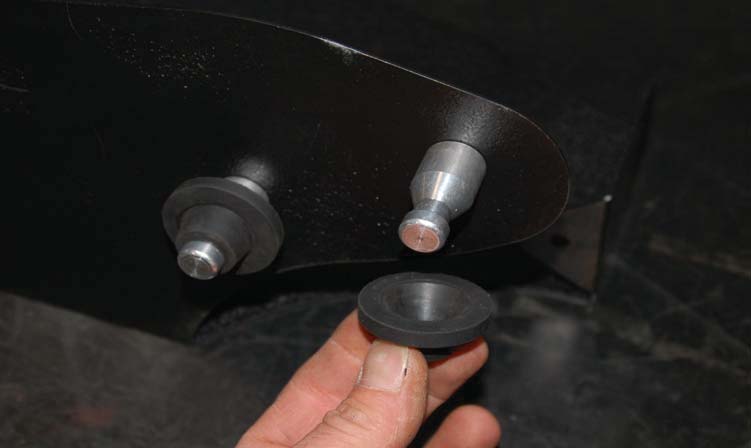
5. Installing the new cold air box:
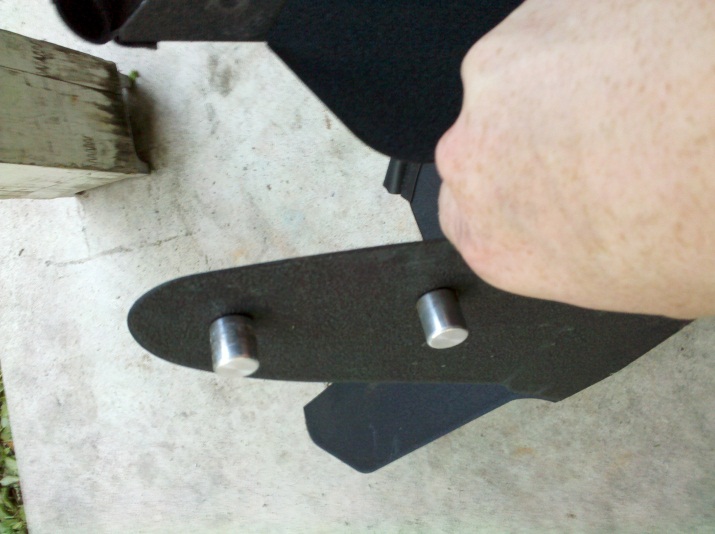
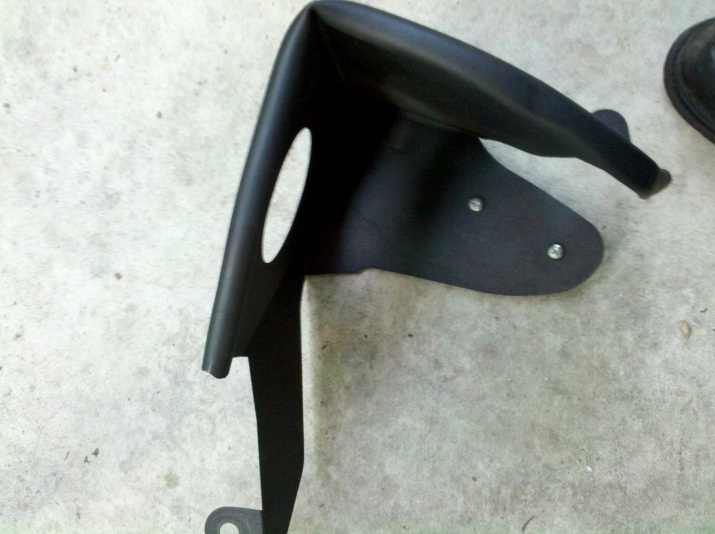
- Pre-install the metal dowels and the screws that are included in the intake kit. Use a Phillips head screw driver to tighten the dowels.
- Install the rubber grommets that were set aside from the stock air box onto the dowels.
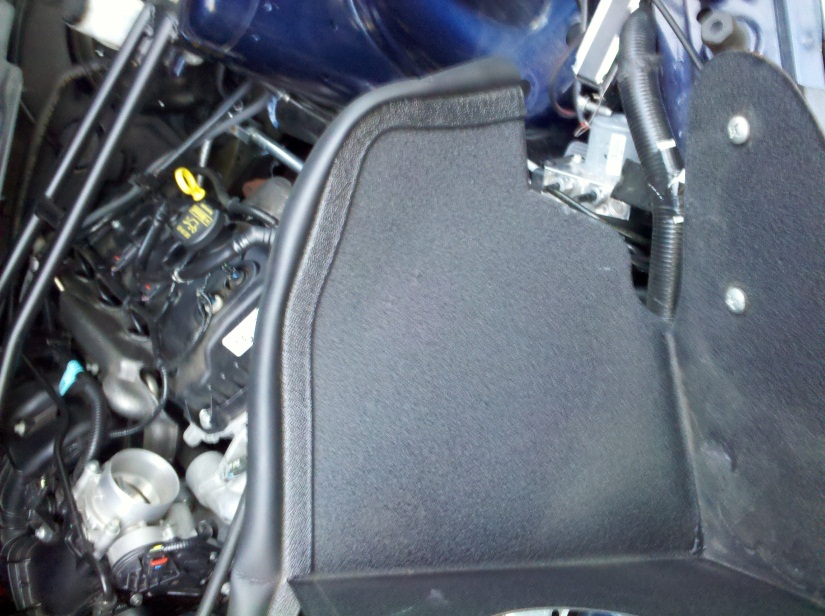
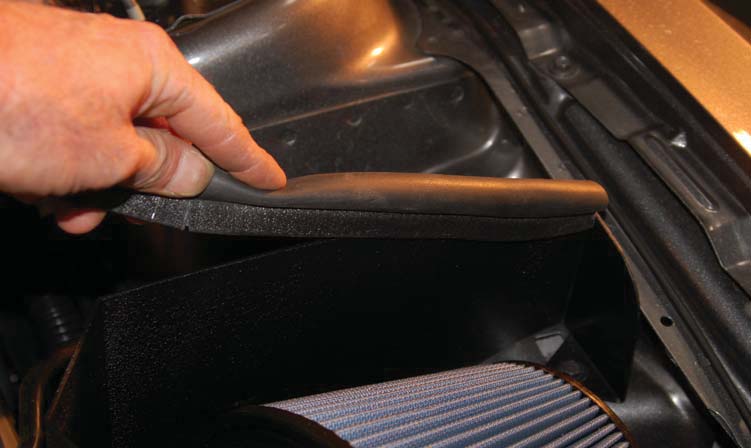
- Place the weather strip on one side of the cold air box. Make sure you will have enough length to reach to the other corner.
- Once you find the correct spot, cut the bottom plastic half of the strip so the strip can go around the corner. DO NOT cut the rubber top portion.
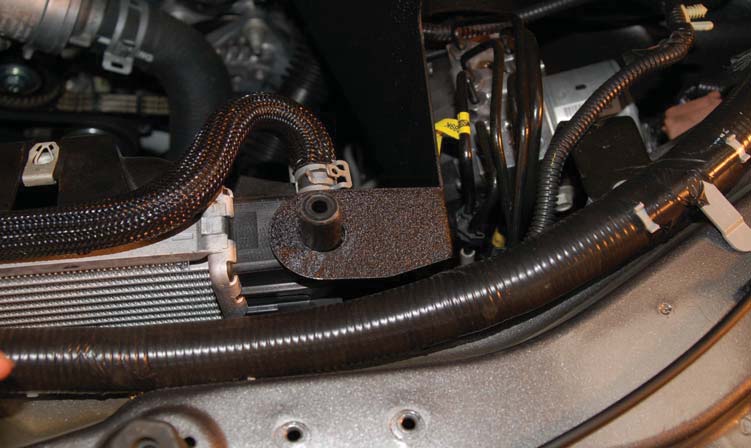
- Place the box in the car. The (2) rubber grommets will go into (2) holes in the fender and the one tab will go under the radiator mount.
- Push the air box in and insert the 10mm bolt and tighten it down.
- Place the radiator mount back on and tighten the (2) 10mm bolts to secure the radiator with the tab for the new air box under the metal bracket.
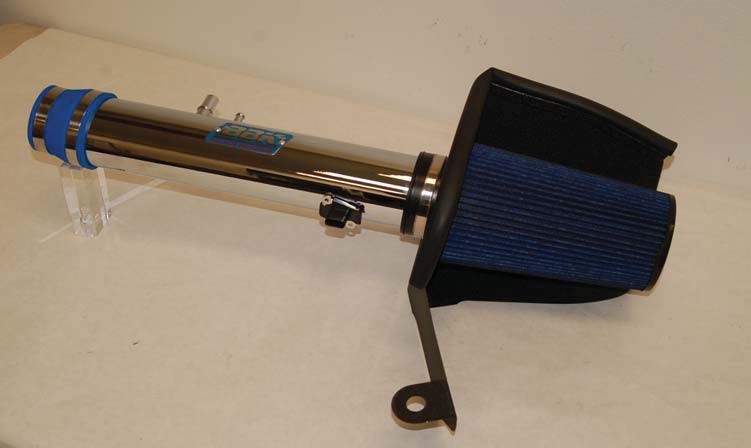
6. Installing the new intake tube and air filter
- You will want to install the air filter first because once the tube is on, there will be less room for the filter. To install the filter, you may have to push it slightly into the fender.
- Push the open end of the filter down and pull it through the hole in the air box.
- At this time, you will want to put the new hose clamp on the rubber filter end.
- Place the blue coupler on the air tube first.
- Next, push the tube into the air filter to allow for extra room.
- Since the filter still slides freely, push the filter into the fender again to gain extra room.
- Pull the blue coupler over the throttle body; you may have to work it around to get it on all the way back. There is a rim to show how far on it goes.
- Tighten all (3) hose clamps.
- Plug in the MAF sensor.
- Plug the vacuum line back in.
- NOTE: If you have the automatic, you will place the second line on the new air pipe. The picture above has an arrow showing where it would go. If you have the manual, this is where the vacuum line plug set comes in. Find the correct size and plug this line.
- Re-install the radiator cover. Place each pin in and then push the center of each pin down.
- Start your car up and take it for a test drive.
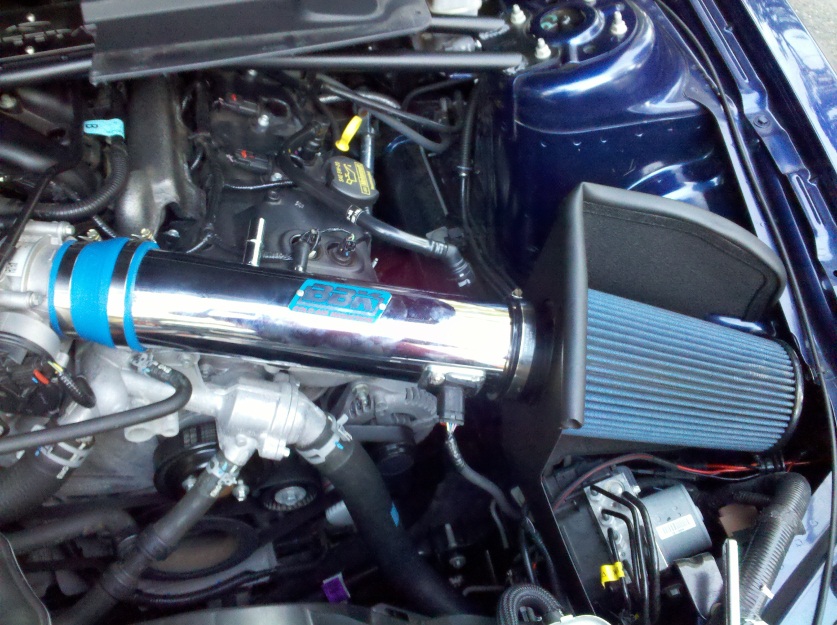
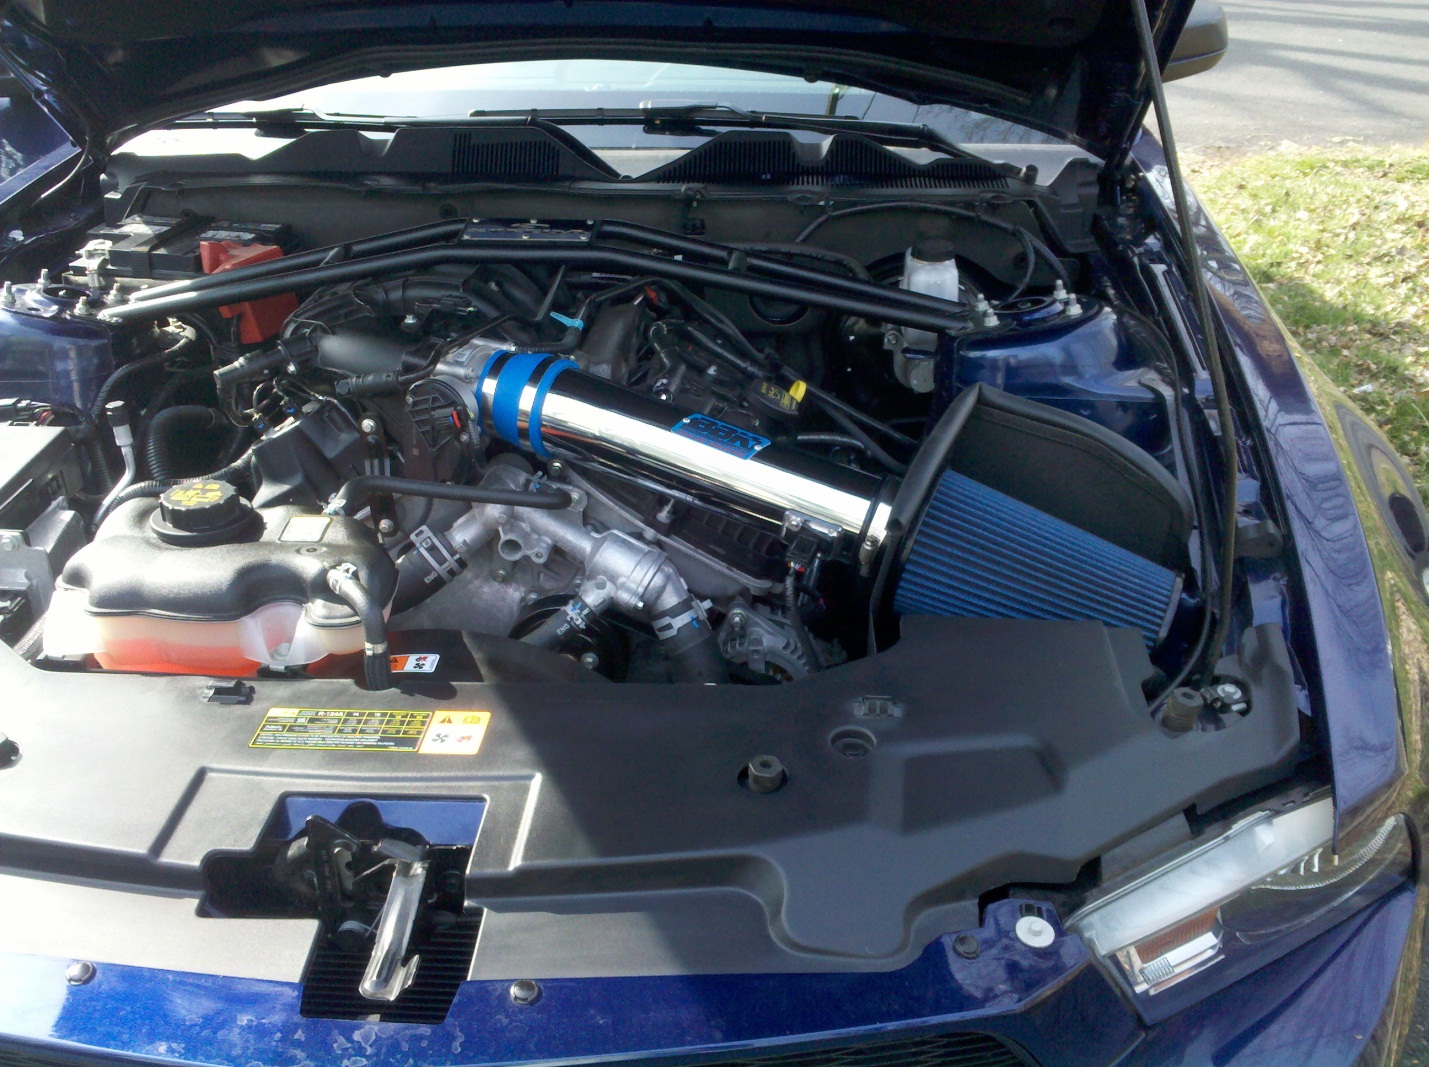
Enjoy your new BBK Cold Air Intake!
Installation Instructions written by AmericanMuscle customer Ryan Waller 9.12.11
Related Guides
-
Installation
-
Installation
-
Installation

