 FREE 1 to 3-Day Delivery on Orders $119+ Details
Best Sellers


How to Install BBK Caster Camber Plates on your Mustang
Installation Time
4 hours
Tools Required
- Spring Compressor
- Floor Jack and Jack Stands
- Impact Gun
- Disc Sander or Sanding Paper
Shop Parts in this Guide
Follow these instructions carefully to ensure correct fitment and operation. Not for use with coilovers.
STEP 1
• Place the front of the vehicle onto jack stands so that the wheels are off the ground.
STEP 2
• Remove the strut tower brace is applicable. Starting with either driver side or passenger side remove the wheel. Disconnect the brake line bracket and detach the ABS sensor wire from the strut body.
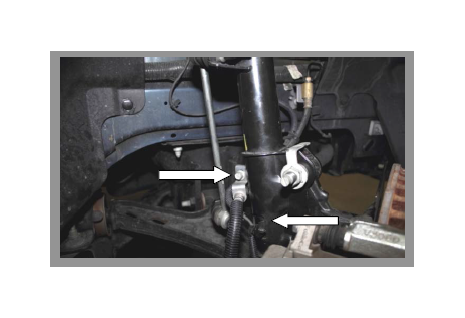
STEP 3

• Remove the sway bar end link from the strut, then loosen but do not remove the strut mounting bolts.
STEP 4
• If equipped, remove the strut tower brace. Remove the 4 upper strut mount nuts, located on top of the strut tower.
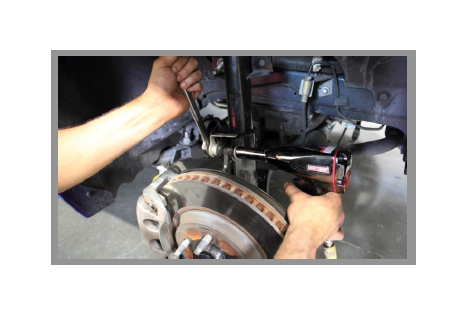
STEP 5

• Support the lower control arm with a floor jack, remove the lower strut mounting bolts and lower the floor jack to remove the strut assembly.
STEP 6
• With a spring compressor, slowly depress the spring, then remove the upper strut retaining nut, then remove the upper strut mount assembly from the strut shaft. NOTE!!! Recommend the use of an impact gun.
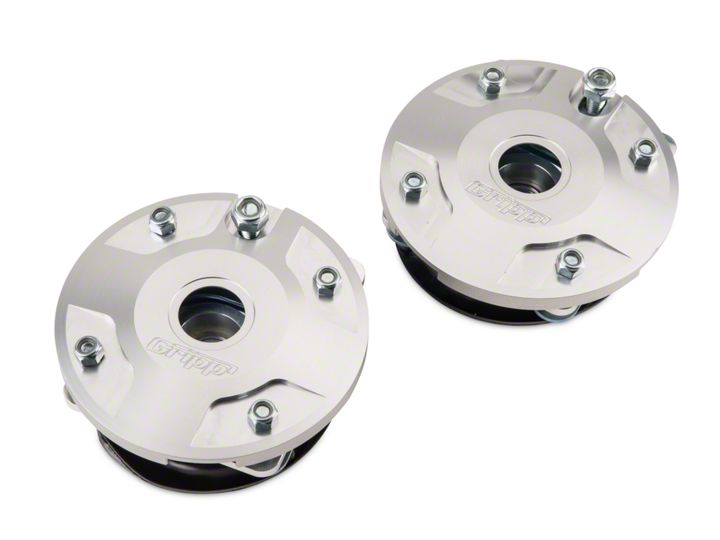
STEP 7 (Camber/Caster Plate Assembly)
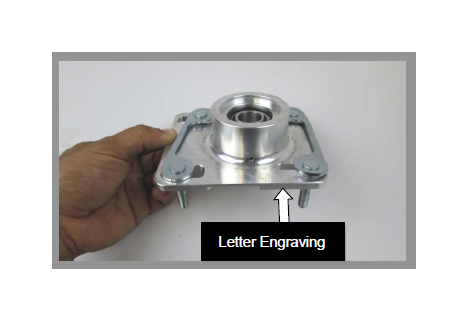
• Determine which Camber/Caster Plate is driver or passenger side by looking at the engraved SUB768D for Driver side and SUB768P for Passenger side.
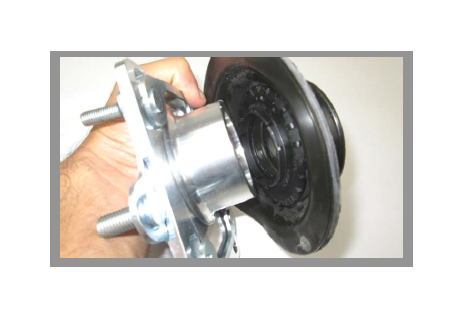
• Install the 2 provided stud plates from the bearing plate, with the studs protruding through the slots. NOTE!!! Make sure the larger radius between the 2 studs of each plate face the bearing.
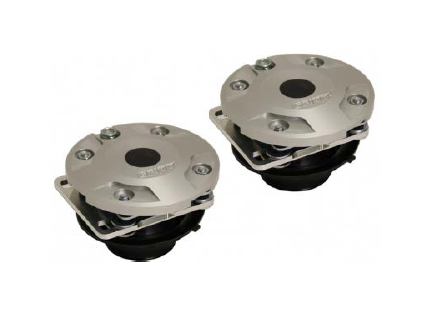
STEP 8

• Place the Caster Plate on top of the bearing plate. Make sure that the raised lip around the bearing plate protrudes up through the center slot of the Caster Plate. NOTE!!! The use of a rubber band will help hold the stud plates in position while installing. Be sure the plates move from side to side smoothly.
STEP 9
• Install the Camber/Caster Assembly to the supplied Ford Strut Tower Pivot Assembly. NOTE!!! Use extreme caution, once the Camber/Caster Plate is installed to the Pivot Assembly it CAN NOT be removed. If removed it can cause serious damage to the top strut mount.
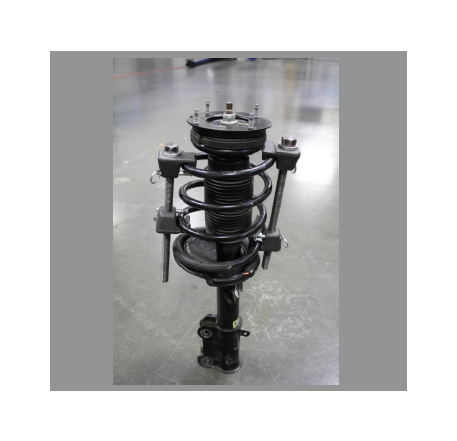
STEP 10 (Strut and Spring Re-Assembly)
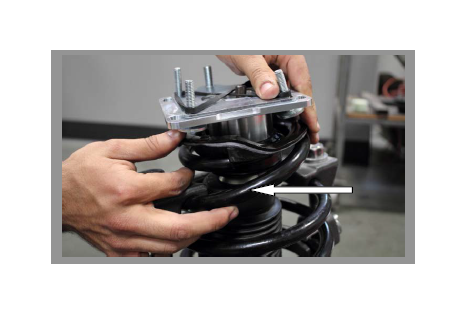
• Place the Camber/Caster Assembly onto the Strut Assembly. NOTE!!! There is a supplied spacer for the 2005-2010 Mustang GT Models that needs to be placed onto the strut shaft before sliding the Camber/Caster Plate on.
NOTE!!! Make sure to correctly align the top “pigtail” of the spring with the vertical face on the stock rubber isolator, and the bottom “pigtail” of the spring with the vertical face on the lower spring perch.
STEP 11
• Re-install the upper strut retaining nut and washer if used. Make sure both pigtails are properly located both in the lower spring perch and on the upper rubber isolator as you loosen the spring compressor.
STEP 12
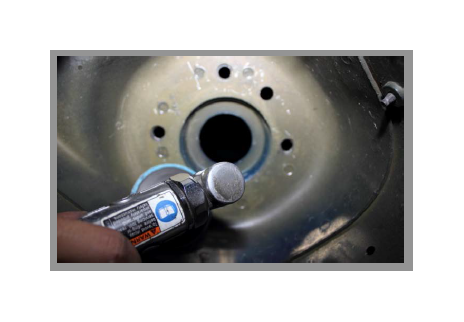
• Check the bottom of the strut tower housing for any roughness. Use a Sander or sand paper to smooth out the Housing. NOTE!!! Must be smooth to allow the Camber/Caster Assembly to slide freely when adjusting.
STEP 13
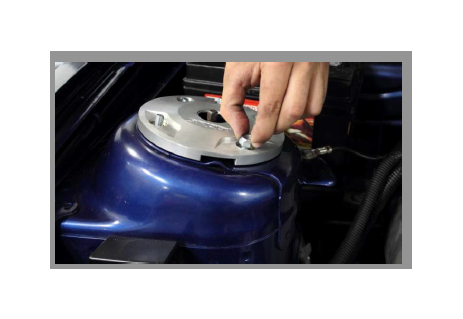
• Re-install the strut assembly, place the cover over the strut tower where the studs protrude, don’t fully tighten the top nuts. The factory strut tower brace can be used with this kit by placing the 2 ends above the decorative cover. NOTE!!!Remember to remove the rubber band holding the Camber/Caster Kit.
STEP 14
• Snug all 5 nuts on the Camber/Caster assembly.
STEP 15
• Re-attach the strut to the spindle and torque the lower mounting bolts to 166 ft-lbs. Re-attach the brake line bracket and ABS sensor wire. Re-attach the sway bar endlink to the strut and torque the mounting nut to 85 ft-lbs.
STEP 16 (Drive-able Alignment Settings)
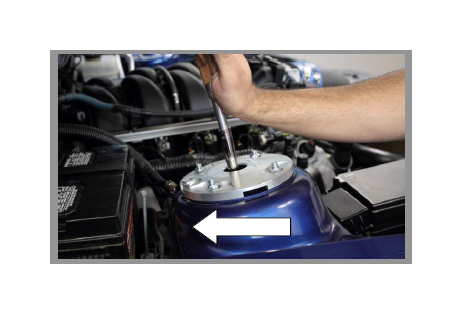
• Loosen the 5 nuts on the Camber/Caster Plate assembly very slightly, until the plate can barely slide. Slide the entire assembly towards the rear of the vehicle and tighten the 17mm Nut
STEP 17
STEP 18
• Re-install the wheels and safely lower the vehicle, torque the lug nuts to factory specifications.
IMPORTANT INFORMATION!!!
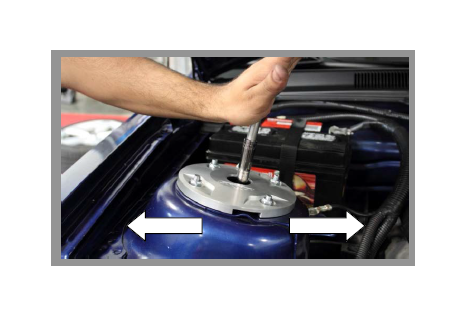
The vehicle must now have a proper front end alignment. Note!!! Make sure the technician knows that the Camber/Caster Plate will not move if the front suspension is loaded. The front end must be raised. BOTH front wheels must be off the ground in order to adjust the camber and caster.
This Camber/Caster Plate Assembly has 1.68-degree continuous range of camber adjustment and 0.9-degree continuous range of caster adjustment and provides correction for OEM production tolerances.
This kit is designed for stock or stock-style struts and is not intended for use with coilovers.
