FREE 1 to 3-Day Delivery on Orders $119+ Details
Best Sellers


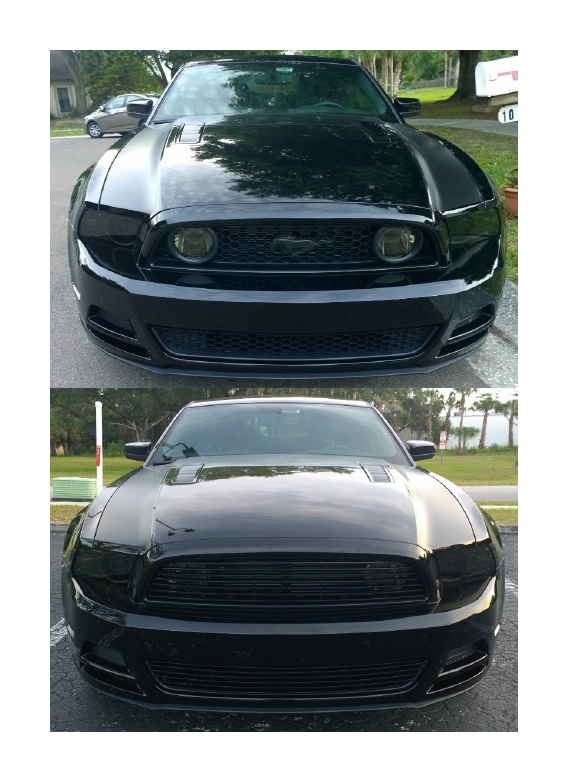
How to install a Modern Billet Black Retro Grille on your 2013-2014 Mustang GT
Installation Time
3 hours
Tools Required
- Rachet
- 7mm/8mm Socket
- Flat head screwdriver
- Phillips head screwdriver
- Drill with 3/16” bit

Shop Parts in this Guide
Installation:
Remove the front bumper cover.
1. Remove the 8 retaining clips holding the radiator cover in place and set it aside.
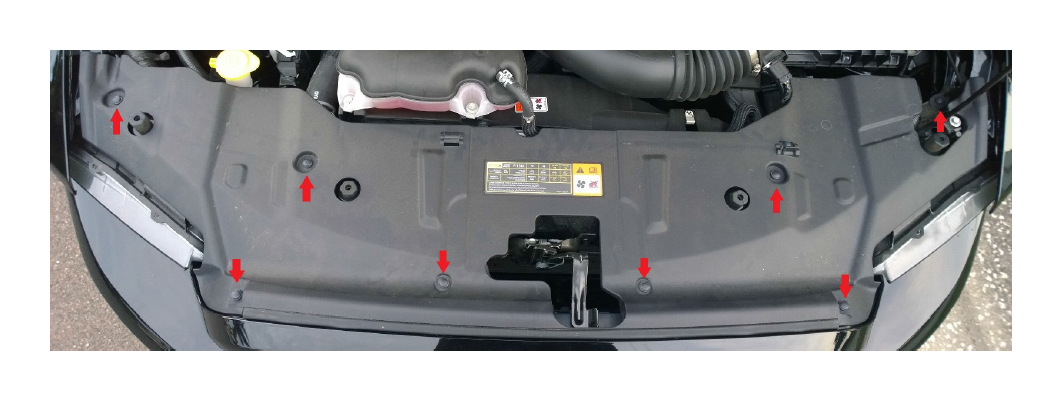
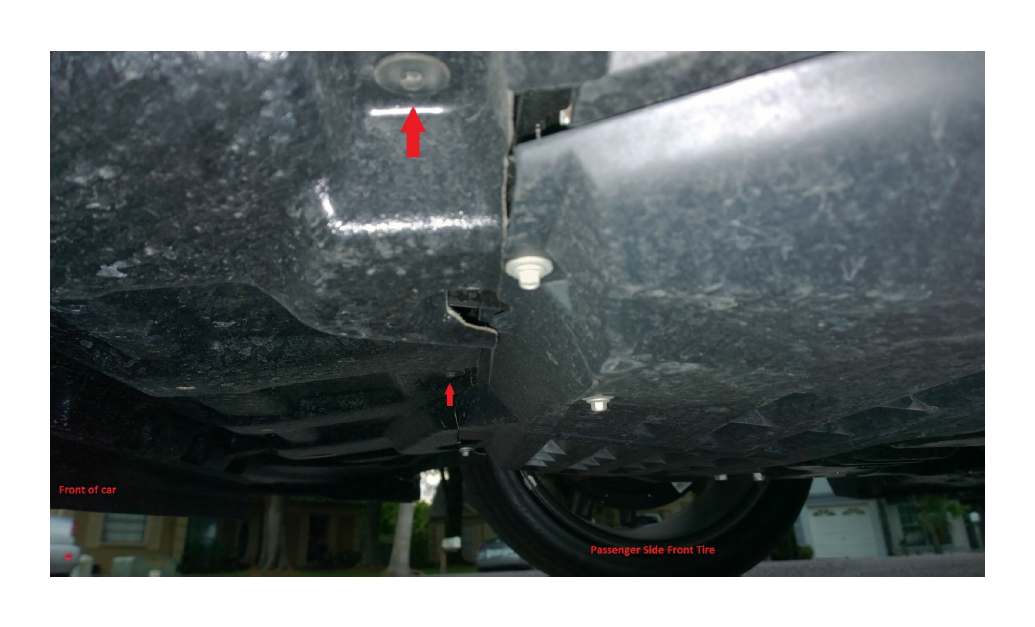
2. Remove the 5 bolts under the bumper (7mm). The middle one can be difficult to reach. Jacking the car up or placing it on ramps can make it easier but is not required.
*In the picture to the right, there is another bolt in the same position on the other side of the car.
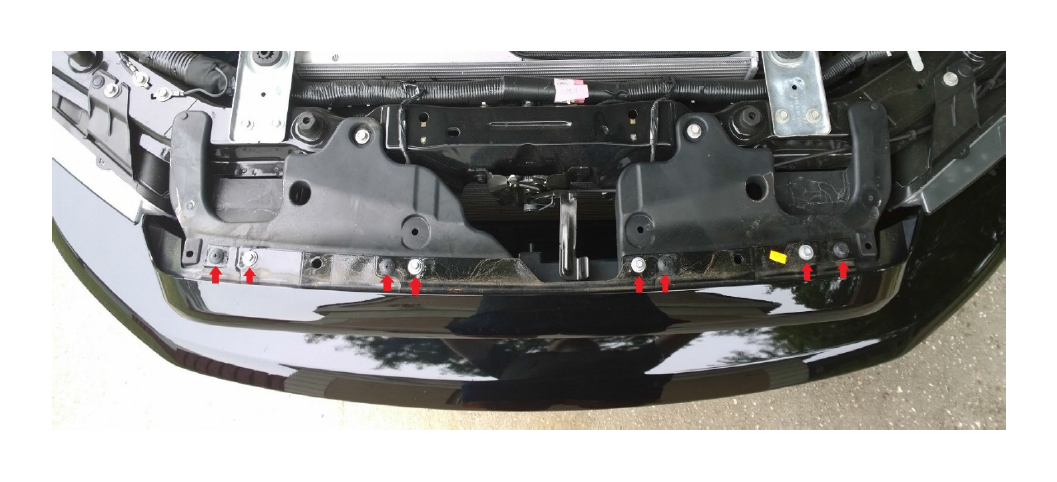
*In the picture below, the bolt in the middle is the center one. There is another bolt on the other side of the car in the same position as the bolt at the top of the picture.
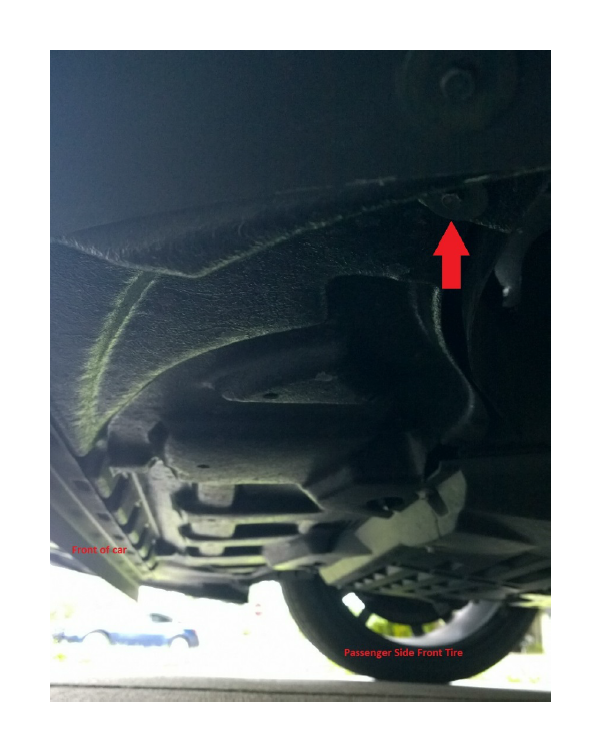
3. Remove the 3 bolts on each side in the wheel well (7mm). You may need to turn the wheel to gain clearance on each side.
Once the bolts are removed, pull with even pressure on the bumper cover to un-attach the retainer clips underneath.

4. Remove the 4 bolts (8mm) and 4 phillips retaining screws on the top of the bumper cover. *Caution* The bumper cover is now unattached. Be sure it doesn’t fall off.
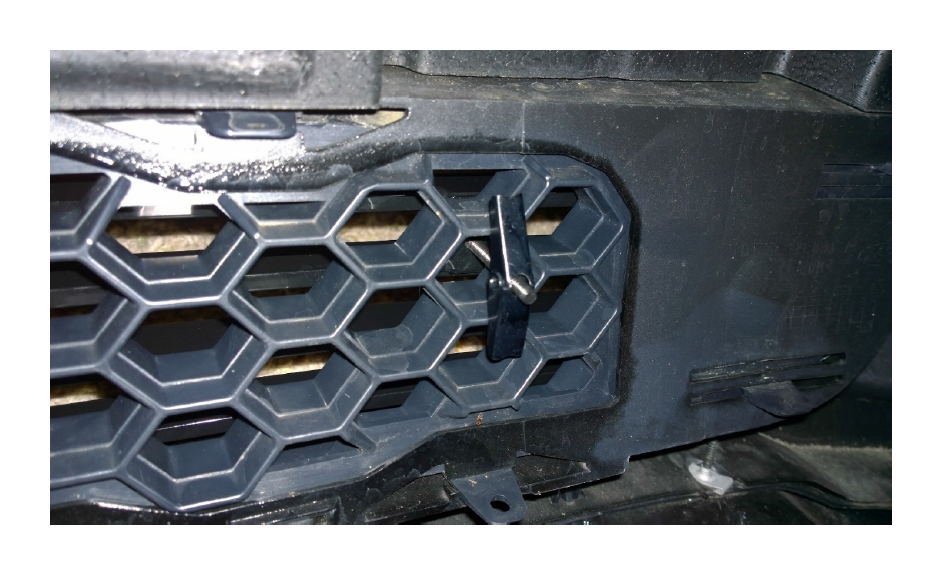
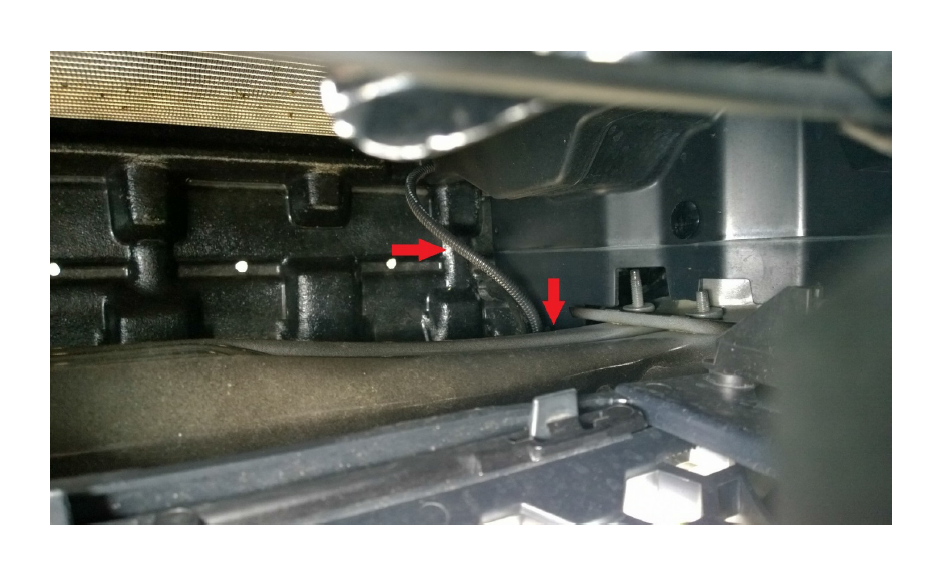
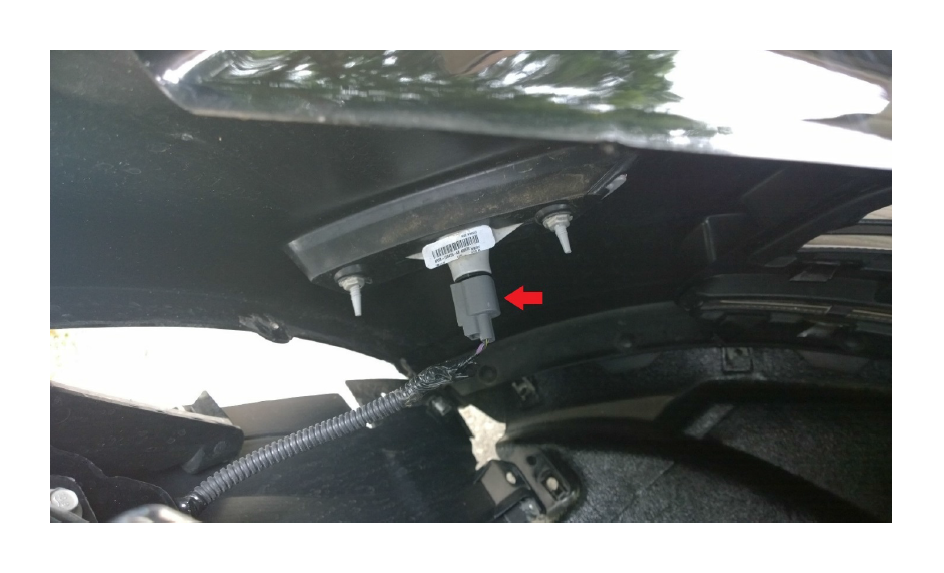
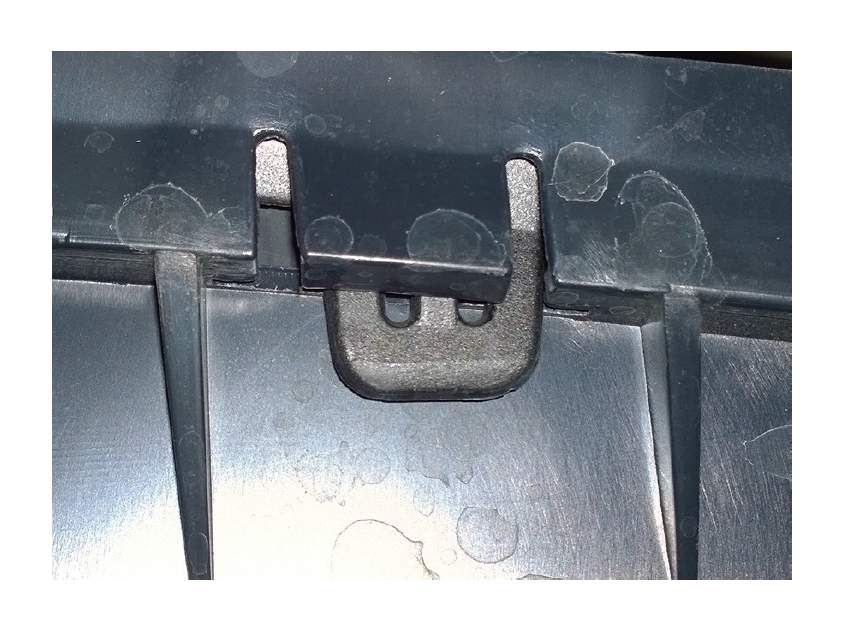
5. Remove the ambient temperature sensor. If your arm can fit through the hood latch door, you can reach through and detach it. If not, you will have to remove the bumper cover to get your arm through. A second person to assist here is very helpful! This view is through the hood latch hole looking towards the driver’s side. The sensor is attached to the lower grille.
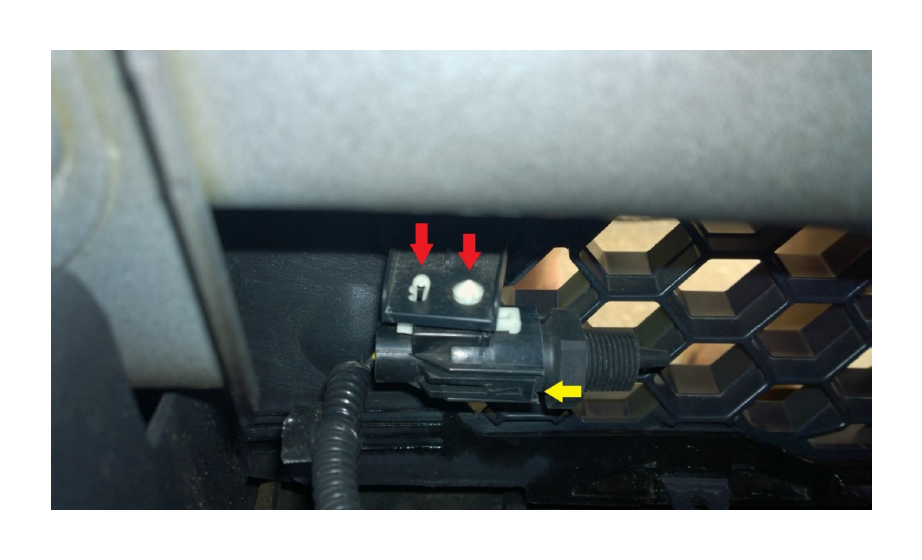
You have two options to remove it: 1) Detach the clips noted by the yellow arrow (one on each side) and slide the plug away from the sensor. Be careful as the clips can easily break.
2) Depress both retainers noted by red arrows and remove the whole assembly.
6. Unplug the corner marker light on each side by twisting the plug a quarter turn so that the flat edge faces downward and remove the plug.
7. Unplug the fog lights. The plug is under the heat sink. If you are unable to reach or see it, follow the cable back to the car. The first point on contact is a metal clip that can be removed to give more slack in the cable.
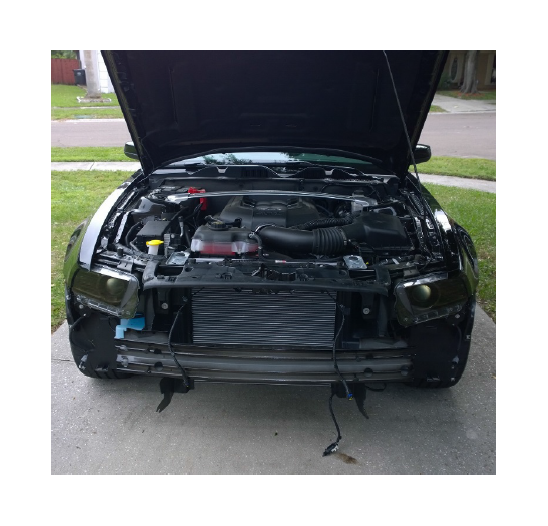
8. Remove the bumper cover from the car. Be careful if you place it on the ground as it is top heavy and will tend to fall forwards, potentially scratching the paint.
To install the bumper cover after the grille is complete, perform this process in reverse order. Be sure to reattach the fog lights, corner marker lights, and ambient temp sensor.
Installation instructions written by AmericanMuscle customer Jesse Hope 05/01/2014
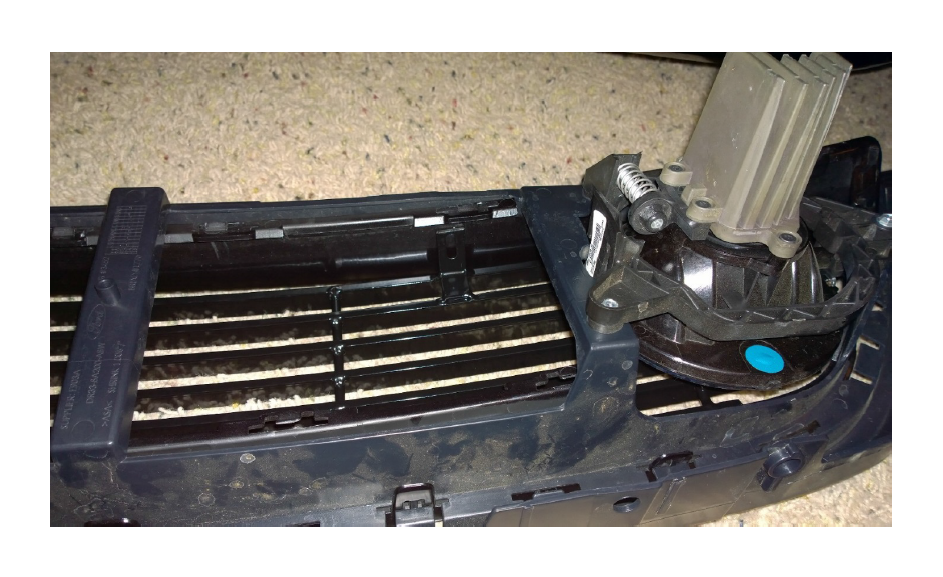
Install the upper grille.
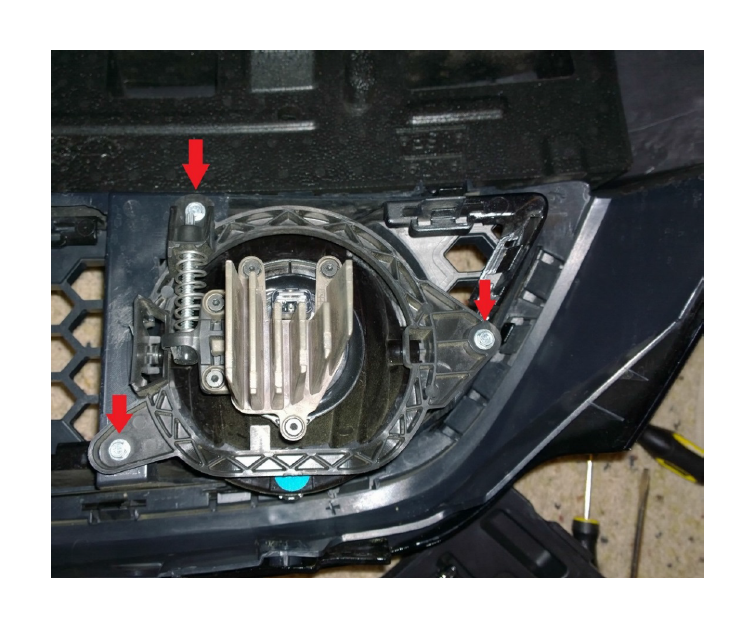
1. (Optional) Remove the fog lights. You do not have to remove the fog lights but it makes it easier to work with the grille. Three bolts hold each light in place.
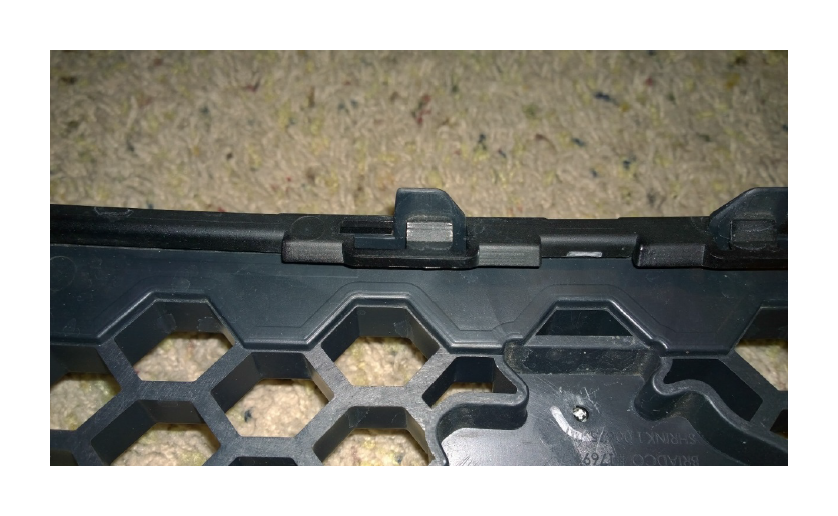
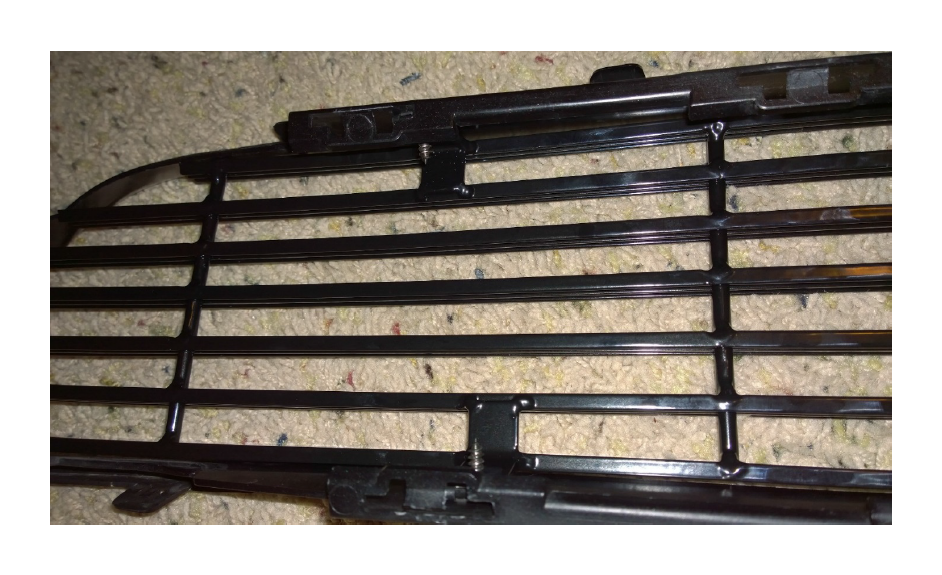
2. The grille is in three pieces attached by tabs. The process to separate them is the same, just a different set of tabs. Start at one edge and gently pry the tab away, you will hear it click. Work your way around, keeping pressure near the first tab so it does not snap back into place.
The thick, color matched, painted tabs attach the outer grille surround to the bumper cover.
The tall, three-pronged tabs attach the inner grille surround to the outer grille surround.
The small tabs attach the honeycomb to the inner grille. These can be very difficult to remove. If you are going to discard the honeycomb, you can use wire cutters to cut the tabs. Be sure you cut the honeycomb portion if you do this.
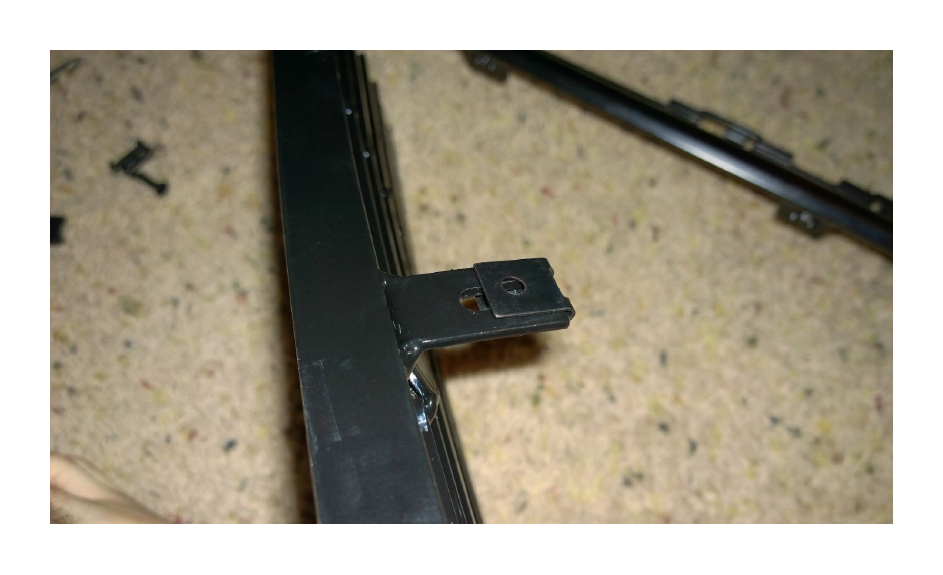
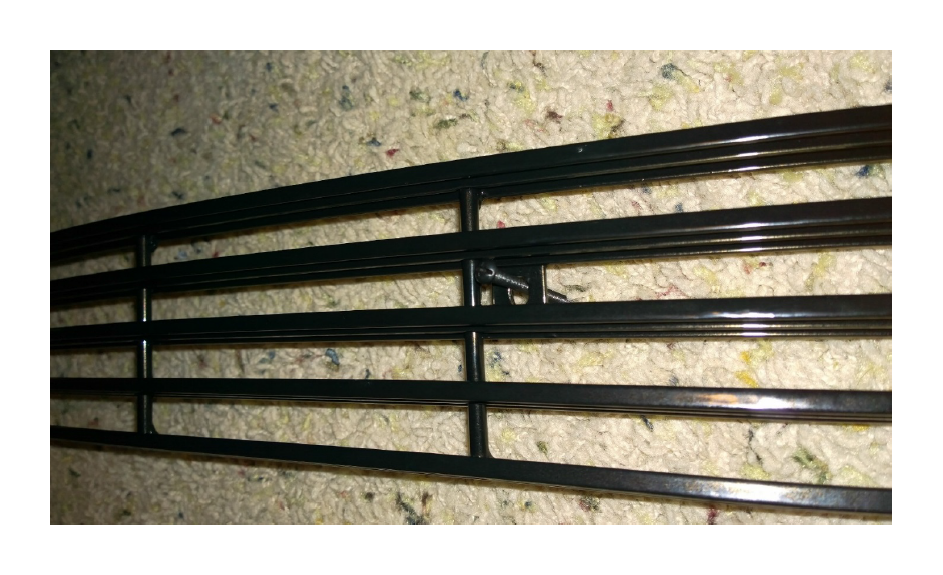
3. Attach the u-nuts to the grille brackets. Be sure to have the flat edge facing up on the top (shown) and down on the bottom.
4. Reinstall the fog lights (if you removed them) and place the grille for a test fit. Mark through the u-nuts for a reference to drill.
* The u-nuts change the location of the screw in the bracket. If you test fit without them, be sure to measure and adjust the drill marks as needed.
* It is possible to install the new grille far enough back that the fog lights don’t fit.
5. Drill through the marks with a 3/16” bit. Use the provided screws to attach the grille to the inner grille surround. You are inserting the screws from outside the grille, through the plastic first then the u-nut. The u-nut is what keeps the screw in place.
*Be sure not to tighten the screw so much that it begins to alter the shape of the grille surround. If this occurs, the tabs will not latch in place when you reassemble the surrounds.
6. Reassemble the inner surround to the outer surround and the outer surround to the bumper cover. Be sure each tab clicks into place and the whole assembly is solid.
Install the lower grille.
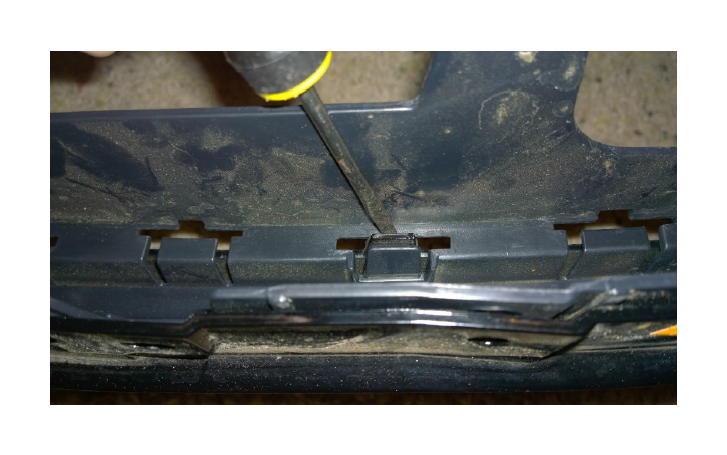
1. Feed the bolts through the front of the lower grille bracket and place into the bumper cover. It is helpful to have a second person hold the lower grille into place.
2. Place the toggle nuts on the backside of the bumper cover and feed the bolts through. Tighten the bolts so they are secure but be sure not to over tighten them as the toggle nut can be bent.