 FREE 1 to 3-Day Delivery on Orders $119+ Details
Best Sellers


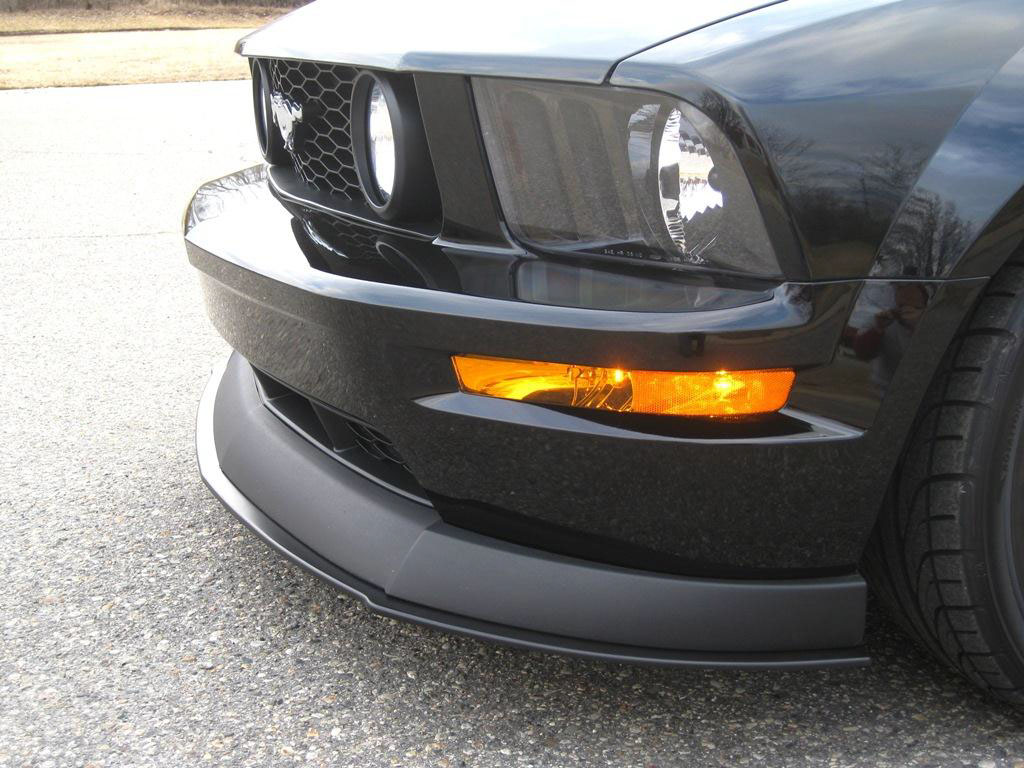
How to Install a CDC Splitter Upgrade on your 2005-2009 Mustang GT
Installation Time
30 minutes
Tools Required
- 1/4" Drill Bit
- Drill (Cordless/Electric/Air)
- Small Spring Clamps
- Panel / Fork Tool

Shop Parts in this Guide

2005-09 Mustang Chin Splitter Installation Instructions
CDC# 0511-7016-01
About the Product:
This product is designed and manufactured by Classic Design Concepts. The Chin Splitter is designed to work with our 2005-2009 Mustang Classic GT Chin Spoiler, part number 110020. Read installation instructions before starting and test fit component before painting. Chin Spoiler is a molded ABS part. To ensure the quality of your vehicle and the product, have your Chin Splitter painted by a qualified professional automotive painting facility (if applicable). We recommend that paint-curing temperature not exceed 150° F.
Kit Components:
► (1) Chin Splitter
► (2) Barbed Push Pins, p/n 65003
► (15) Plastic Scrivets, p/n 181700
Tools Required:
► ¼” Drill Bit
► Drill (cordless/electric/air)
► Small spring clamps
► Panel/Fork tool
NOTE: READ ALL INSTRUCTIONS BEFORE BEGINNING INSTALLATION.
NOTE: The CDC Chin Splitter can be installed at the same time as the CDC Classic GT Chin Spoiler is being installed, or added to a CDC Chin Spoiler that has already been installed on a vehicle. Refer to separate Chin Spoiler instructions for its installation procedure. Photos in these instructions were taken with the chin spoiler installed on the car.
1. Raise front of vehicle using hoist, ramps, or jack/jackstands, etc. SUPPORT THE VEHICLE PROPERLY.
2. If Classic GT Chin Spoiler is already installed on vehicle, remove the two plastic barbed push pins (one at either end of chin spoiler) using a trim panel/fork tool, and discard push pins.

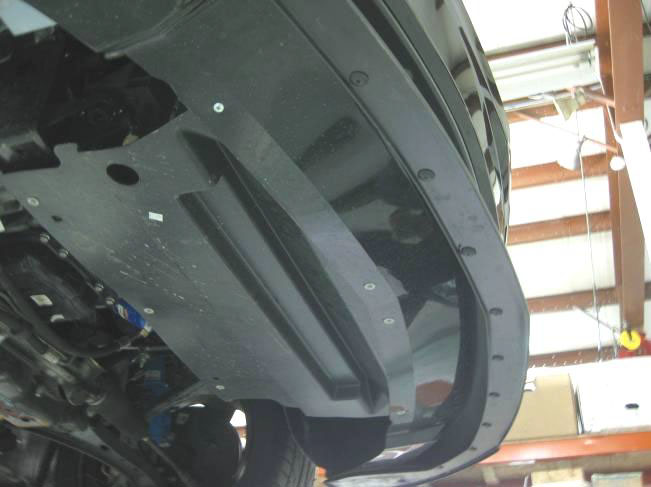
3. With spring clamps nearby within reach, place Chin Splitter to underside of the Classic Chin Spoiler and clamp in place. It helps to have a friend assisting. Left/right ends of Chin Splitter should fit flush with ends of Classic GT Chin Spoiler. Underside of Chin Splitter matches/overlaps contours of Classic GT Chin.
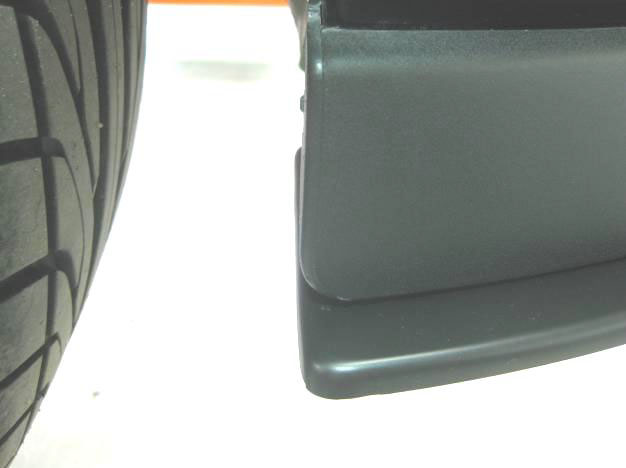
4. Looking down from above, “overhang” of Chin Splitter should be evenly spaced around Classic GT Chin; approx 7/8” at either end, and 1.25” at the front/center.


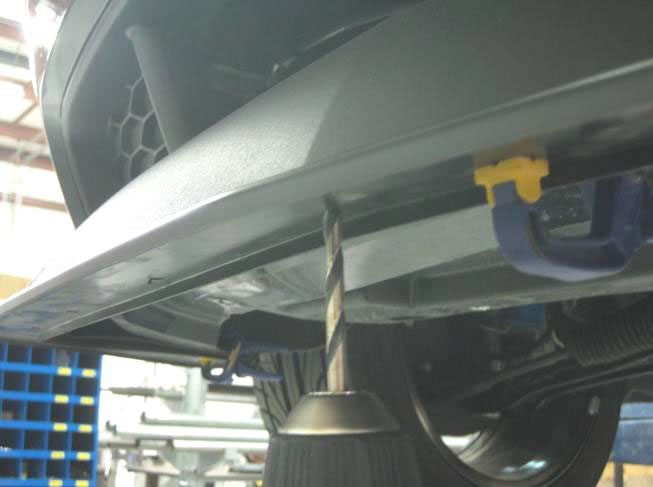
5. With Chin Splitter positioned in desired location, clamp in place. Using ¼” drill bit, drill through existing holes in Chin Splitter into/through the under-side of Classic GT Chin. Clear any drilling debris from between Splitter and Chin.
6. Install scrivets starting at the center, working your way outward.
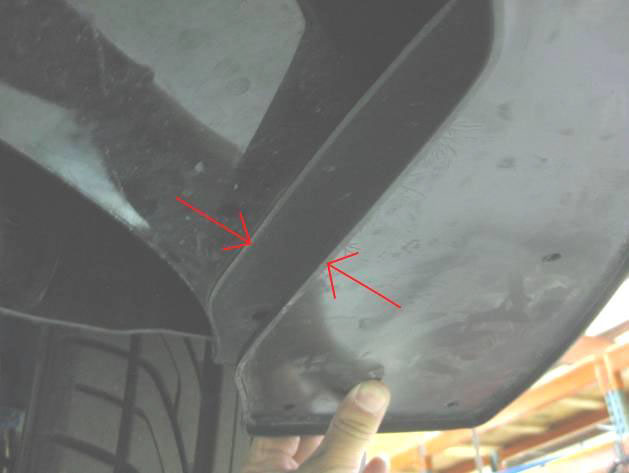
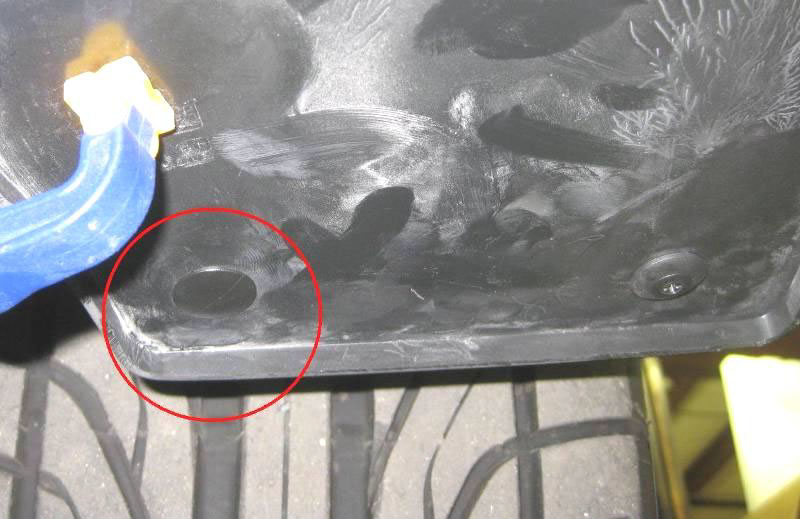
7. Due to material thicknesses, at the ends of Chin Splitter (directly in front of tires) one barbed push-pin must be installed into the inner-most hole (circled in picture, use one per side).
8. You’re finished! Lower vehicle to the ground and enjoy your new CDC Chin Splitter.
Additional Installation Notes
The CDC Chin Splitter may be installed onto a CDC Classic GT Chin prior to the Chin being installed on the car. Follow the same process noted above, by aligning, clamping, and drilling the Classic GT Chin. However, we recommend that only the small number of scrivets be used at the center of the Chin and Splitter, temporarily. Leaving off the remainder of the Chin Splitter’s scrivets/push pins will allow the Chin Spoiler to be installed onto the car easier. Once the Chin Spoiler is completely installed on the car, continue to install the remaining Chin Splitter scrivets and push pins.
Thank you for choosing Classic Design Concepts for your restyling needs. If you have any questions or concerns regarding installation please contact [email protected]
Or call 866-624-7997.
