 FREE 1 to 3-Day Delivery on Orders $149+ Details
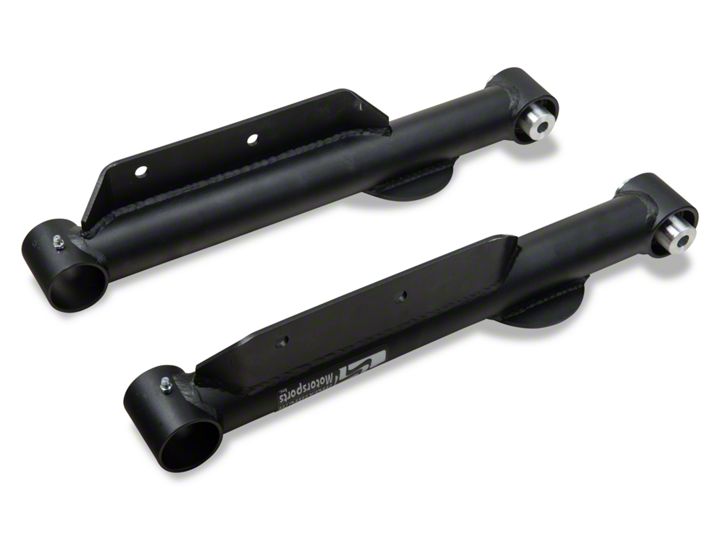
Maximum Motorsports Rear Lower Control Arms (79-98) - Installation Instructions
Installation Time
4 hours
Tools Required
- 2 socket wrenches
- 2 18mm sockets
- 1 15mm socket
- 1 5/16 socket 4 jack stands
- 1 jack
- 1 torque wrench
- 1 lug wrench
- A small block of wood if readily available.
Shop Parts in this Guide
Installation
1. Open the box containing the rear control arms, unpack the arms and remove the small bag containing the bushings, there will be 4 parts to each rear bushing. 2 outside bushings, 1 center bushing, and a metal sleeve for the bolt to pass through.
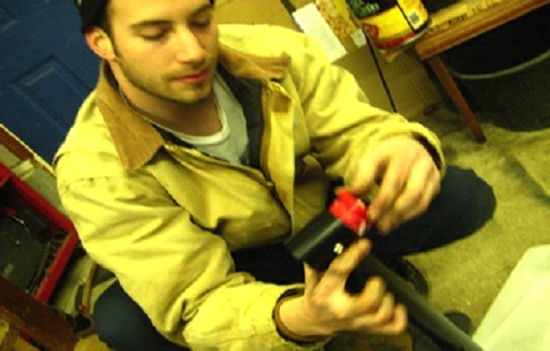
2. Maximum motorsports also supplies 1 grease packet for each rear bushing. Open the grease packet and apply grease to the bushings before pushing them in.
3. After grease has been applied lug inserting the bushings by pressing the outer bushing into the opening, then the middle bushing, the second outer bushing, followed by the metal sleeve.
4. Prepare the car by parking on a level surface and chocking the front wheels, leave the parking brake off for future steps, loosen the rear lug nuts with the lug wrench.
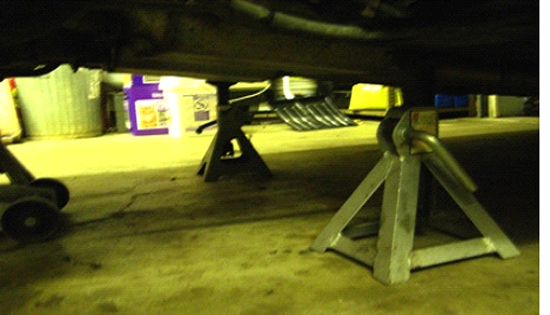
5. Jack the car up by the rear differential high enough so you can place two jack stands at your appropriate rear jack points. Once the jacks are in place lower the differential so that the rear suspension is at full droop, then raise the jack one pump.
6. Place the other two jack stands under the rear axle of the car, release and remove the jack from the differential.
7. Finish removing the rear wheels from the vehicle with the lug wrench.
8. Use the 15mm socket and 1 socket wrench to remove the parking brake/abs brackets and rear sway bar.
9. Pick one side of the car to start with first and raise the jack, with the small piece of wood on the jacking cup, so that the bottom of the control arm is supported but not lifting the car.
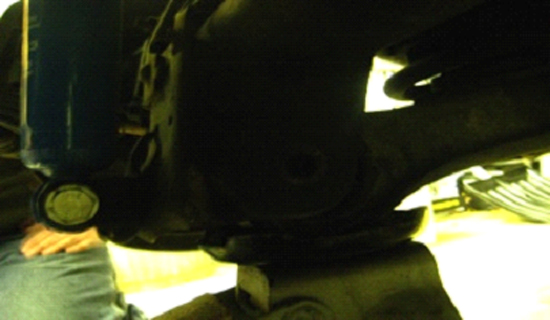
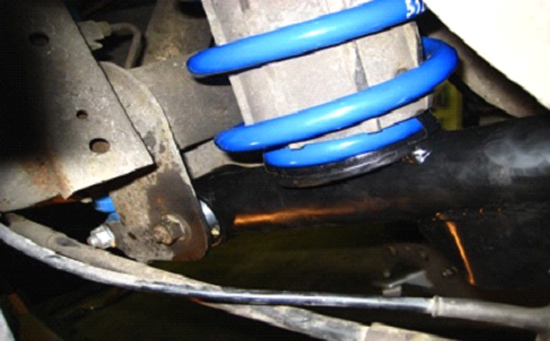
10. Use the two 18mm sockets and the 2 socket wrenches to remove the bolt connecting the axle to the control arm.
11. After the bolt has been removed slowly lower the jack so that the tension from the spring is released, after the tension has been released remove the spring and place aside.
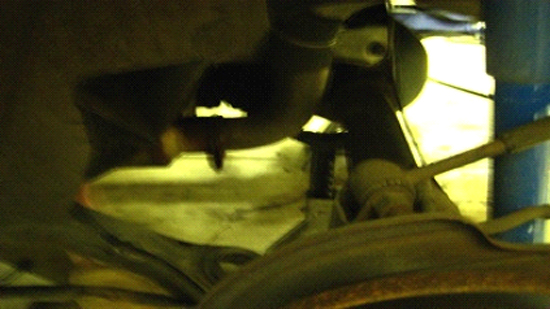
12. Use the 2 socket wrenches and 2 18mm sockets to loosen and remove the body to control arm bolt.
13. After that bolt has been removed pull the control arms out of the body brackets/torque boxes
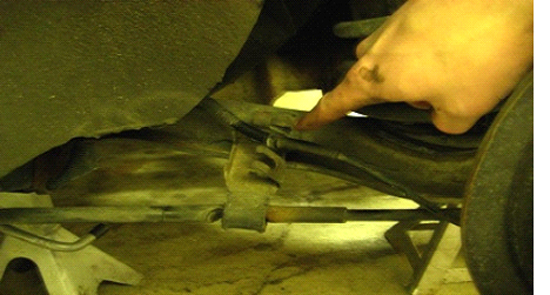
14. The parking brake follows along the rear control arm; you have already removed the bracket attaching it and the ABS line to the rear control arm, now it’s time to dislocate the cable from the caliper. Under the rear caliper there is a slot that the parking brake slides through, remove the e-clip with a pair of needle nose pliers, and then use the pliers to remove the parking brake from its retainer on the caliper.

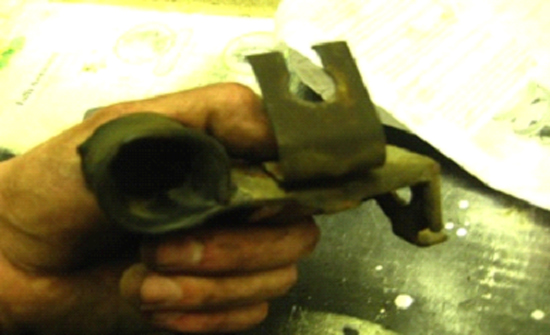
15. After that has been removed, pull the parking brake cable through the slot and remove the ABS/parking brake bracket. After this is done you need to switch their positions. Use the 5/16 socket to remove the bolt connecting the two together. Flip the ABS bracket and attach it on top of the parking brake bracket, retighten with the 5/16 socket. Finished product will look like following picture.
16. Slide the parking brake cable back through the bracket, then slide the parking brake back through the slot on the bottom of the control arm, and place the e-clip back into position. Finally use the pliers to attach the parking brake back to the caliper.
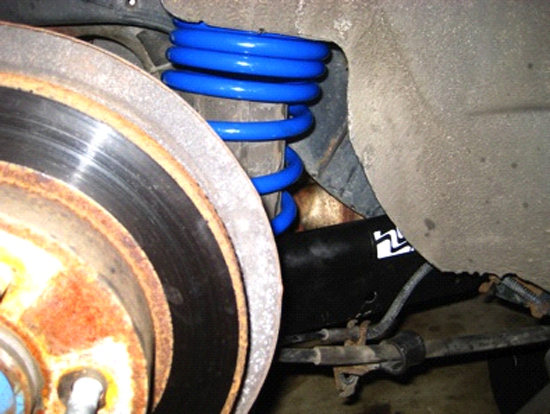
17. Now slide the new maximum motorsports control arms (each arm is labeled with a sticker as either driver’s side or passenger) into the frame brackets and push the bolt through the brackets and metal sleeve. Tighten the bolt with the 18mm sockets but do not torque it yet.
18. Place the jack back under control arm and place the spring on the spring perch, raise the jack slowly and align the spring with the upper cup and the rear bushing with the axle brackets. Place the bolt trough and torque to 85 foot pounds.
19. Go back to other control arm bolt and tighten to 85 foot pounds.
20. Repeat all the prior steps for the other control arm.
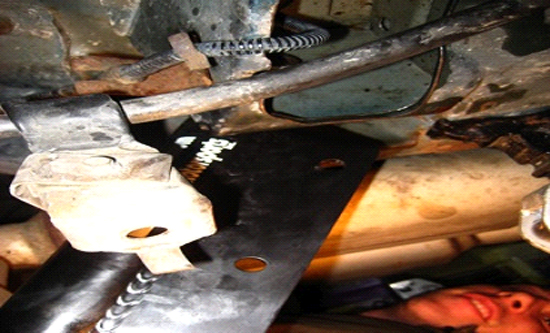
21. After both arms have been installed, remove the old bolt retainers from the rear sway bar, reinstall the sway bar, use the rear hole to attach the parking brake/ABS bracket and tighten the sway bar bolts with the new supplied nuts to 41 foot pounds, place the rear wheels back on and figure tighten the lug nuts.
22. Raise the car by the differential with the jack and remove all the jack stands from under the car, and install the rear wheels, slowly lower the car down, then torque all he lug nuts in a star pattern.
23. Take for a test drive!
Installation instructions provided by AmericanMuscle customer Jay Giberson 2.20.10

