 FREE 1 to 3-Day Delivery on Orders $119+ Details
Best Sellers


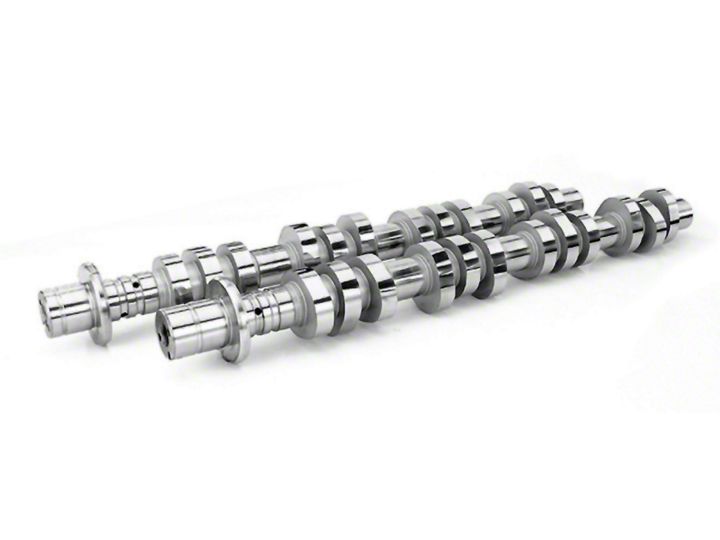
How to Install a Comp Cams XE-R Supercharged/Nitrous Stage III Camshafts on your 1996-2004 Mustang C
Shop Parts in this Guide
Installation
4.6-Liter 4 Valve Engines
Thank you for choosing COMP Cams® products; we are proud to be your manufacturer of choice. Please read this instruction sheet carefully before beginning installation, and also take a moment to review the included limited warranty information.
This instruction sheet is broken down into several categories for ease of use. Some of the topics may not apply to every application, but all of the information will be very beneficial during the cam installation process. If there are any questions or problems during the installation, please do not hesitate to contact the toll free CAM HELP® line at 1-800-999-0853, 7 a.m. to 8 p.m. CST Monday through Friday.
Camshaft Installation
Step 1: Prepare a clean work area and assemble the tools needed for the camshaft installation. The use of an automotive manual is strongly recommended for help in determining which components must be removed from your engine in order to expose the camshafts, camshaft sprockets and timing chain assembly. A good, complete repair manual will save both time and frustration during the installation of your new camshaft set.
Step 2: Remove the intake manifold and valve covers from the motor.
Step 3: Remove spark plugs, crank pulley, damper and engine front cover.
Step 4: Remove the primary timing chains and outer camshaft sprockets.
Step 5: Remove the secondary timing chain assemblies after relieving the tension on the secondary drive assembly by depressing the plunger and inserting a pin to lock it in place.
Step 6: Rotate the crankshaft keyway counterclockwise 90° from 12 o'clock (to about the 9 o'clock position).
Note that this step is vital in order to avoid contact between the pistons and valves while rotating the cams for the purpose of rocker arm removal.
Step 7: Rotate the camshaft so that the heel of the cam lobe is positioned over the rocker arm that you wish to remove. Using the appropriate rocker arm service tool, compress the valve spring and remove the rocker arm.
Repeat this process until all of the rocker arms have been removed.
Step 8: Once all of the rocker arms have been removed, unbolt and remove the cam towers. Be sure to keep track of the order in which you removed the cam tower caps and cap bolts, as they are not all the same size.
Step 9: Remove the old camshafts. Liberally coat your new COMP Cams® camshafts with the supplied assembly lube. It is a good idea to use an additional bottle of lube, available from COMP Cams® (Part #152) in order to ensure that you have enough lubricant for a proper installation. This is very important as (unlike a conventional small block) pre-Iubing the modular motor is difficult without some type of pressurized external oiling system.
Step 10: Install each side's intake and exhaust cam properly into the engine (RI & RE=passenger side, LI & LE=driver side). Tighten all of the cam tower bolts using factory torque specification and tightening sequence. Verify that each camshaft spins freely without binding (note that slight resistance to turning is normal).
