 FREE 1 to 3-Day Delivery on Orders $149+ Details
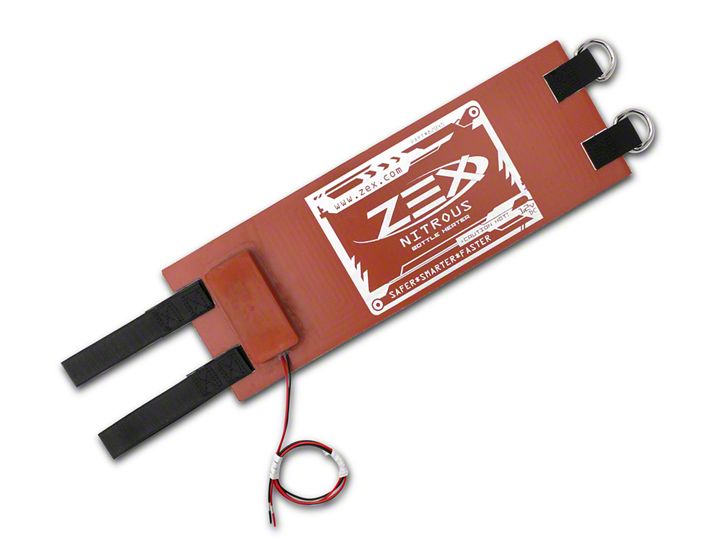
How to Install a ZEX Plug-In Nitrous Bottle Heater on Your 1979-2013 Mustang
Installation Time
15 minutes
Tools Required
- Wire Crimping Tool
- 16g Electrical Wire (If needed)
- Electrical Tape (Optional)
- Zip ties (Optional)
Shop Parts in this Guide
Installation
1. First unhook the negative battery cable from your car.
2. Decide where you want to plug in your bottle heater. I chose the rear center console.
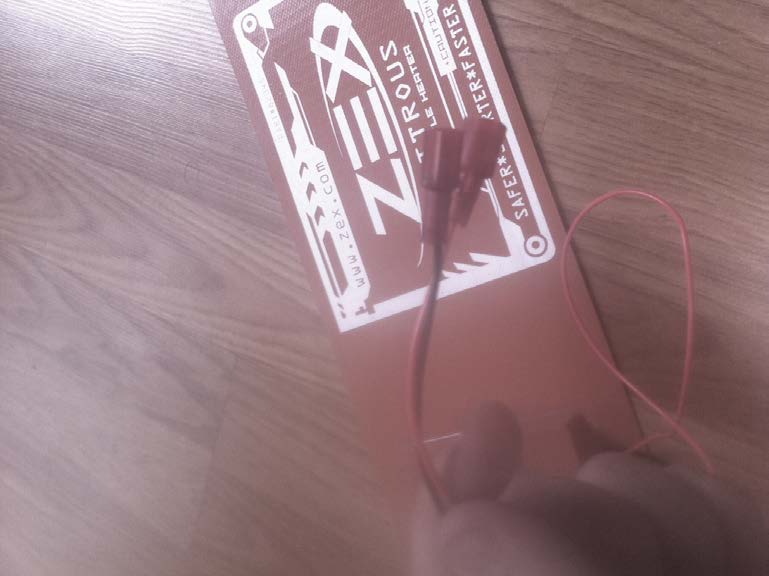
3. First connect the two female connector ends onto the the two wires that come off the bottle heater itsself.
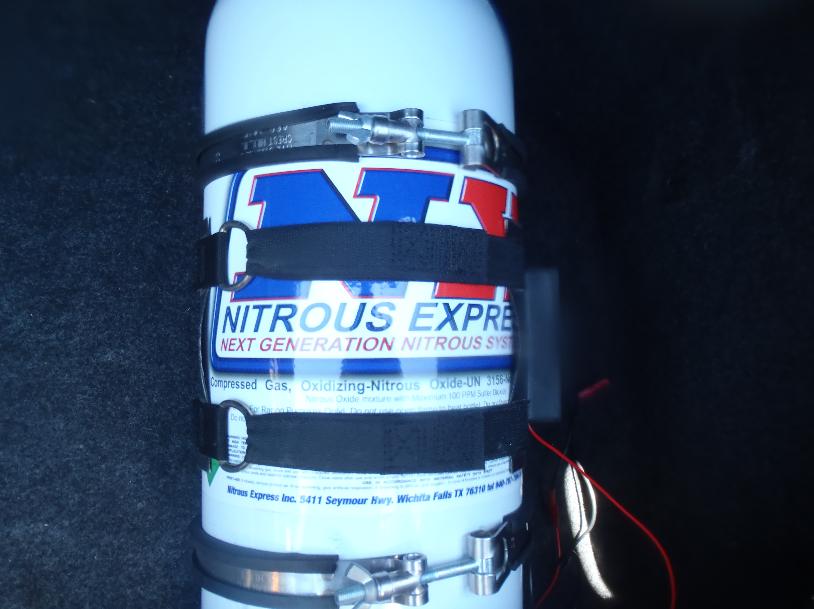
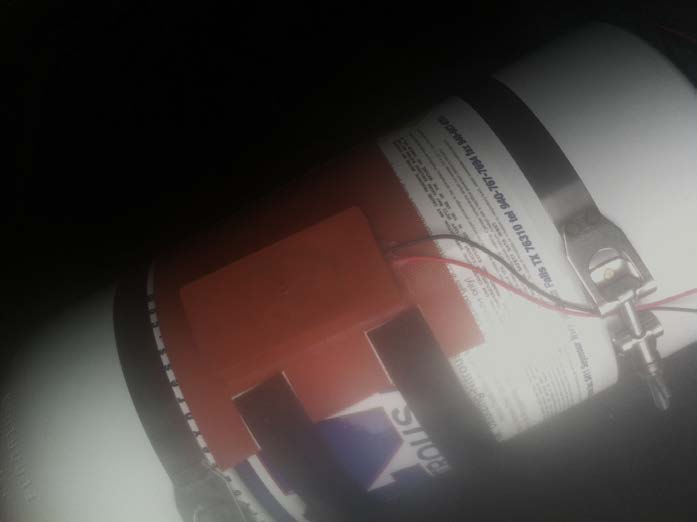
4. Install the bottle heater onto your nitrous bottle. Be sure that the heater is not touching any carpet.
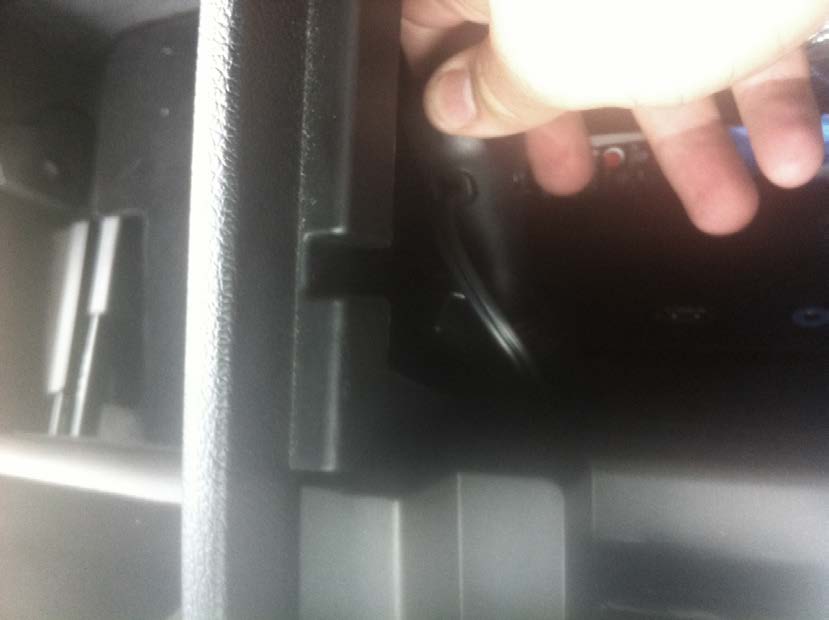
5. Place the plug in adapter in the area you want it to be in. In a 2011 Mustang GT, you lift off the center console. Run the wires down the side of the center console and under the passenger seat.
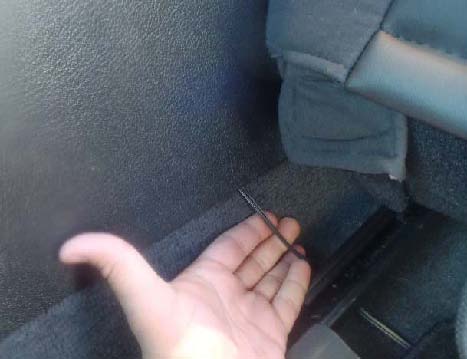
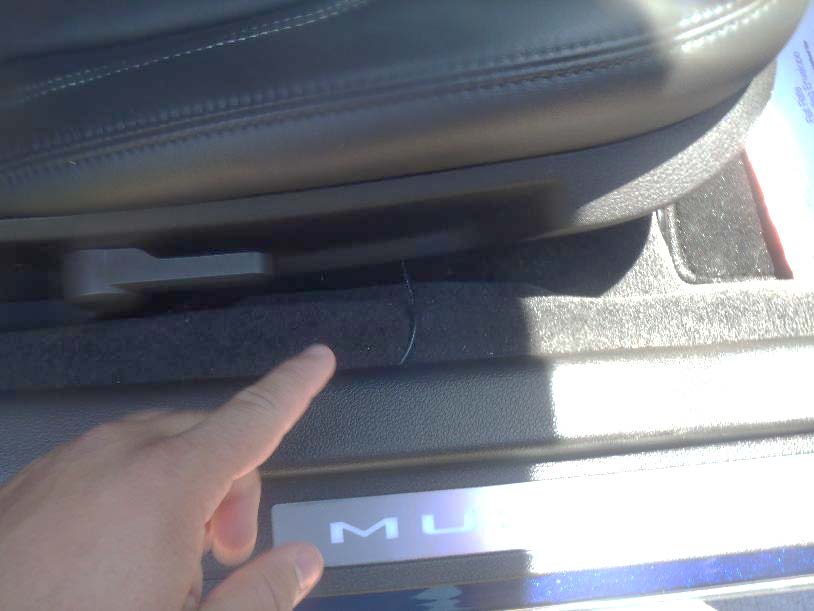
6. Remove the passenger side door sill, and route the wires under that towards the trunk.
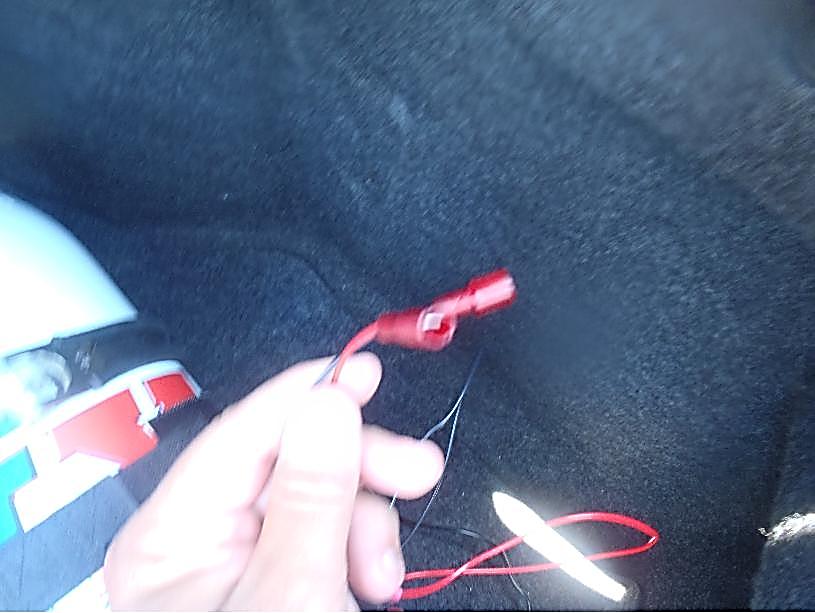
7. Once the ends of the wires are in the trunk, connect the two male ends to the end of the wires. You may have to use some additional electrical wire in order for the wires to reach the bottle.
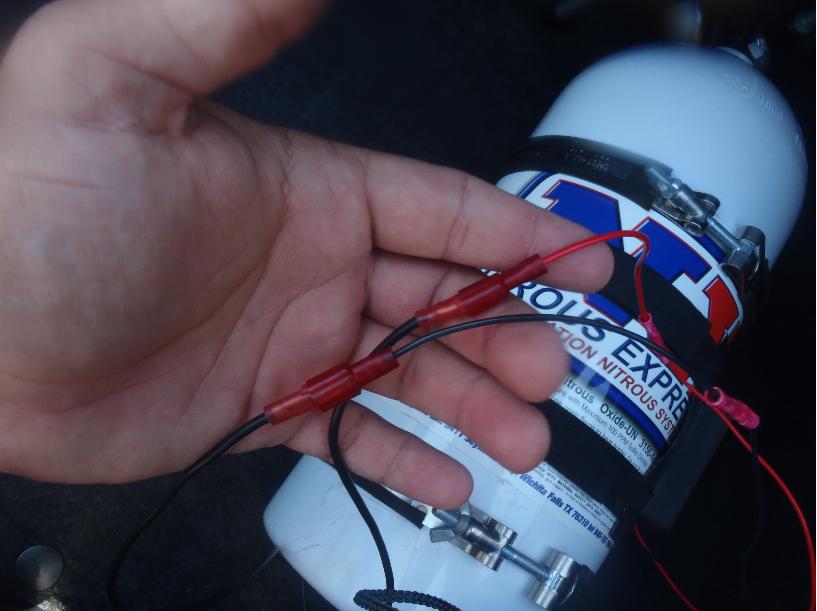
8. Connect the wires coming from the heater to the wires coming from the socket.
9. Reconnect your battery.
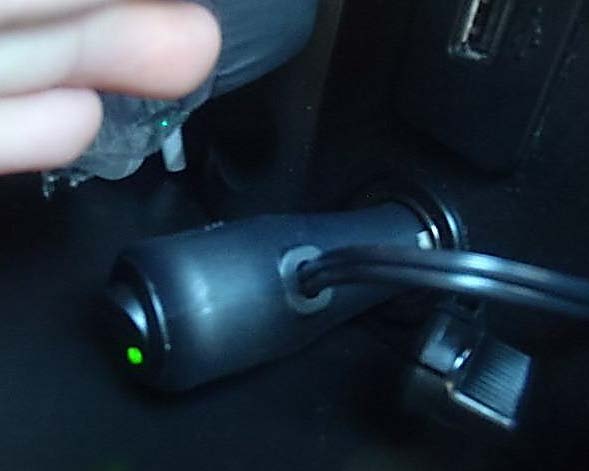
10. Plug in the adapter into the cigarette lighter port and ensure light turns on.
11. Make sure all the wires are hidden. Let the heater heat up for a minute or two and touch it to ensure it is heating properly. If it is, turn off the heater and unplug it. You have now completed the installation!
Installation Instructions written by AmericanMuscle customer Ricardo Iglesias 4.25.12

