 FREE 1 to 3-Day Delivery on Orders $119+ Details
Best Sellers


Chrome Mustang Headlights Installation Guide ('87-'93)
Tools Required
- 7/16 Open End/Box Wrench (Preferably Ratcheting Style) - *Size May Differ Depending on Vehicle*
- RTV Silicone Sealant
- Small Flat Head Screwdriver
- Pair of Clean Gloves
- (4) Crimp Connectors (Any Type)
- Pliers or Crimping Tool
- Plastic Zip Ties -or- Wire Tires (OPTIONAL)
Installation
1. Unpack and inspect all pieces included in the headlight kit.
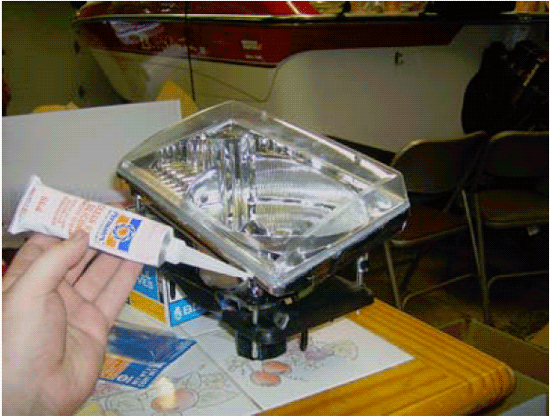
2. Use silicone RTV sealant to make a small bead around the entire headlight, where the lens joins to the housing. Do this for all lights including markers and parking lights.
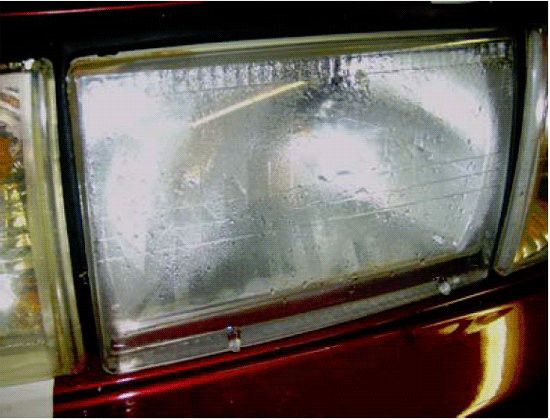
3. WARNING! - Skipping this step may result in moisture buildup inside the headlight! (See image below).
4. While the silicone is curing, begin the removal of the existing headlight assemblies. Carefully remove each headlight bulb from the housing by using the flat head screwdriver to open the clip, and gently pull the bulb out. All marker bulbs and parking bulbs will twist to remove.
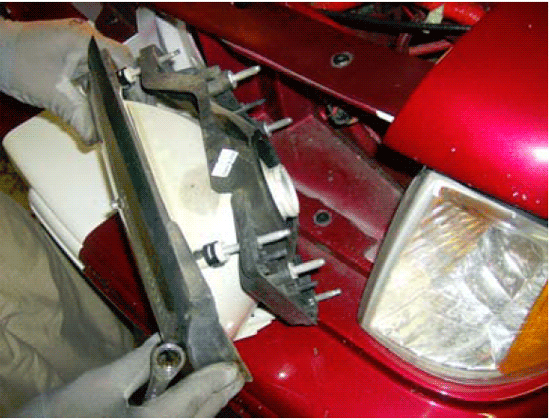
5. Each headlight has three nuts on the back and the other lights have two. Use the wrench to remove these nuts. When these nuts have been removed, carefully pull the housing out. Do this for all light housings.
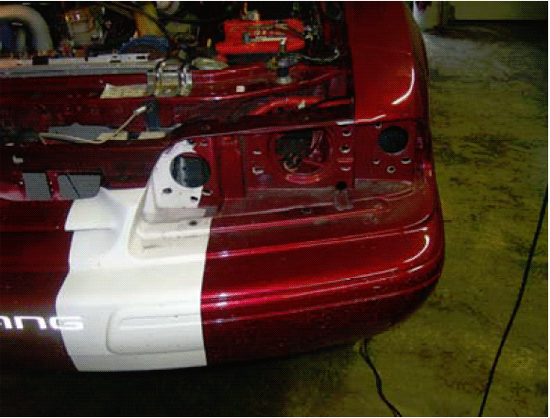
6. With all the housing removed, your vehicle should look like this.
7. Now install all the new light housing in reverse order. Confirm that all the nuts are secured firmly to the housings. Remember, these housings are plastic, so make sure that you do not over tighten them.
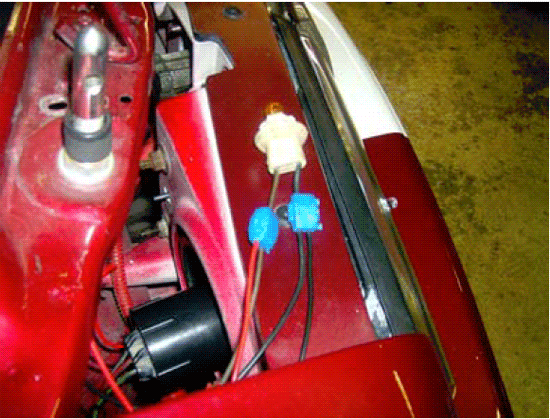
8. This particular kit has an auxiliary bulb installed for an extra marker light. This light should be crimped into the side marker lights. Match the black wires together and the other wire to the red. Using the pliers or crimping tool, crimp them tightly, using whichever connector you choose.
9. Make sure all bulbs are now securely in their proper housing. If you desire, use wire ties or zip ties to clean up any loose wires hanging inside, behind the housings.
10. Properly adjust the headlights afterwards, to ensure correct alignment.
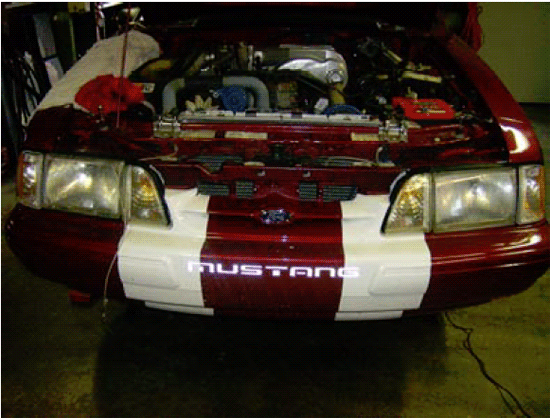
BEFORE
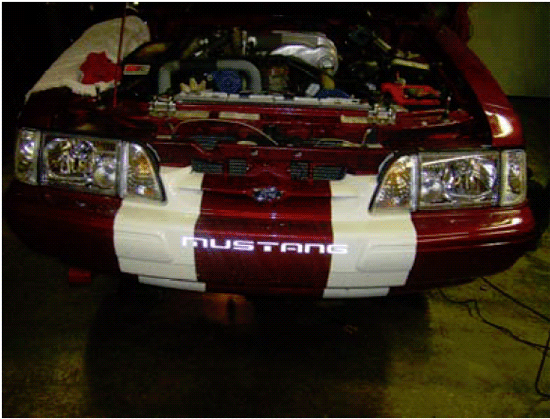
AFTER
Installation instructions provided by AmericanMuscle customer Randy Orr 8.24.08
Best Sellers
Related Guides
-
Installation
-
Installation
-
Installation
