 FREE 1 to 3-Day Delivery on Orders $119+ Details
Best Sellers


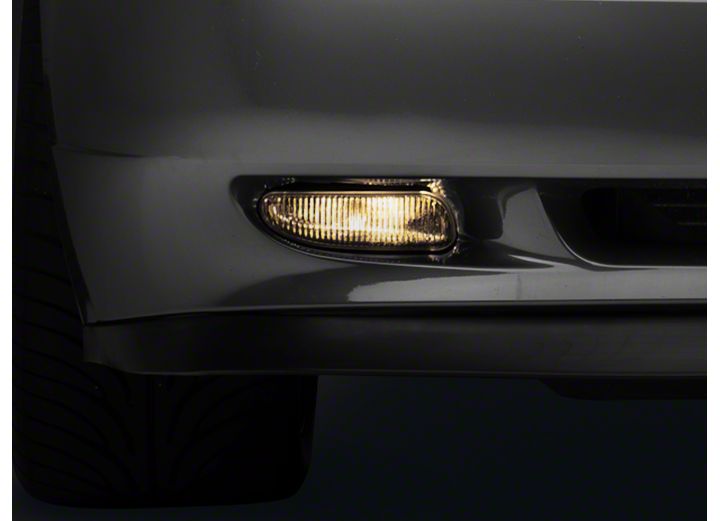
Mustang Fog Lights Installation Guide ('99-'04)
Installation Time
1 hours
Tools Required
- 1/4" Drive Socket Wrench
- 2 Extensions
- 7mm Socket
- Phillips head screwdriver
- Silicone
- Torx bit T20 and driver
- Pliers
- Flashlight
Shop Parts in this Guide
Installation
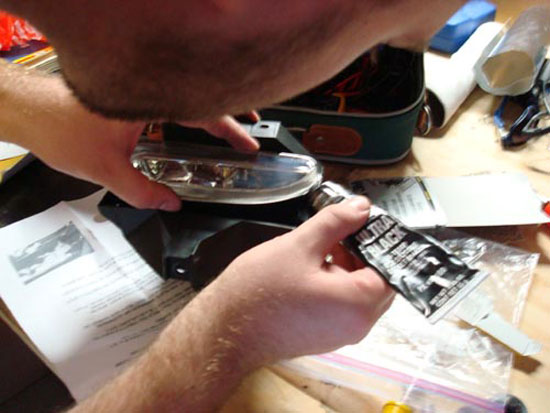
1. Unscrew the adjuster screw on the new lights in order to get around the whole assembly. Silicone around them. I let them sit a night before I installed them.
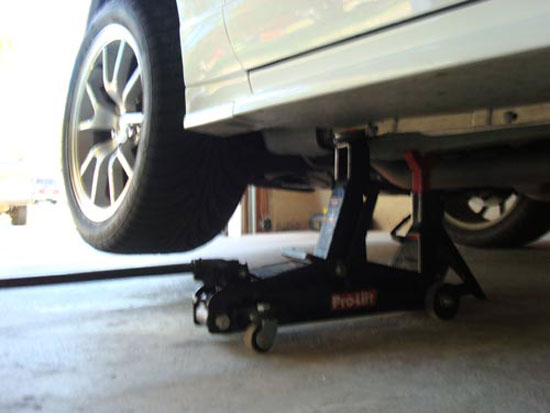
2. Jack the car up and support with jack stands. (I did one side of the car at a time).
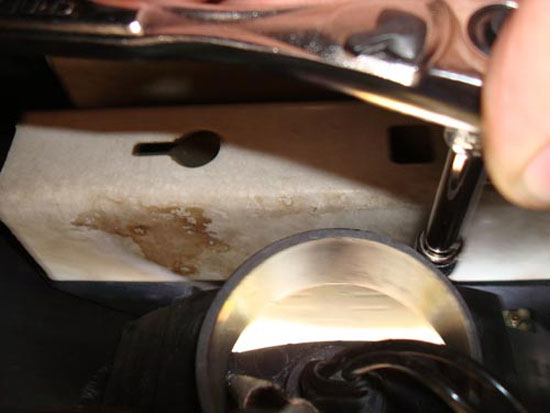
3. Unscrew the bulb from the housing.
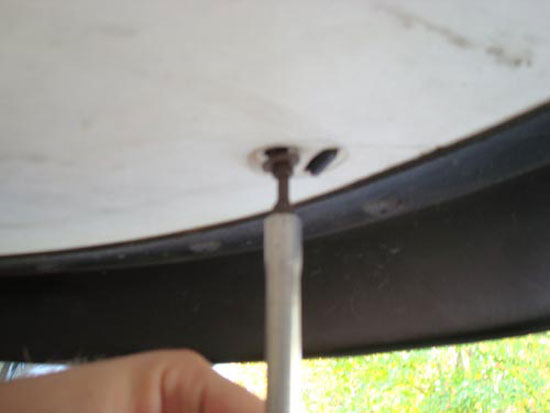
4. With the T20 Torx bit or 7mm socket take out the screw in the bottom of the bumper.
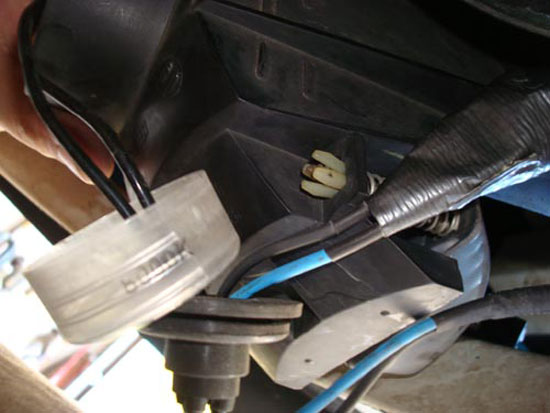
5. Now here's the tricky part: finding the top screws. There are two of them. Feel for them first with your fingers. Once you've found them attach the 2 extensions and 7 mm socket onto the socket wrench and unscrew them.
6. Then remove the housing.
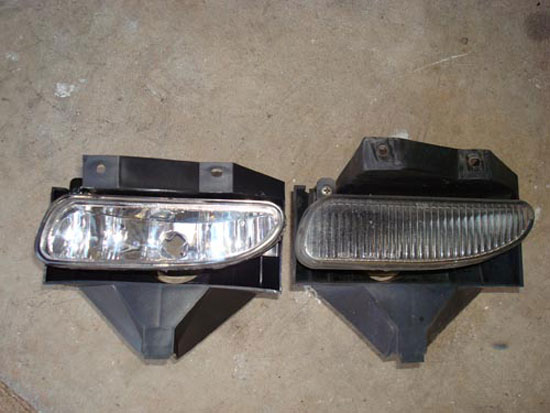
7. Here is a comparison of the old and new fog lights.
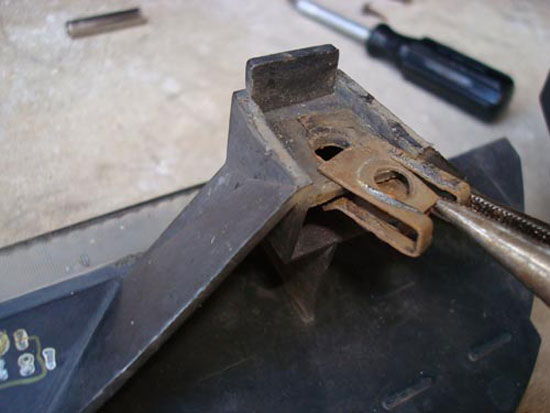
8. Now transfer the bottom screw bracket from the old light to the new light with a pair of pliers.
9. Then reinstall the housing. The housings have to stretch a little bit. Make sure you have a friend as that will make it a LOT easier to install and line up the screws that you cannot see in the top. Get the top screws started and then line up the bottom hole and screw that one in and then finish with the upper ones.
10. Reconnect the wires and install the bulb.
11. You’re finished!
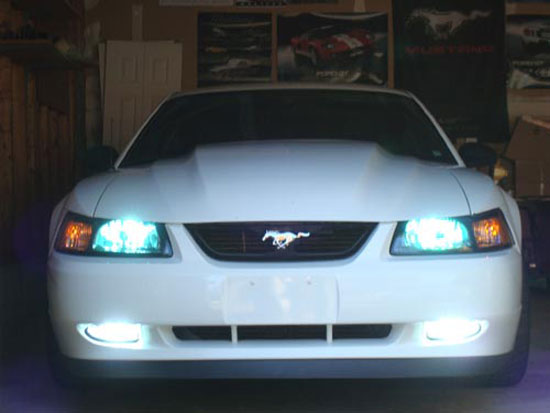
12. Here are a couple before and after pictures.


Installation instructions provided by AmericanMuscle customer Patrick Kopera 11.10.08
