 FREE 1 to 3-Day Delivery on Orders $119+ Details
Best Sellers


How to install Ford Motorcraft OEM Spark Plugs on your 2008-2010 GT Mustang
Installation Time
2 hours
Tools Required
- 3/8 drive wrench
- OTC 6900 Spark Plug Socket (or a 9/16 deep socket, 3/8" drive and two 3/8" extensions)
- 7mm socket, preferably a 1/4" drive for space reasons
- Liquid Penetrant such as Liquid Wrench or PB Blaster
- Carburetor/Choke cleaner
- Air compressor if available, but not mandatory
- Motorcraft high temp nickel anti-seize lubricant
Shop Parts in this Guide
Installation
The 3V 4.6L and 5.4L spark plugs have proven to be a little more problematic during removal. Most auto techs will tell you that after 80k miles, these plugs can become covered in carbon and actually separate when trying to extract from the engine. What happens over time is the carbon between the cylinder and plug seize it in place, due to such a close fit on the 3V heads. Following these directions will greatly improve your chances of a extracting the old plugs without any problems.
Please Note: This removal and installation process is the same for all 2005-2010 Mustangs.
Installation Instructions:
Step 1: Drive or run your Mustang until it is at normal operating temperature. Let cool to a comfortable work level.
Step 2: Use compressed air to blow any dirt or debris that may be around your coil-on plugs. It’s best that nothing falls down into the spark plug port once the plugs are removed.
Step 3: Disconnect your negative battery terminal.
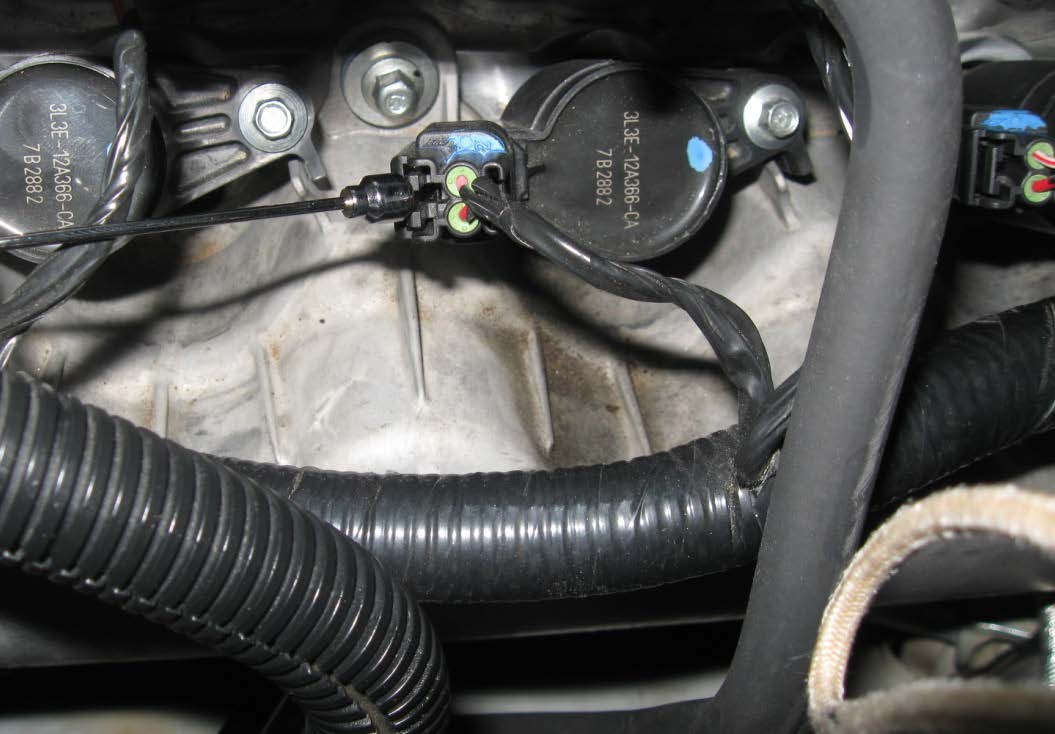
Step 4: Remove the electrical connections from the top of your coil-on plugs. Press the tab at the top left of the plug and pull to release them from the coil (see photo below). It is not necessary to mark the electrical plugs as it is virtually impossible to plug them into the wrong cylinder because the wire will not reach.
Step 5: Remove the 7mm bolt which is located to the right of each coil pack, (8) total bolts.
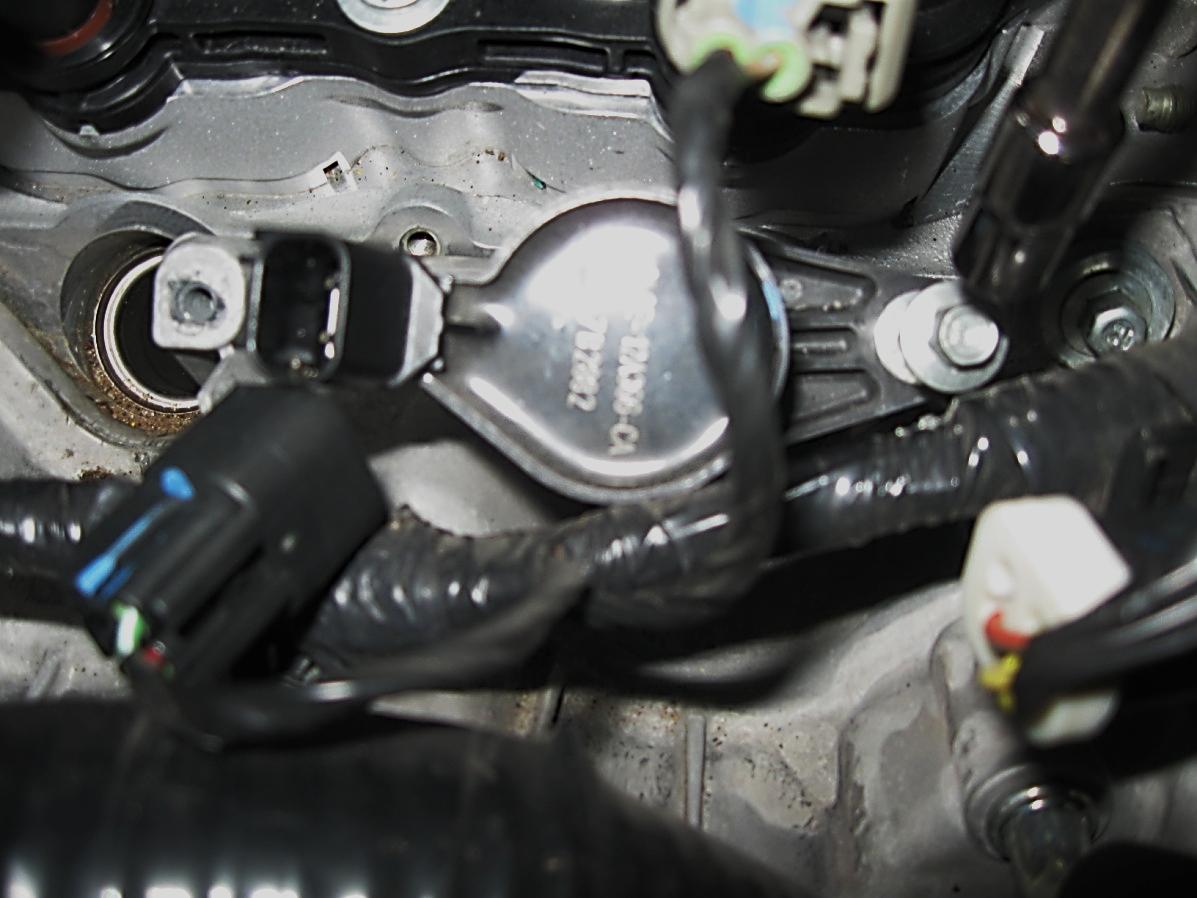
Step 6: Gently pull straight up on the assembly and lightly wiggle left to right to help release the seal and it should come right out. Now, blow out the spark plug ports with compressed air.
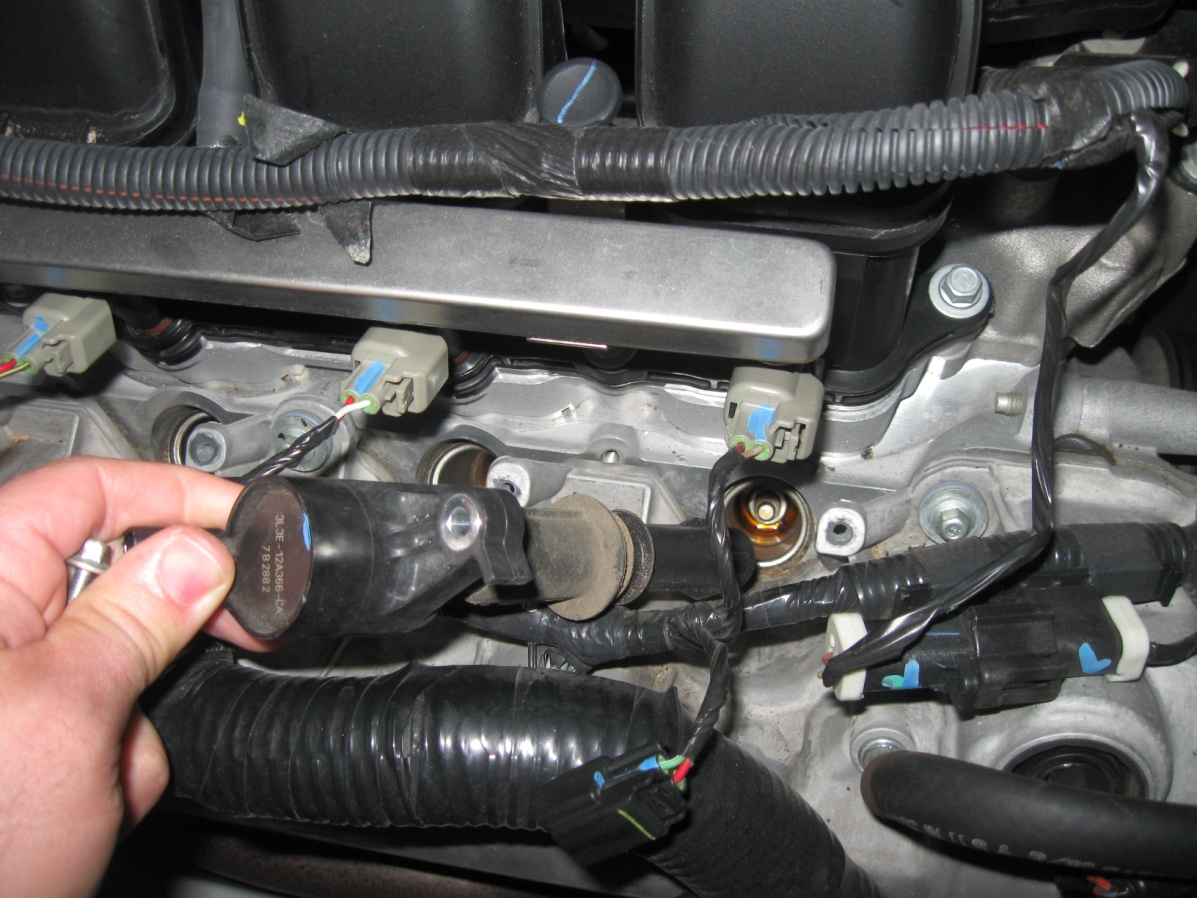
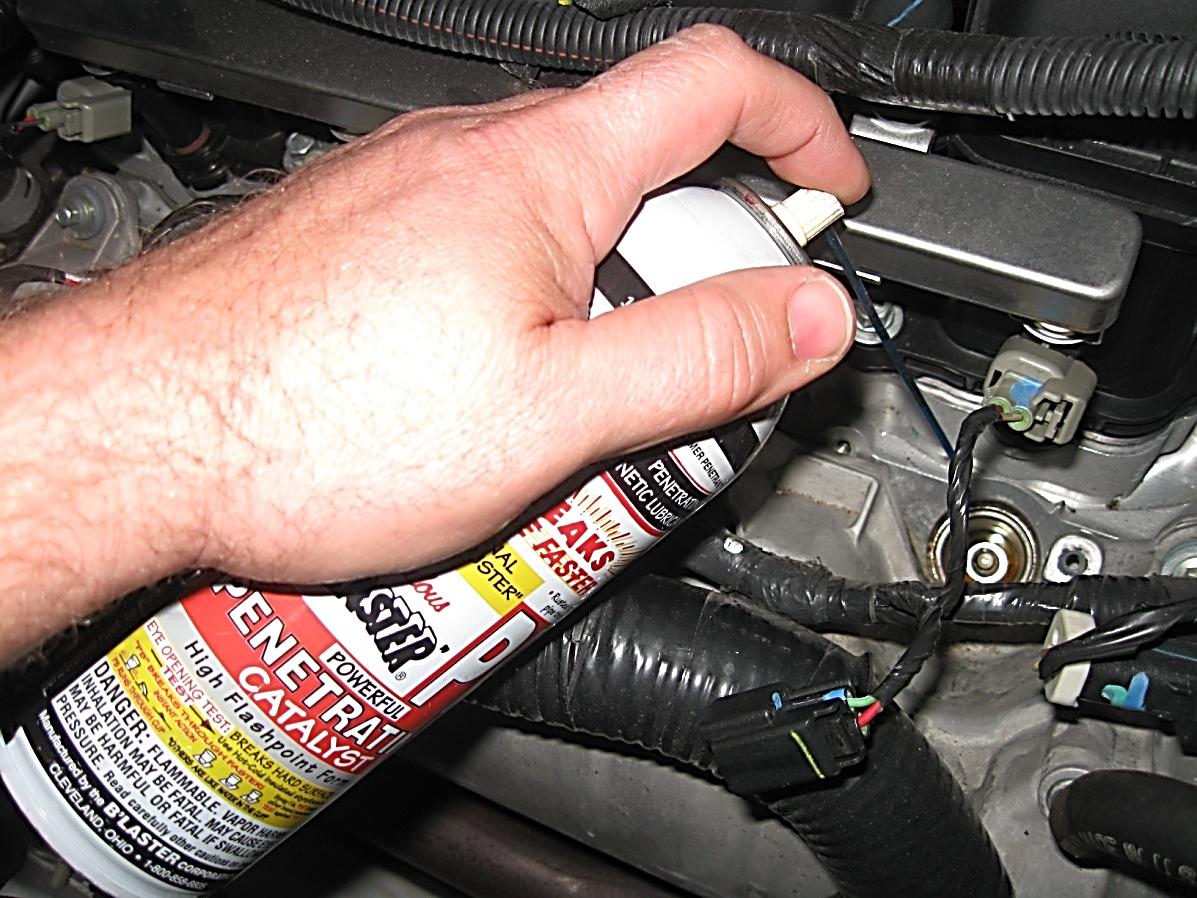
Step 7: [NOTE – The engine must be at room temperature for the removal of the spark plugs] Use a quality liquid penetrant such as Liquid Wrench or my favorite PB Blaster and squirt a small shot directly into each spark plug port and let that sit for about 15 minutes. Then using your spark plug socket and wrench, go ahead and loosen the plugs by giving them a 1/4 turn counter-clockwise -- do not try going any further at this point. Give each spark plug port a small shot of Carburetor/Choke cleaner and let that sit for approximately 15-20 minutes.
Step 8: Remove the old spark plugs.
*For best results, use the Ford OTC 6900 Spark Plug Socket; however, a deep socket 9/16 with a couple of extensions will work to remove the old spark plugs. Be careful and try to keep the socket lined up with the spark plug; this will decrease the chances of breaking the old spark plugs as they are extracted.
Begin working the plugs by turning them back to the tight position and loosen to the 1/4 turn position, each time going an additional 1/4 turn or so until they are out. Don’t get in a hurry and if it feels like they are trying to break or just not turning easy enough, let it soak a little longer. Repeat process for each plug. NOTE: do not use any more Carburetor/Choke cleaner at this point, Ford suggests not to overdo it, as too much fluid could cause the engine to Hydro-Lock.
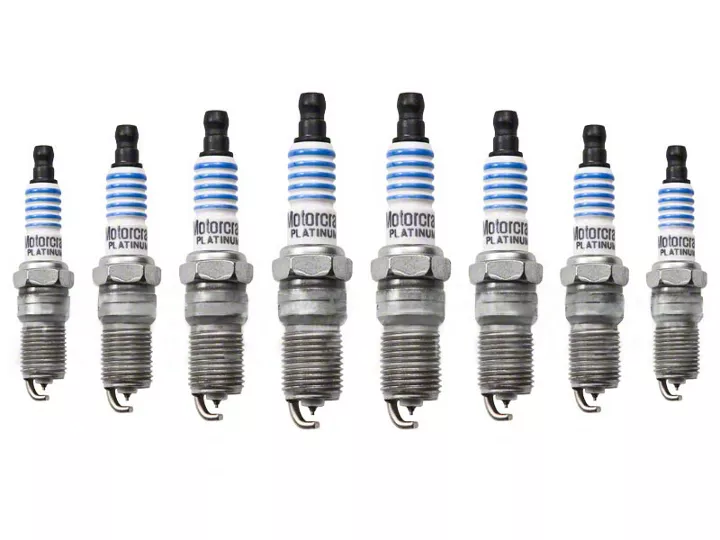
Step 9: Install the new plugs.
*Check with your local parts dealer for Gap settings. I found for my application it was .045” NOTE: New plugs should be installed using a film coating of Motorcraft high-temp nickel anti-seize lubricant on the ground electrode shield. Do not coat the electrode strap.
Place a small amount of anti seize on the spark plug threads and the lower spark plug shaft below the threads. This will ensure easy future removals. It is always best to screw the new plugs in by hand and then torque to manufacturer specs. Plugs should be torqued to 25 ft-lbs according to Ford. Most mechanics I spoke with said 15 ft lbs is more than enough, especially considering the issues with removing the 2-part plug design. Repeat process for each spark plug.
Step 10: Re-install the coil packs in reverse order of Steps 4-6 above.
Step 11: Re-connect your negative battery terminal and make sure you have not left any tools under the hood. Re-tune your favorite radio station and go for that test drive you have been working towards.
If you are unfortunate enough to have a plug break, it’s not the end of the world. Go to your local parts store and get the 3V spark plug extractor for broken spark plugs. Most auto parts stores rent these extraction kits and they are fairly easy to use. http://www.youtube.com/watch?feature=player_detailpage&v=A3MPAPXBB6Y
Installation Instructions written by AmericanMuscle customer Doug Jenny 3.13.12
