 FREE 1 to 3-Day Delivery on Orders $119+ Details
Best Sellers


How to Install a Roush Stage 3 Front Fascia - Unpainted on Your 1999-2004 Mustang
Installation
- 1 — Front Cover
- 2 — Side Mounting Bracket
- 3 — Grille Clips
- 4 — Grille Panel
- 5 — 2 Fog Lights
- 6 — 2 Fog Light Brackets
- 7 — Pop Rivets
- 8 — Screws
- 9 — Logo Surround (Corral)
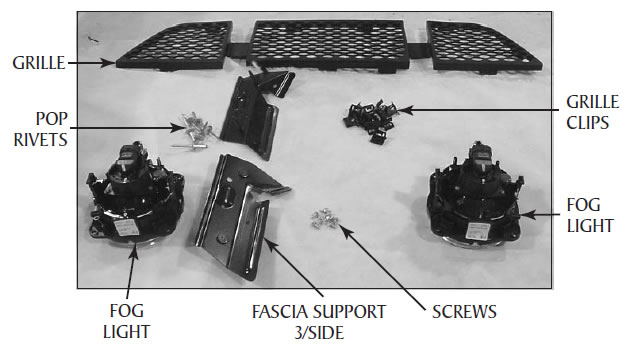
NOTE: Grille ornament bracket, jumper harness and tinnerman nuts not shown. Horse and corral surround supplied from original fascia.
WARNINGS remind you to be extremely careful in those areas where carelessness can cause personal injury. Read the following bullet points, as they contain general WARNINGS that we recommend be followed when working on your vehicle.
- Always wear safety glasses for eye protection.
- Place the ignition switch in the OFF position.
- Always apply the parking brake when working on the vehicle.
- Block the front and rear tire surface to prevent unexpected vehicle movement.
- Operate the engine only in well-ventilated areas to avoid exposure to carbon monoxide.
- Do not smoke or use flammable items near or around the vehicle fuel system.
- Use chemicals and cleaners in well-ventilated areas.
- Batteries produce explosive gases, which can cause personal injury. Therefore, do not allow flames, sparks or flammable substances to come near the battery.
- Keep hands and any other objects away from the radiator fan blades.
- Keep yourself and your clothing away from moving parts when the engine is running.
- Do not wear loose clothing or jewelry that can get caught in rotating parts.
Stock Fascia Removal
1. Disconnect the fog lamps.
2. Remove the headlamp assemblies (two retainers per side) and disconnect the electrical connections.
3. Remove the two radiator sight shield pins. Figure 1.
4. Remove the two grille retainer pins. Figure 2.
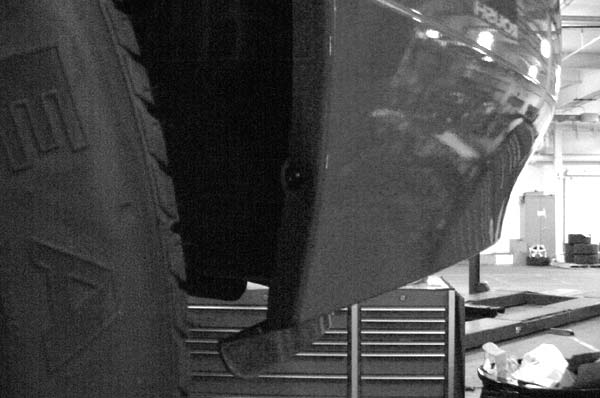
5. Remove the two bumper cover retainer pins. Figure 3.
6. Remove one retainer screw from each front fender opening. Figure 4.
7. Remove the two retainers from the front underside of the bumper cover. Figure 5.
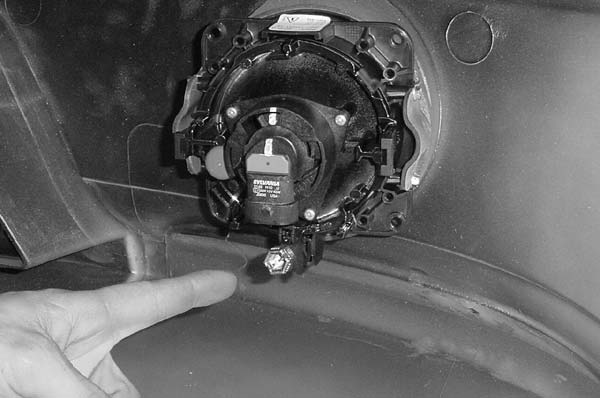
8. Remove the two nuts from each bracket (left and right side) at the front inner fenders. Figure 6.
9. Carefully remove the front fascia assembly.
Figure 1
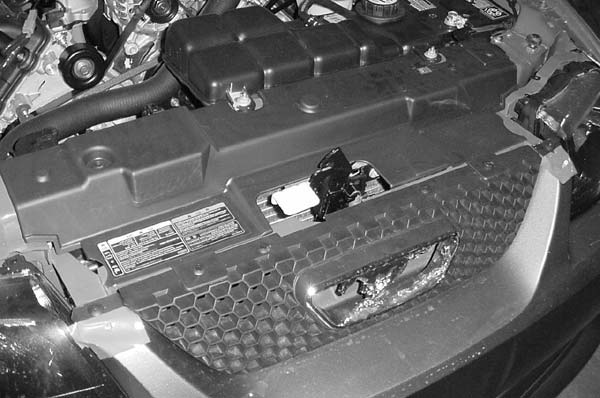
Figure 2

Figure 3

figure 4
Roush Fascia Installation Preparation
1. Install the lower grille assembly onto the fascia using the 11 supplied clips.
NOTE: Do not mount the clips on the thick grille tabs.
2. Install the left and right fascia support brackets onto the fascia. Each bracket requires three supplied pop rivets.
3. Remove and discard the hard shell connectors from the factory fog lamp wiring harness. NOTE: De-pin the connectors. DO NOT clip the wires. Only remove the hard shells. Replace the hard shell connectors with the supplied hard shells.
4. Install the fog lights into the brackets with four supplied screws per fog light. Figure 7.
The front fascia is now ready for installation.
Figure 5
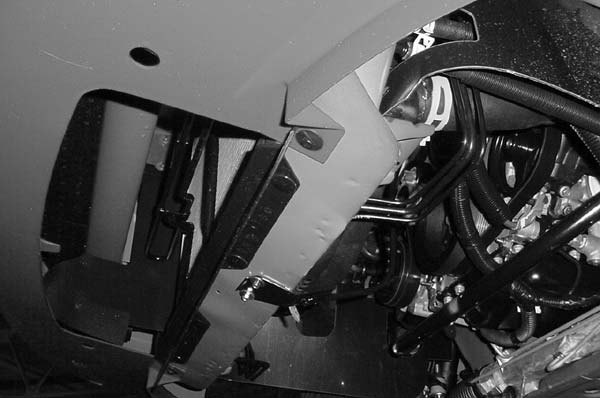
figure 6
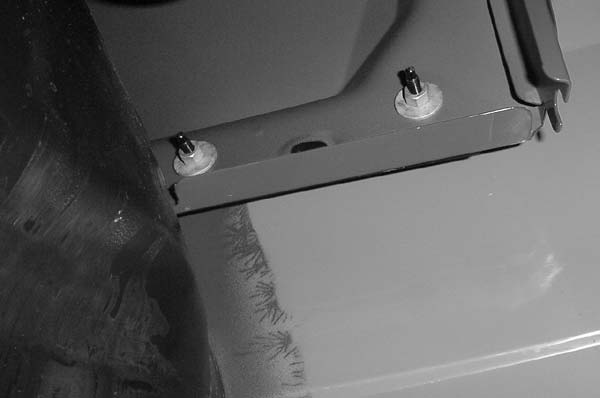
Figure 7

Roush Fascia Installation
1. Position the front fascia over the grille area.
2. Install the two upper bumper pin-type retainers. Figure 8.
3. Connect the parking light and headlamp electrical connections for each side, then install the left and right headlamp assemblies.
4. Install the four headlamp retainers (two per side).
5. Install the two front bumper underside pin-type retainers.
6. Install the four bumper cover retaining nuts (two per side) and tighten to 44 lb-in (5 N-m). Figure 9.
7. Install the two retainers in the wheel opening (one per side). Figure 10.
8. Position the radiator sight shield in place and install the two pin-type retainers. Figure 11.
9. Adjust the fog light beam direction using the adjustment screw. Figure 12.
10. Carefully remove the chrome horse and corral from the stock grille.
11. Install the horse and corral onto the supplied bracket using the four supplied tinnerman nuts.
12. Install the horse/corral assembly and bracket onto the grille opening support with two screws.
Figure 8

Figure 9
Figure 10
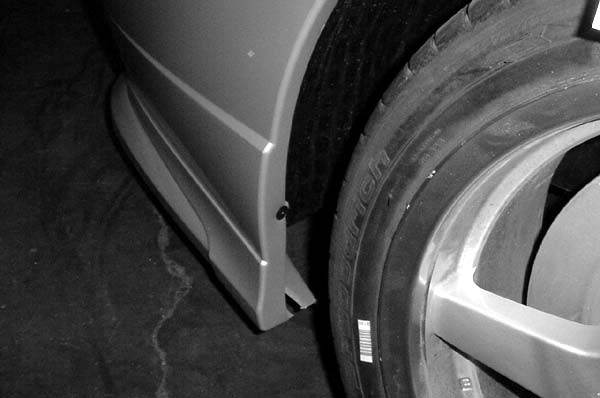
Figure 11
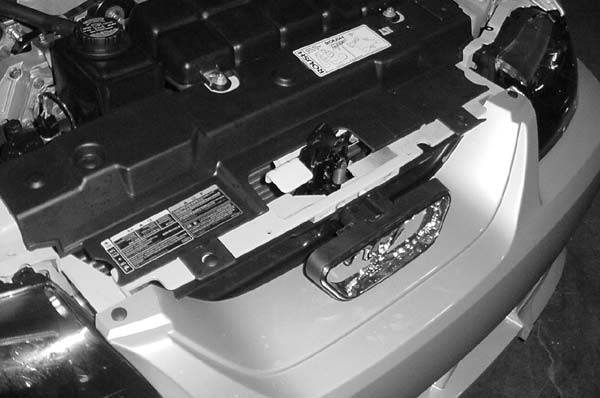
figure 12
Best Sellers
Related Guides
-
Installation
-
Installation
-
Installation
