FREE 1 to 3-Day Delivery on Orders $149+ Details
Customer Install Shoot Guide
Self Install Instructional Video - AmericanMuscle
DropBox Instructions - AmericanMuscle
VIDEO MUST HAVES:
- Watch the video above for more details about the “Video Must Haves”
- Be sure to shoot and speak to the full removal of the stock part, along with the full installation of the new part.
- Shoot all videos using a tripod, camera/phone holder, OR by having a friend record for you.
- Remember to hold camera horizontally.
- Shoot your video in HD format, 4k or better.
- Shoot in a well-lit area. If you have a work light, please use in hard to see areas such as under the car.
- Avoid noisy areas and music playing in the background.
- You must speak to what you are doing for every installation step.
- DONOT EDIT THE FOOTAGE! Send us all the original video clips that you take (mistakes, re-dos and all!). We will not accept edited footage.
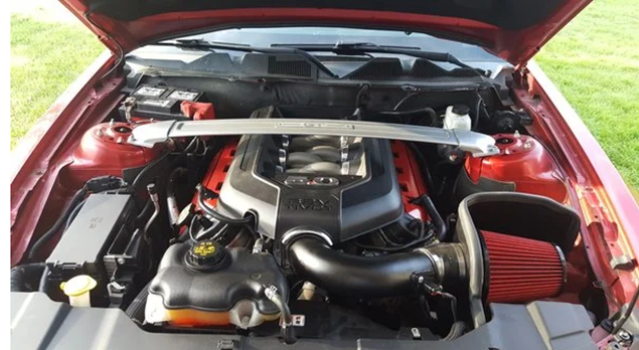
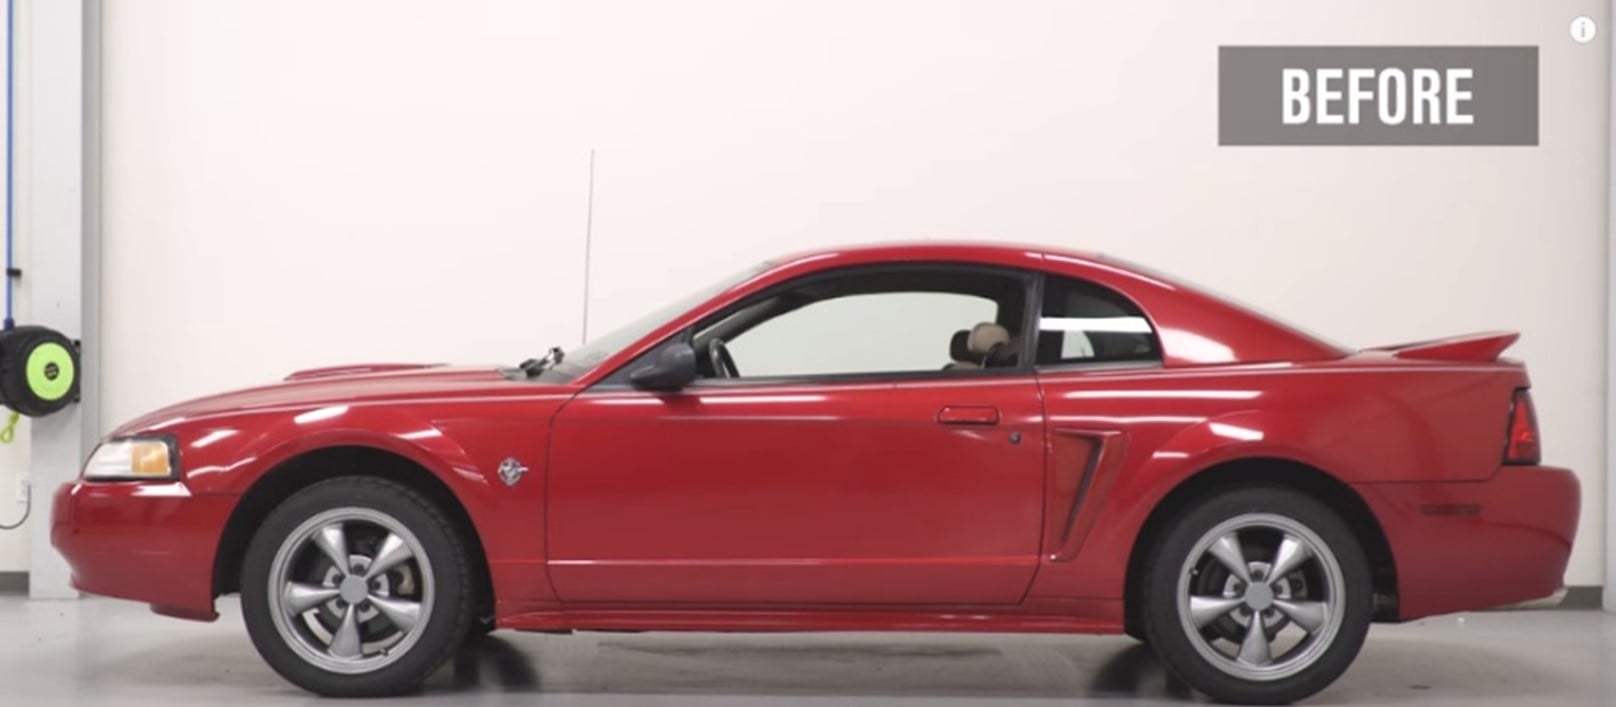
BEFORE INSTALL PICTURE
Please take a horizontal picture of the part/area that is being upgraded/replaced. To see examples of different product types, see videos at the top of this page. Below is an example of an engine bay Before Install Photo.
INSTALL
For the installation, follow the instructions/directions that are included in the box with the part. If the product does not come with instructions, try to find the directions online. If you cannot find instructions online, please make sure to install the part fully and talk through each step so that we are representing the best way to install the part to our customers.
- • PLEASE SPEAK CLEARLY AND LOUDLY SO THE CAMERA PICKS UP AUDIO.
- • Limit camera/phone movements by mounting it or have another person take video for you.
- • Start each step speaking the directions and tools required on camera.
- • Try not to hold the directions in front of your face or in front of the camera.
- • Feel free to give tips to help customers!
- • Each and every step should be shot on camera. (Even removing bolts)
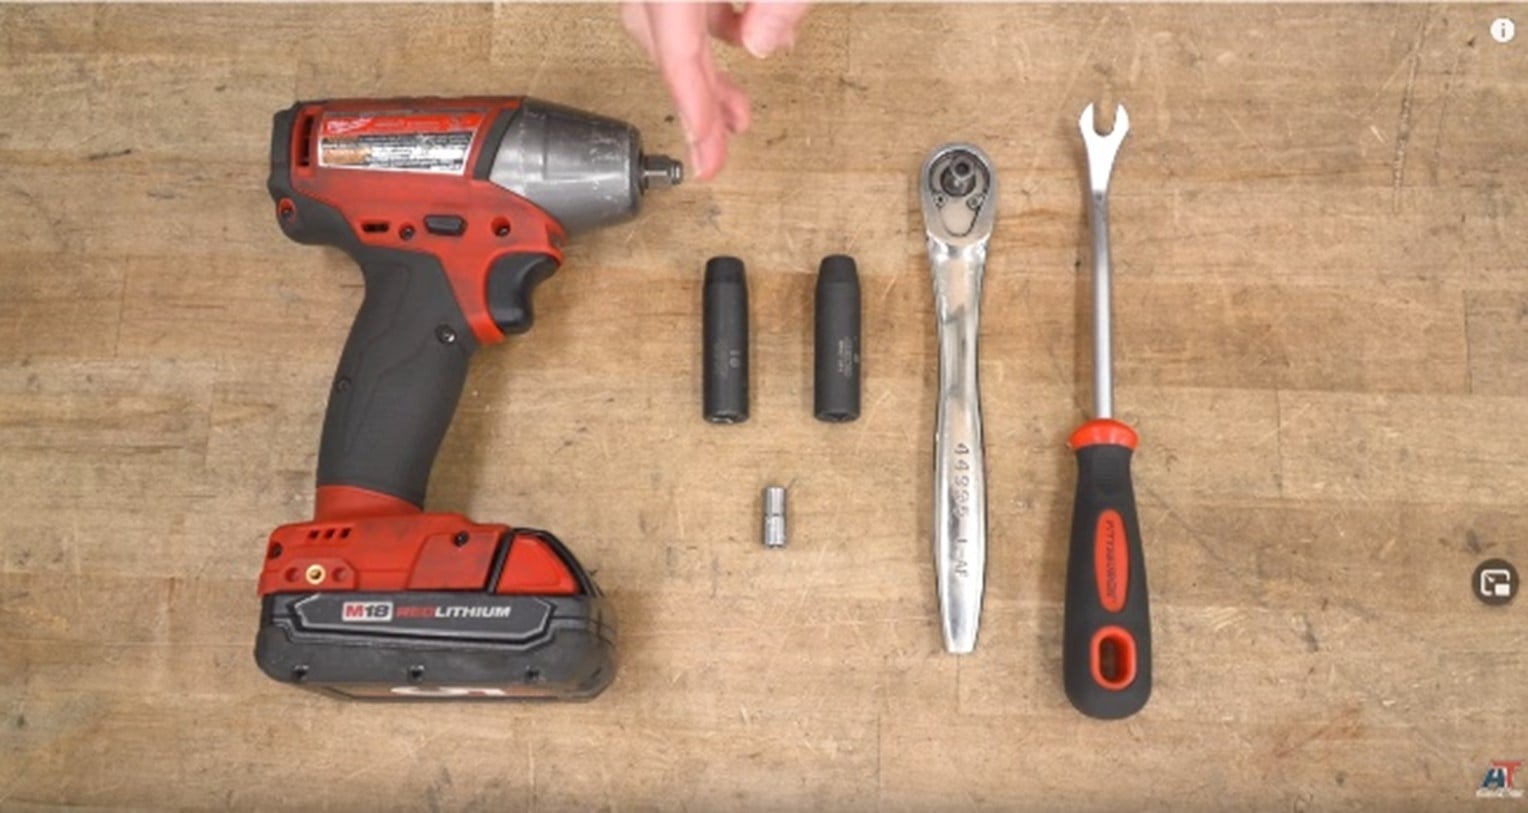
- • After the install is complete, place tools on table or clean surface. Shoot a video showing the tools while naming each one (including bits, socket sizes etc) used for install.
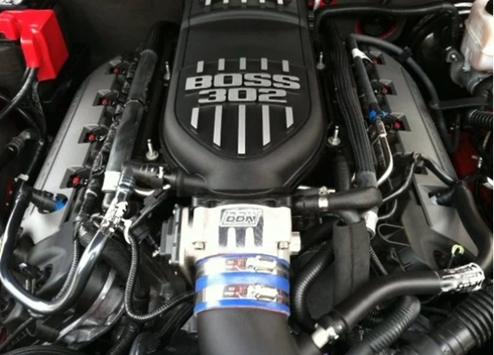
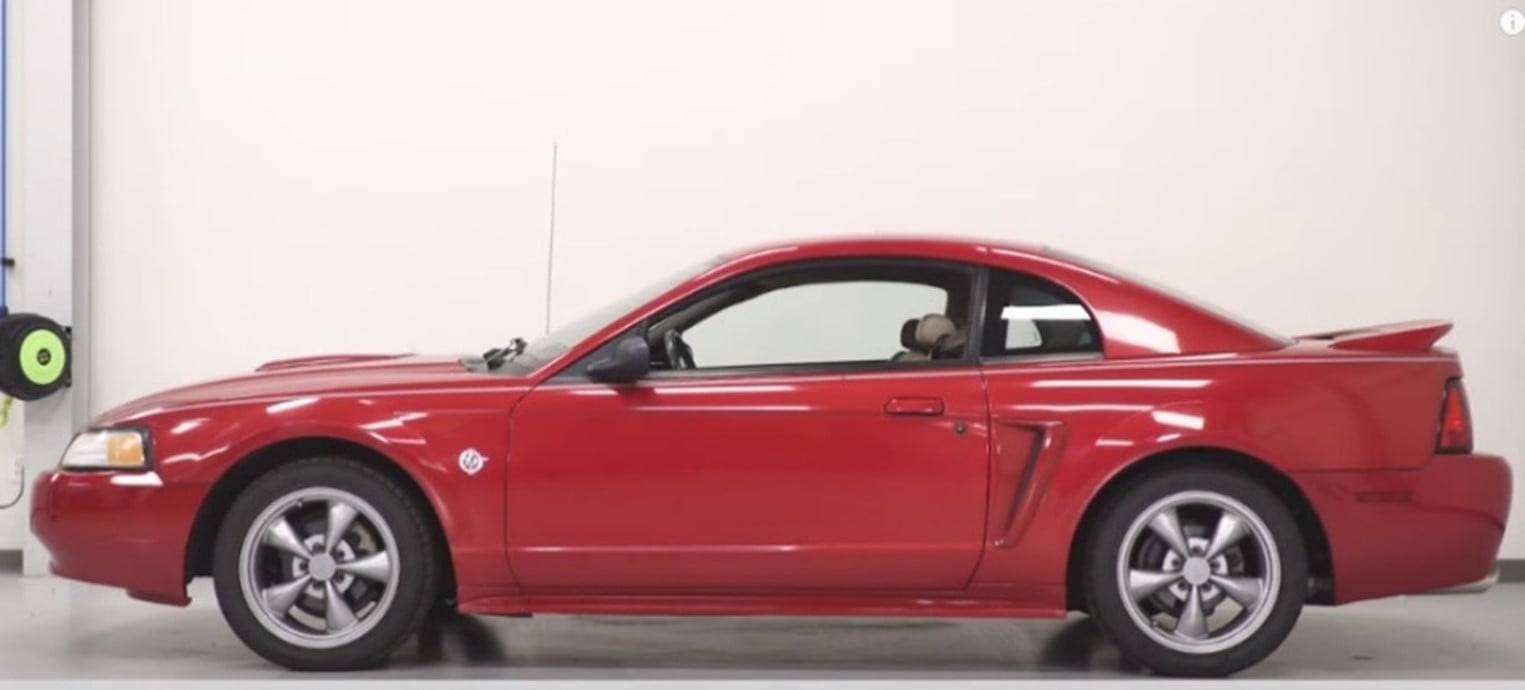
AFTER INSTALL PICTURE
Take 5-10 horizontal pictures of the part/area, exactly as you did for the BEFORE picture. Include a close-up photo of the part that you just installed.
PRODUCT CATEGORY GUIDELINES/TIPS:
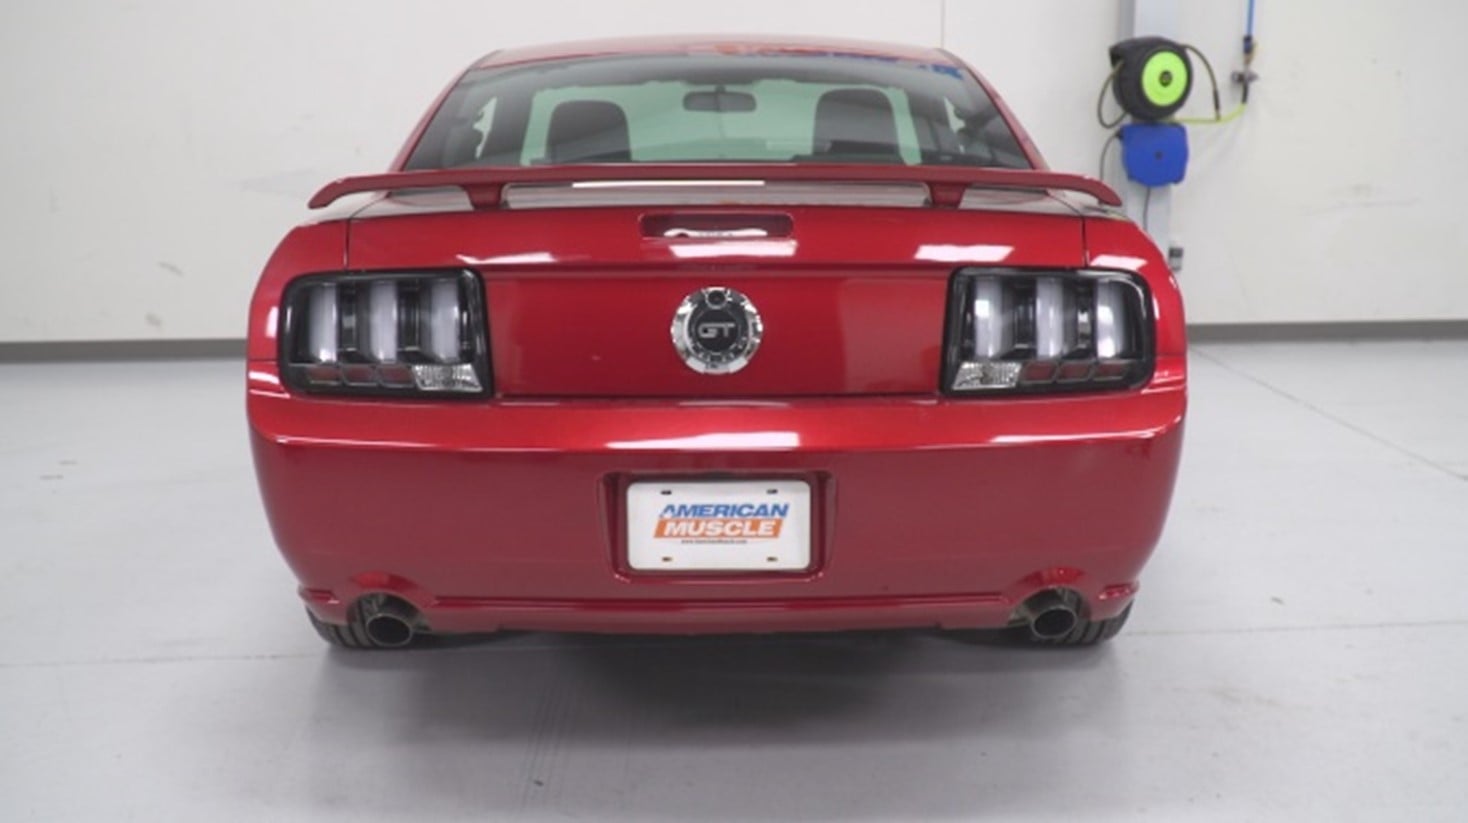
LIGHTING:
- Take photos with the lights both on and off, before the product is installed and after the product is installed.
SUSPENSION:
- Take side-angle photos before the product is installed and after the product is installed.
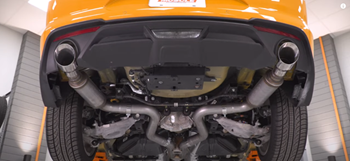
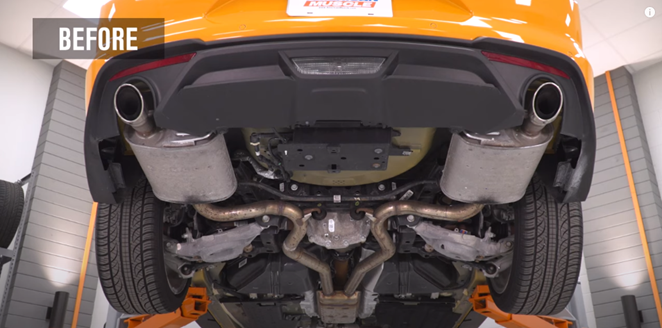
EXHAUST:
Before & After Sound Clip:
-
For exhausts, along with before and after photos, and we require a before and after SOUND CLIP of the exhaust. You will rev your engine and have someone film the exhaust from outside of the vehicle to get these sound clips.
Before & After Photos:
- Please reference the photos below. Try to get as much of the exhaust in the photos for the before and after install images.

Before & After Photos:
- • Try to get as much of the exhaust for both the before AND the after photo.

Use this video as an example: