FREE 1 to 3-Day Delivery on Orders $149+ Details
How to Install BBK Chrome Long Tube Headers - 1-7/8 in. on your Mustang

Shop Parts in this Guide

STEP 1.
- Disconnect the negative battery terminal.
STEP 2.
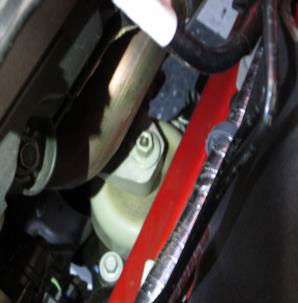
- Remove the air filter box. Remove the first and second nuts on the top row of studs on the stock header of the driver side. On the passenger side, remove the first top nut that is behind the AC hose. Loosen the motor mount nut that faces up towards the header on each side, however do not remove completely at this time
STEP 3.
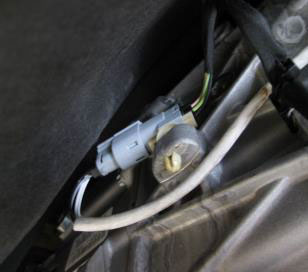
- Lift the vehicle as high as possible utilizing approved jack stands or preferably a vehicle hoist. From underneath the vehicle unplug the 4 oxygen sensors from the wiring harness.
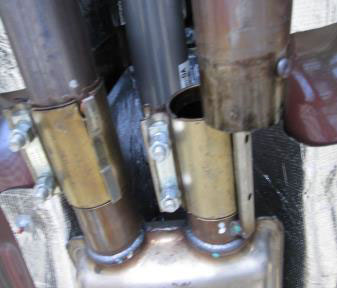
STEP 4.
- On 2011 to 2014 models loosen the clamps at the front of the stock H-Pipe and then loosen the barrel style clamps at the rear. These rear clamps will be re-used with the BBK X-Pipe assembly. Remove the nuts on the converter pipes at the header collectors and remove from the vehicle.
- For 2015 models skip to step 6.
STEP 5.
- On 2011 to 2014 remove the four nuts on the round tube support brace under the oil pan and remove the brace. Loosen the 3 bolts on the plastic cover that covers the area around and forward of the rack and pinion. Let plastic cover hang. This will give access to the front header nuts.
STEP 6.
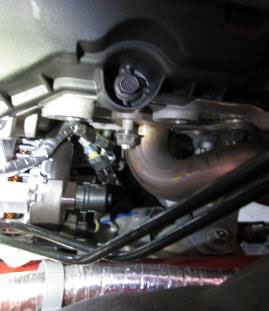
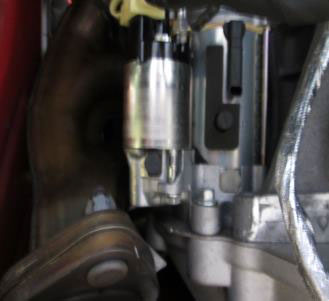
- Remove the ( 3) 10mm bolts that hold the starter in place then remove the starter and hang it to the side
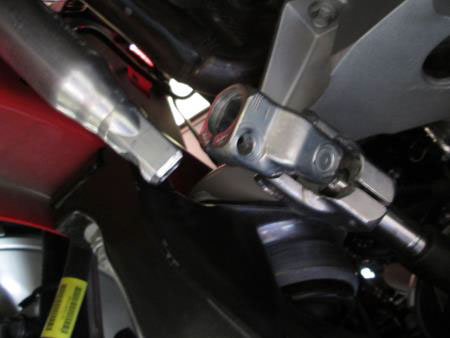
STEP 7.
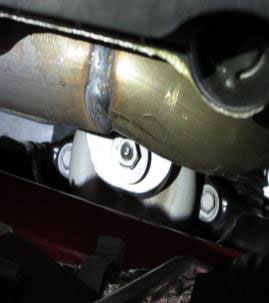
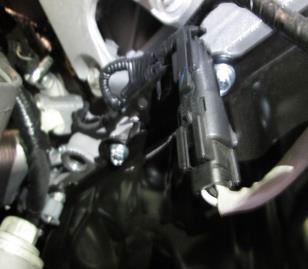
- Remove the 2 bolts from the steering U-joint at the rack and pinion. Then pull the coupler downward towards the rack and pinion to separate the steering shaft from the coupler allowing the steering shaft to hang out of the way to the side
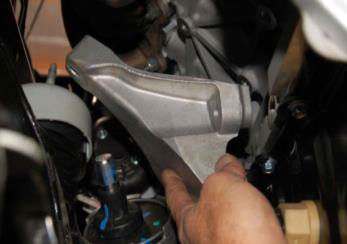
STEP 8.
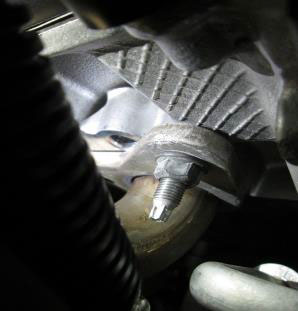
- Utilizing a jacking device and a block of wood under the bell housing, remove the previously loosened nut on the driver side motor mount , once removed jack the engine upward enough to clear the motor mount stud. Remove the 4 bolts that secure the aluminum mount to the engine block and remove from the vehicle.


STEP 9.
- On the 2015 model loosen the ball flare clamp on the driver side pipe near the transmission cross member then loosen the exhaust coupler at the resonator and remove driver side pipe from the vehicle.

STEP 10.
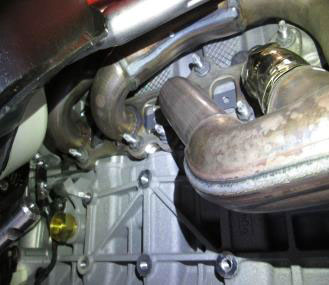
- Remove the remaining exhaust manifold nuts then remove the exhaust manifold along with the gasket from the vehicle.
STEP 11.
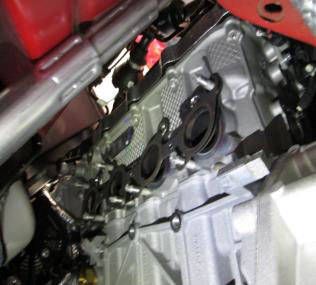
- Using an 8mm Torx bit socket remove the studs that correspond to the notches in the BBK Header flange. You will install the supplied bolts in these spots. NOTE !!! There are 2 thread pitches supplied. Because the manufacturer changed the thread pitch used after 2011 you will have to compare the supplied bolt to the factory stud to confirm which thread pitch to use.


STEP 12.
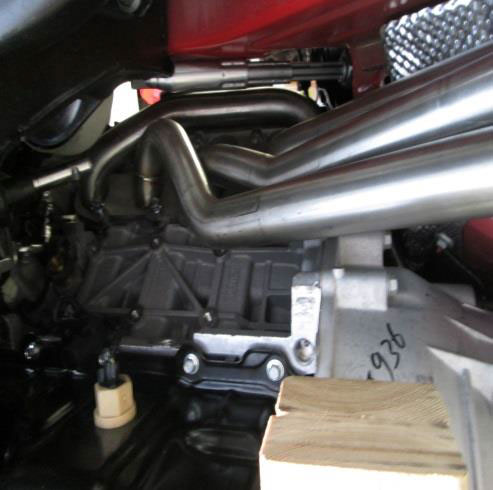
- Install the supplied gasket and the BBK Header on the remaining studs and install the nuts and bolts. You may have to raise or lower the motor a bit to get the BBK header in place tighten all the nuts and bolts that you can reach from underneath the vehicle.
STEP 13.
- Re-install the motor mount and lower the engine back down onto the chassis mount. Re-install the nut onto the motor mount stud just get it started a couple of threads to allow movement for when you move onto the passenger side removal and installation. Pictured in step 2.