FREE 1 to 3-Day Delivery on Orders $149+ Details
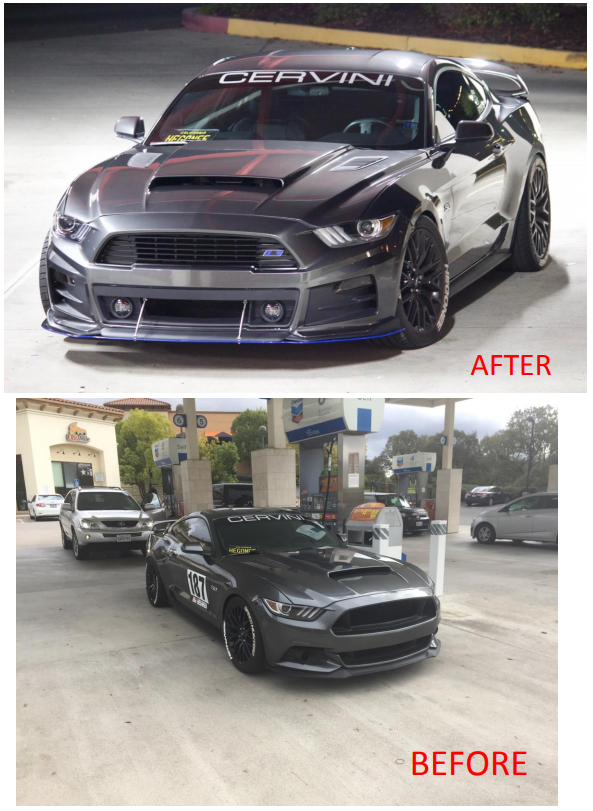
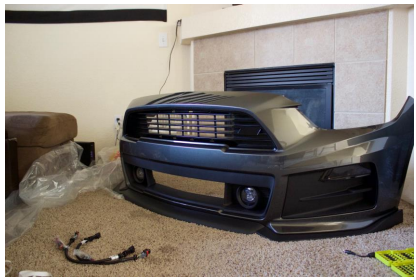
How to Install Roush Front Fascia Kit - Unpainted (15-17 All) on your Ford Mustang
Installation Time
3 hours
Tools Required
- Ratchet Wrench/Power Drill
- 5.5mm Socket
- 7mm Socket
- 8mm Socket
- Small Flathead Screwdriver

Shop Parts in this Guide
Installation Instructions
1 Get bumper painted
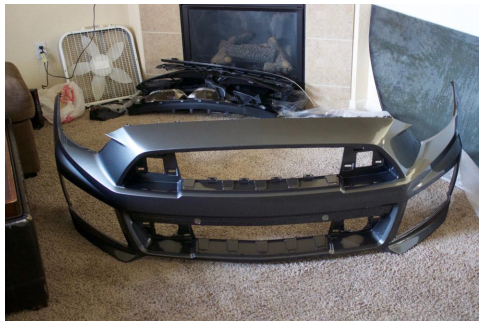
2 Remove stock bumper
- Remove radiator cover by popping off all the push pins with a flathead screwdriver
- Remove 8MM bolts along the top lip of the bumper under the radiator cover
- Remove 5.5MM bolts on the very edge of the top lip (peel up the rubber along the seam of the bumper and you will see these bolts)
- Remove 7MM bolts that hold the belly pan to the splitter under the car
- Remove 3 push pins on the inside of the wheel well that will release the bumper from the wheel well
- Remove 7MM bolt on the top of the wheel well ( you’ll need to pull the wheel well out of the way and turn the wheels each direction so you have room to get this bolt)
- TIP YouTube can help a lot with this bolt
- Pull bumper off car and unplug all harnesses for turn signals/fog lights
3 Take the rubber liner on the upper lip of the bumper and install that rubber liner onto the Roush bumper
4 Remove turn signals from stock bumper
5 Mount front turn signal housing to Roush bumper
6 Place turn signals into place and bold turn signal housing piece down to Roush bumper
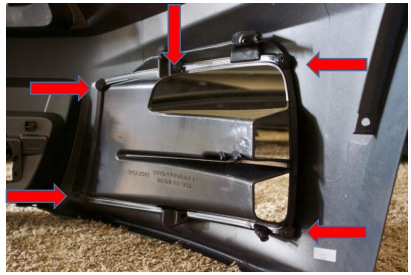
7 Remove fog light from stock bumper
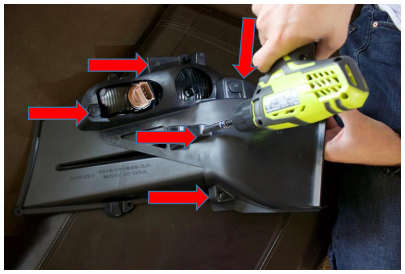
8 Bolt fog lights into Roush bumper (BE SURE PLUG IS ON THE BOTTOM)
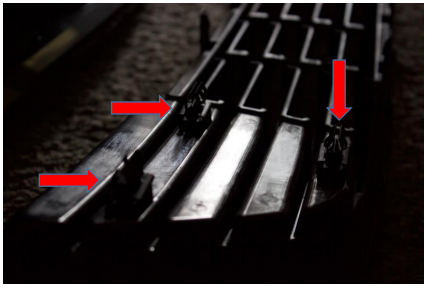
9 Insert 6 metal pins to upper grille and insert Grille to Roush Bumper
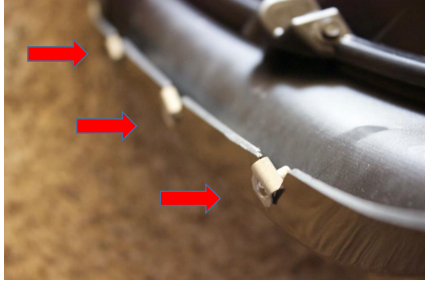
10 Apply 3M tape to the back side of lower grille to keep it fastened to the bumper
11 Insert 4 metal pins to the lower grille, peel the other side of 3M tape and insert into the Roush bumper
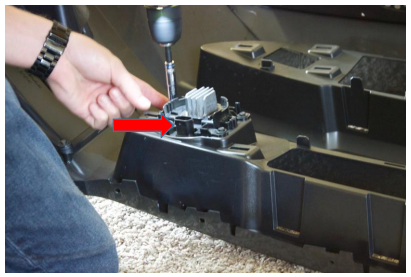
12 Snap impact absorber housing into place

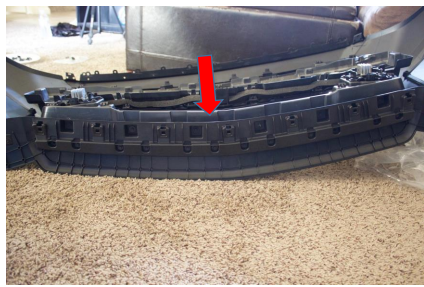
13 Apply metal tabs into the indented spots on front splitter and the bottom of the bumper, then bolt down
14 IF YOU HAVE PERFORMANCE PACK then put performance pack add on piece into the lower splitter and bolt down
15 To add fog light extensions, you will first peel back the tape on the stock fog light harness
16 Hold the Roush fog light harness next to it and MAKE SURE YOU HAVE SLOT FACING THE RIGHT AND BLACK WIRE ON TOP BROWN WIRE ON BOTOM, this is how you will be replacing
17 Pop white cap off of the stock fog light harness
18 Pop 2 tabs that are in the middle of both rods on the stock harness (use screwdriver)
19 Remove rods from stock harness and re -install them with the studs facing outwards into the Roush harness, again BLACK WIRE ON TOP BROWN WIRE ON BOTTOM
20 Push the rods all the way into the Roush harness until you hear them click into place
21 Put grey plastic piece on the bottom of the harness to secure the rods into place
22 Once this is done you can simply connect the extension and that will then connect directly to the fog light
23 Install bumper back onto car
Installation Instructions Written by AmericanMuscle Customer Cole Hegwer on 11/20/17.