 FREE 1 to 3-Day Delivery on Orders $149+ Details
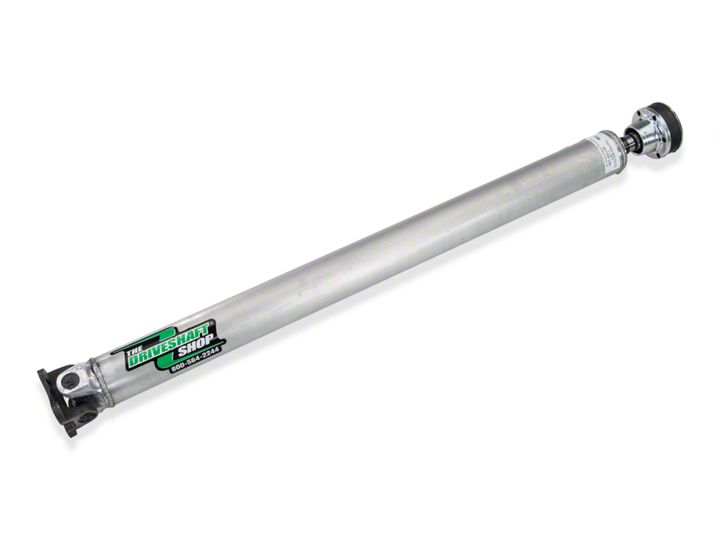
How to Install a One Piece Driveshaft on your 2005-2010 Mustang GT
Installation Time
2 hours
Tools Required
- Metric Hex Key Set 10mm, 13mm, 15mm deep socket 12 point 12mm deep socket Rachet 5 ½ Rachet Extensions ½ Drive Breaker Bar Blue Thread Locker Rubber Mallet Pry Bar
Shop Parts in this Guide
Installation
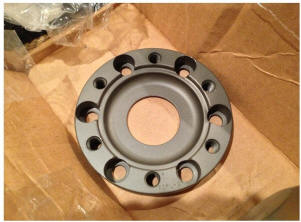
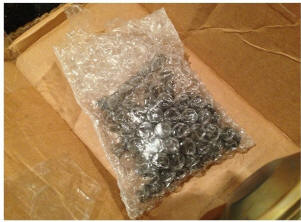
1. Check your package to see that you have an adapter plate, and brand new metric hex bolts.
2. Get the car on jack stands level. Be sure to use all secure points on the frame. It also helps to have a creeper as well.
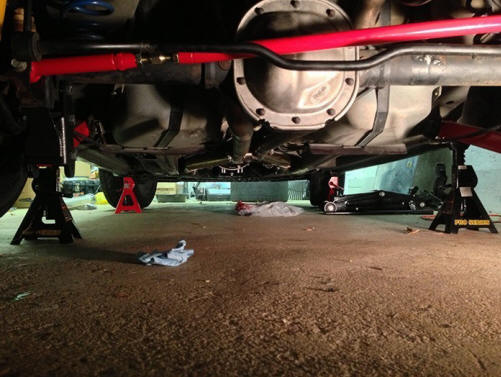
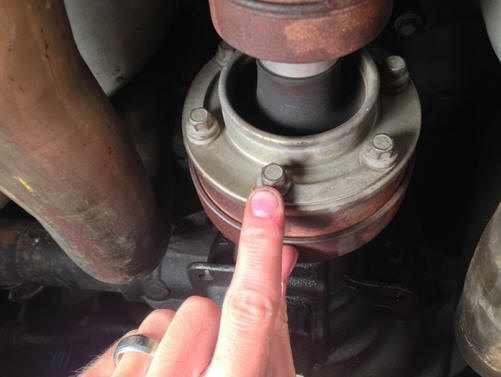
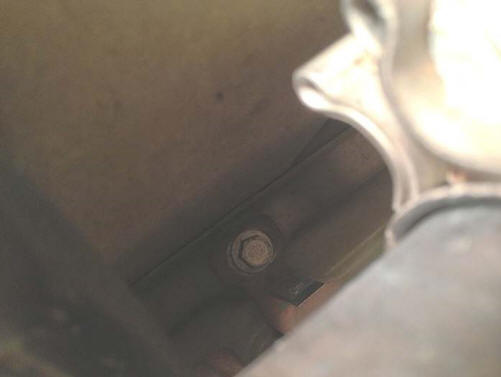
3. Remove the (6) 10mm bolts that hold the factory driveshaft onto the rear differential pinion flange.
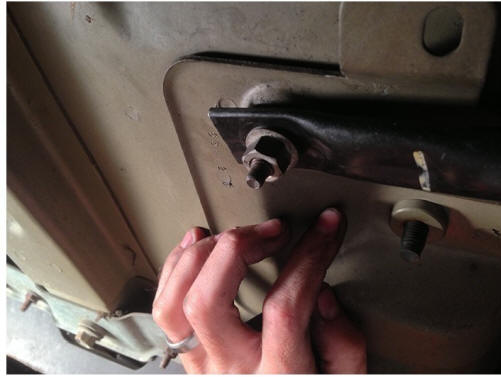
4. Removed the (4) 12mm bolts that hold the driveshaft to the back of the transmission housing. (12 point) Do NOT attempt to use 6 point sockets as you will strip these bolts!!
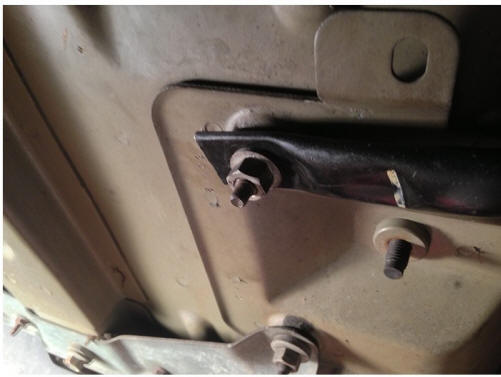
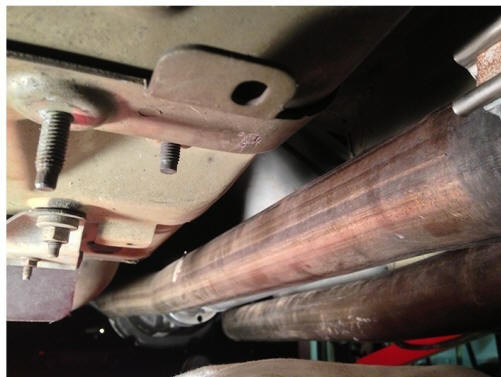
5. Removed the tunnel brace. The brace is held on by 2 x 13mm bolts. You can easily turn this so it will come past your exhaust.
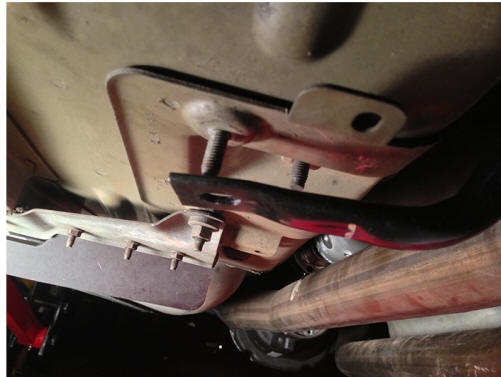
6. Remove the factory safety loop which is part of the mid joint CV-Axle style boot. (2x 13mm bolts) A long extension will be needed. There are washers in place between the chassis and the actual brace itself. Make sure to catch those and to be careful in case they fall as it could cause injury.
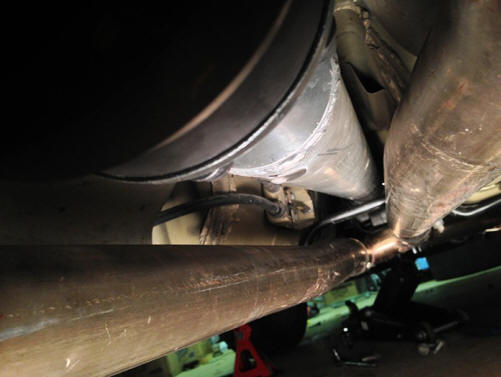
7. Once you have removed the factory joint safety loop you can then remove the factory anchor of a driveshaft starting at the rear of the car. Use a rubber mallet and tap a pry bar forward towards the transmission to help guide the driveshaft out of the rear seating.
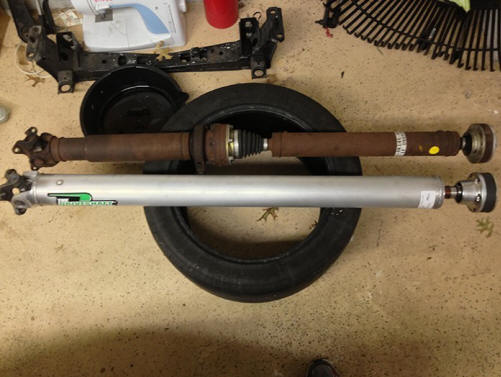
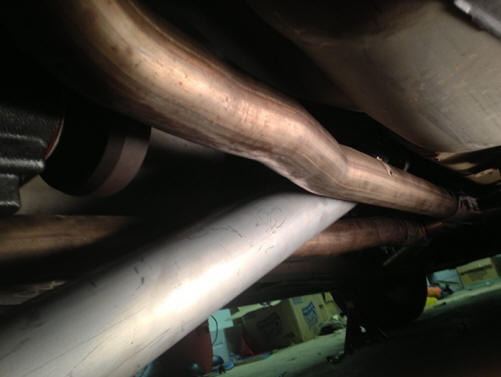
8. Once it has come forward, you can rest it on the ground. Now make your way to the transmission flange. You will have to pry this off of the transmission flange as its snug. It won't require a lot of force, you will have to pull a bit or pry. Once you do the driveshaft will slide out of the back. Just wiggle it past the exhaust gently and take your time as it’s very heavy.
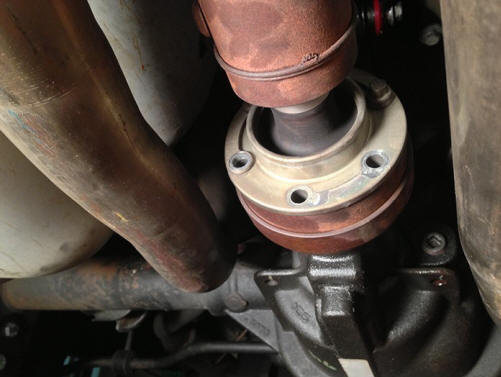
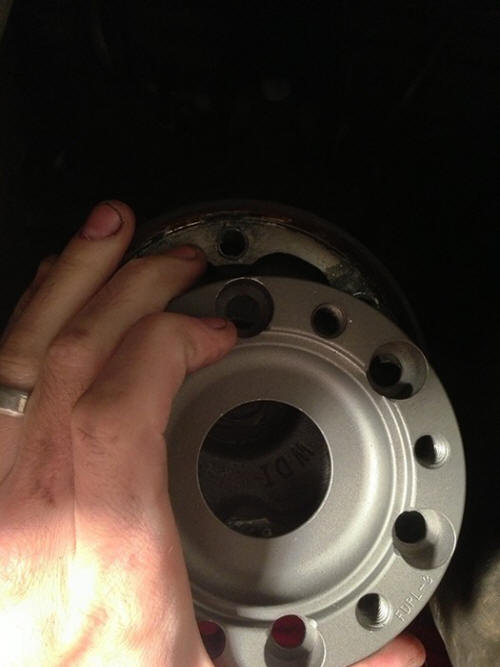
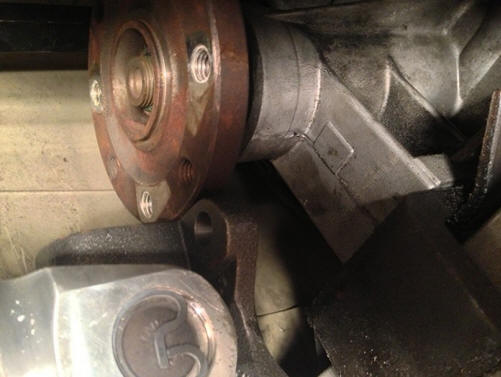
9. Grab the adapter plate that came with the DSS driveshaft. You will place this inside the factory pinion flange. Make sure to use a mallet to tap around and get it flush and snug inside without damage.
10. Use your thread locker blue and put a pea sized amount on the smaller length hex bolts and let it fill the threads. Use these bolts to tighten the adapter in place. Torque to specs in the manual, this can vary between cars.
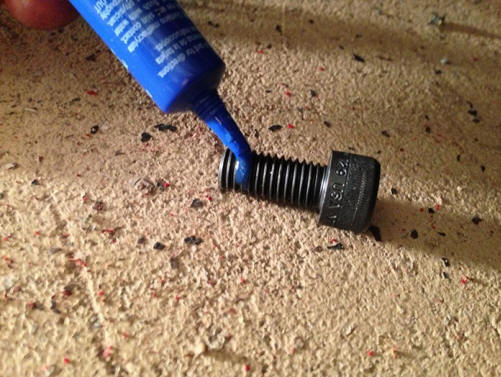
11. Use your thread locker blue and put a pea sized amount on the smaller length hex bolts and let it fill the threads. Use these bolts to tighten the adapter in place. Torque to specs in the manual, this can vary between cars.
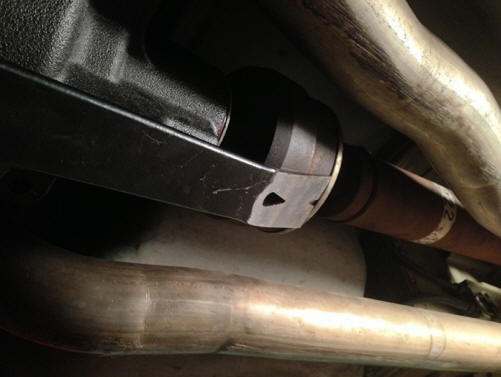
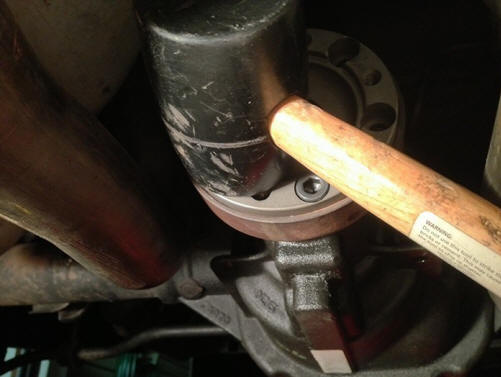
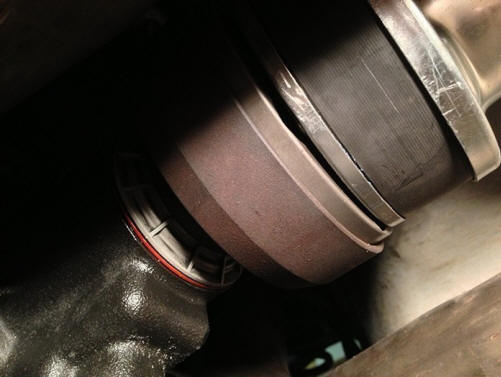
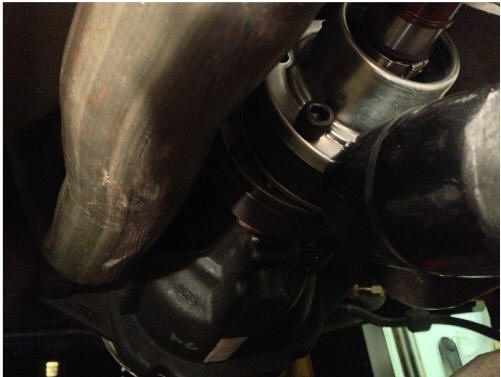
12. Now make sure you set the DSS driveshaft on the transmission flange and stand it up. Use the rubber mallet to tap on the differential pinion flange side and compress the boot. Tapping around in a circular motion as when you tap one side the other leans up, it may seem annoying but this will save you heartache because the boot is tight and brand new. If you skip this step there is a very high probability the driveshaft will be too long and it will not fit. As you can see in the picture the differential side is snug in place and the transmission flange will not fit. This is what WILL happen if you do not tap the rear CV boot side of the driveshaft.
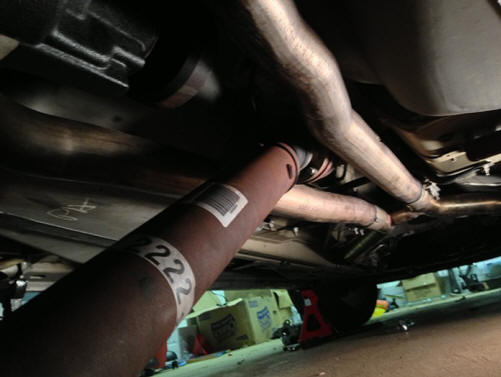
13. Slide the DSS driveshaft in the way the factory shaft came out. Just be patient and careful not to damage anything and it will slide right in (thanks to the tapping on the CV axle boot to compress length).
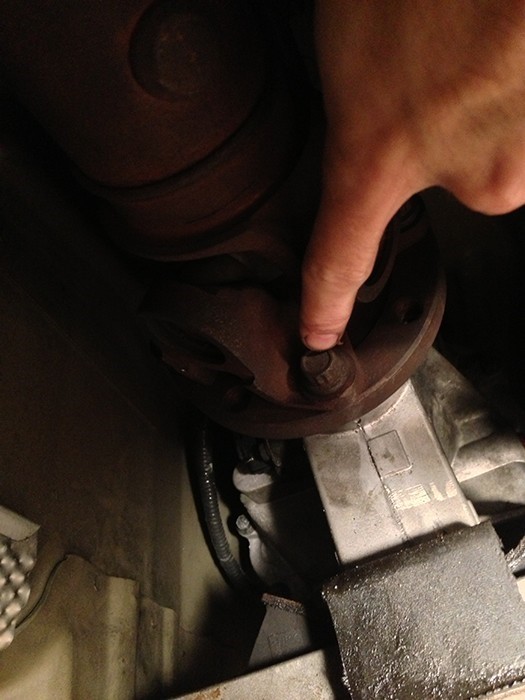
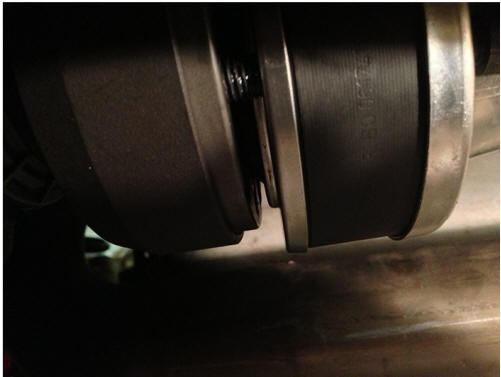
14. Again use thread locker for the transmission flange bolts, and the rear axle pinion flange bolts (which are the long hex bolts supplied with the DSS shaft). Slide the shaft over the retainer on the transmission flange to hold it in place, then make your way to the back and start putting in the bolts on the rear flange. If you compressed the boot a little too much, you can put one bolt through into the flange adapter to hold the shaft in place while you tap towards the rear of the car with the rubber mallet to EXTEND the shaft. It doesn't have to be perfect because once you torque the bolts down it will expand perfectly anyway. Torque the M10 bolts to 57 ft-lbs, and torque the M10 short bolts to 45 ft-lbs.
15. Now make your way back to the transmission flange and torque down all transmission flange 12 point bolts to factory specs from ford. If you don't have a socket you can use a wrench and if you need more leverage use 2 wrenches together.
16. Re-Install the tunnel brace the same way you removed it.
17. Once everything is installed, check over everything to make sure all is in order.

18. Now take it for a spin and feel the difference! Enjoy!!
Installation Instructions Written by American Muscle Customer Cory Benoit 10.1.2013

