 FREE 1 to 3-Day Delivery on Orders $149+ Details
How to Install a Moroso Air/Oil Separator on your 1996-2004 Mustang GT
Installation Time
30 minutes
Tools Required
- 17mm wrench
- 12mm wrench
- Large crescent wrench
- 3/16" hex key (Allen wrench)
- Teflon tape
- Flat head screwdriver
Installation
Assembly Procedure:
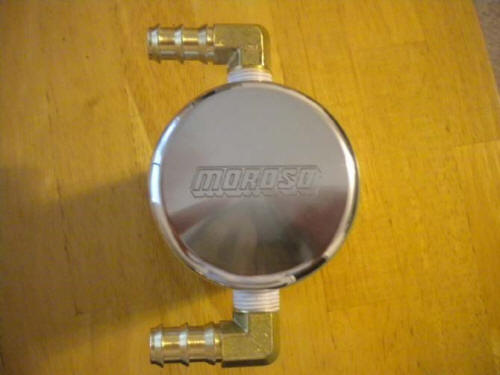
1. Begin by inspecting all of the parts included for damage
2. Wrap all threaded fittings with Teflon tape to ensure that the system will not have any leaks.

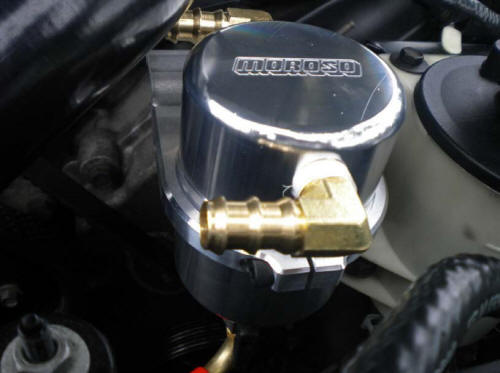
3. Begin the assembly by threading in the two 90 degree brass fittings into the top of the reservoir. I oriented mine as shown.
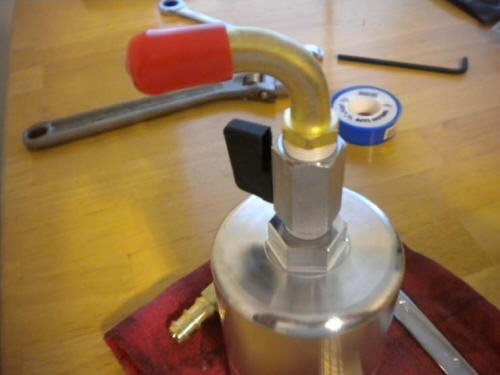
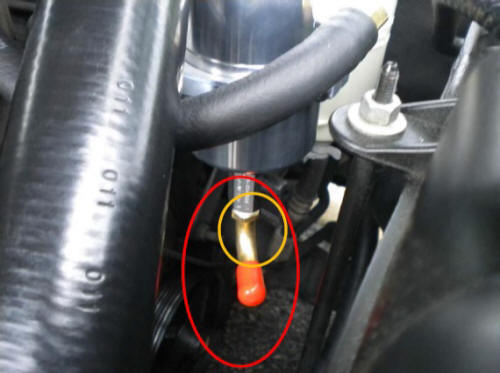
4. Thread the ball valve into the bottom of the reservoir. Then thread the 90 degree bend brass drain into the ball valve. Be sure the red drain cap is secured to the end of the drain.
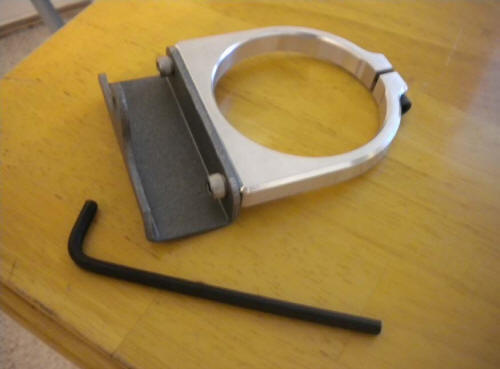
5. Assemble the mounting bracket to the clamp using the two silver hex bolts and the 3/16” hex key. Screw the black hex bolt into the clamp hand tight for now.
Installation Procedure:
1. Open and secure hood.
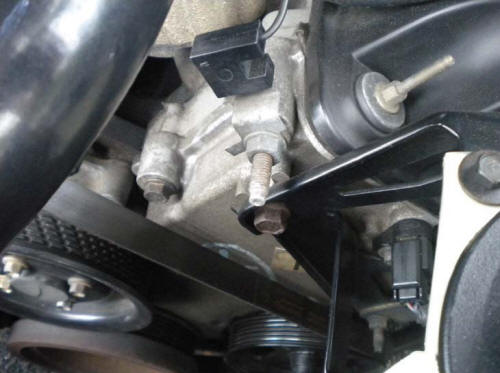
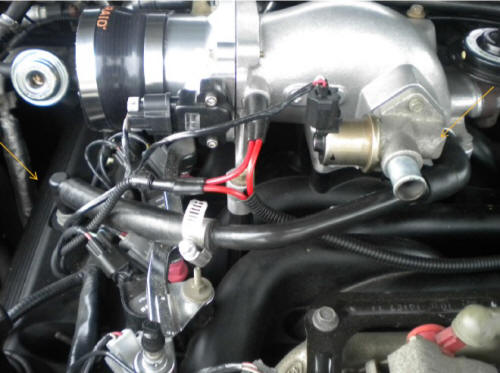
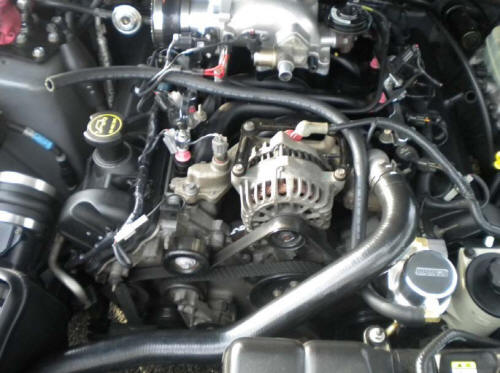
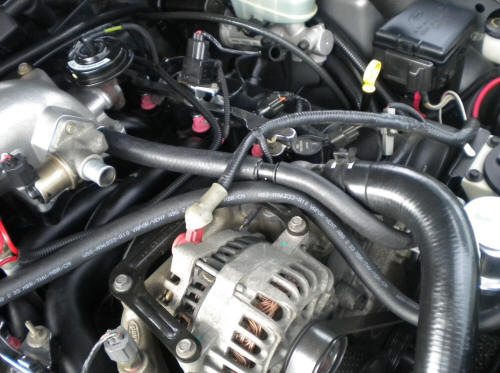
2. Locate the 8mm stud by the power steering pump, and mount the reservoir’s mounting bracket on the stud using the ½” nut.
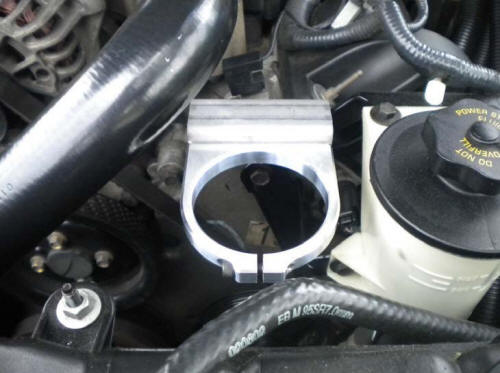
3. Drop the Air/Oil separator into the bracket as shown. Tighten the clamp by tightening the black hex head bolt with the 3/16” hex key.
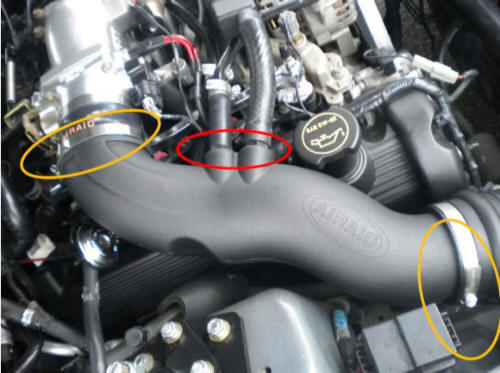
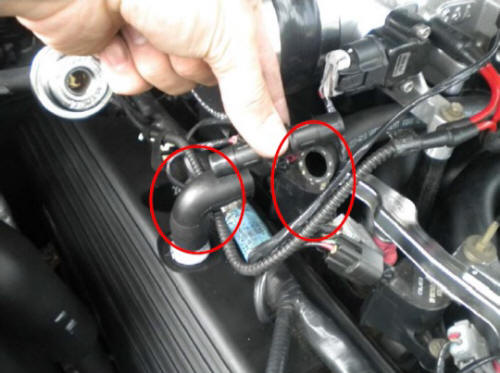
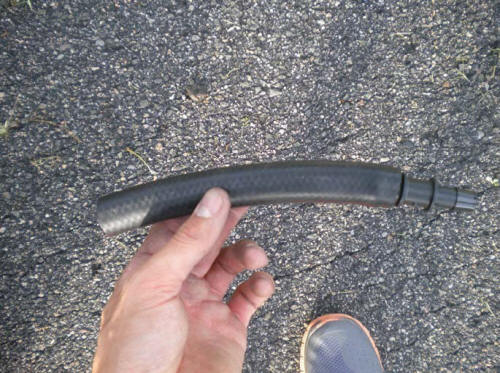
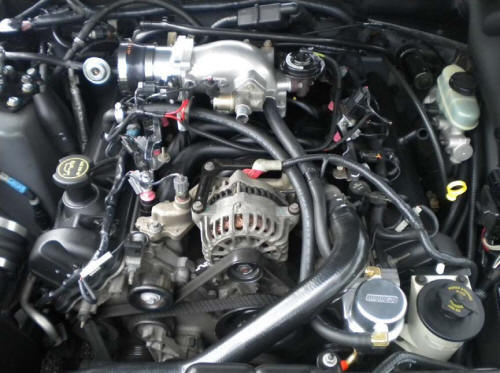
4. Remove the two vacuum lines from the upper intake tube. Loosen the two band clamps that secure the upper intake tube with the flat head screwdriver, then remove it from the engine bay.
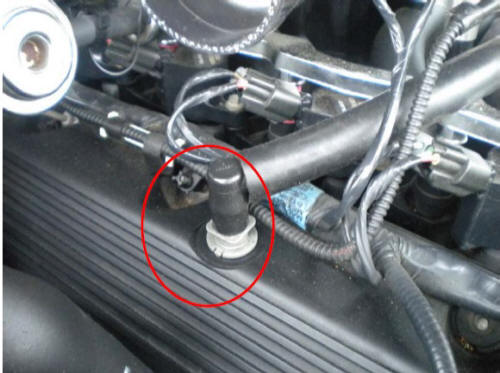
5. Locate the PCV valve and remove its vacuum line from the engine bay.
6. Attach the two provided ½” vacuum lines to the 90 degree brass barbs on the Air/Oil separator. I ran the line going from the PCV valve to the front of the unit, installing the ½” to ½” adapter to the end attaching to the PCV valve. If the line is a little long, trim the excess. Be careful not to trim the vacuum lines too short; it is better to have it a little long.
7. Insert the ½” to 5/8” adapter into one end of the 5/8” diameter vacuum line. Attach the other end of the 5/8” vacuum line to the intake plenum. Attach the other ½” vacuum line to the adapter, and route the line to the Air/Oil separator. Trim if there is excess.
8. Secure the new vacuum lines in place with zip ties if need be. Also, make adjustments to the orientation of the ball valve and drain at this time using the large crescent wrench to allow easy draining.
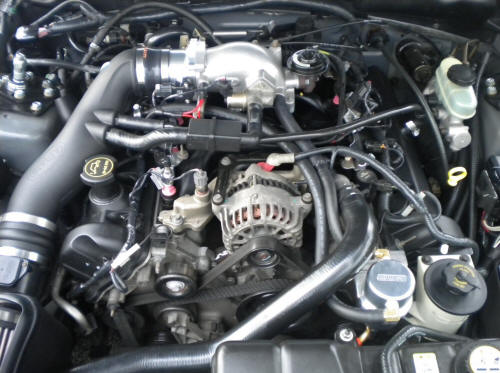
9. Install the upper intake tube. Tighten the two band clamps, and then connect the two vacuum lines.
Installation Instructions Written By AmericanMuscle Customer John Collmann 6.5.2013

