 FREE 1 to 3-Day Delivery on Orders $149+ Details
How to Install Performance Distributors Screamin Demon Coil on your 1996-1998 GT
Installation Time
1 hours
Tools Required
- Flat Head Screwdriver
- 8mm Socket
- 7mm Socket
- Ratchet
- Small Extension

Shop Parts in this Guide
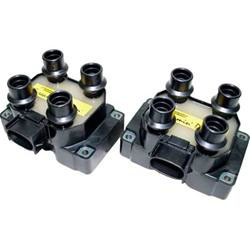
Included Parts
1. Screamin Demon Coil packs X2
Tools required
1. Flat head Screwdriver
2. 8mm socket
3. 7mm Socket
4. Ratchet
5. Small Extension
Installation time about 1 hour
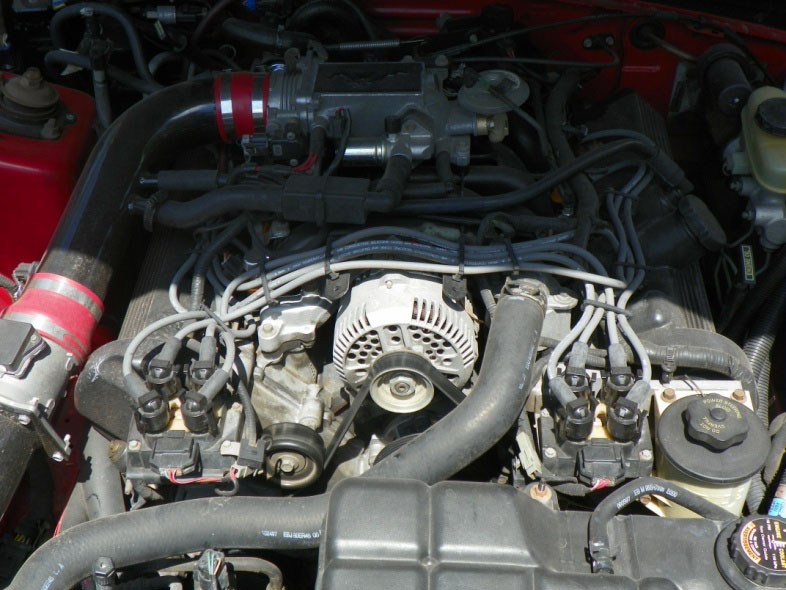
Installation Instructions
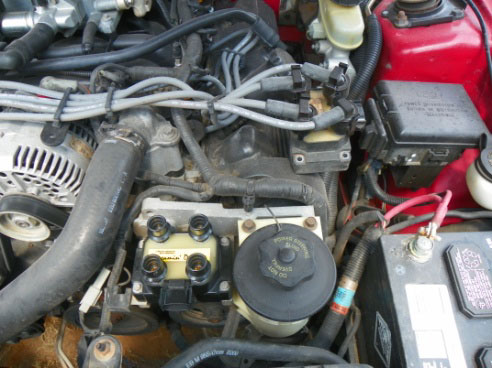
1. Start by Disconnecting Battery. (always a good idea when doing any work)

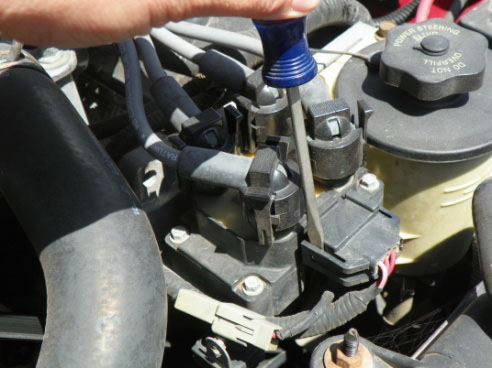
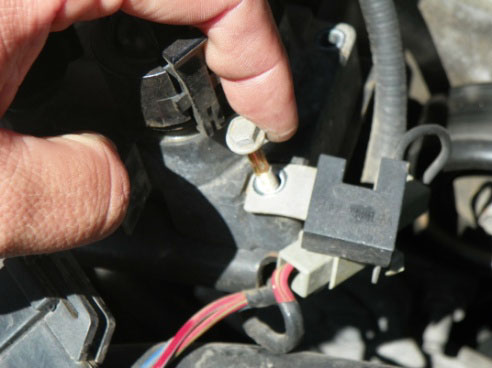
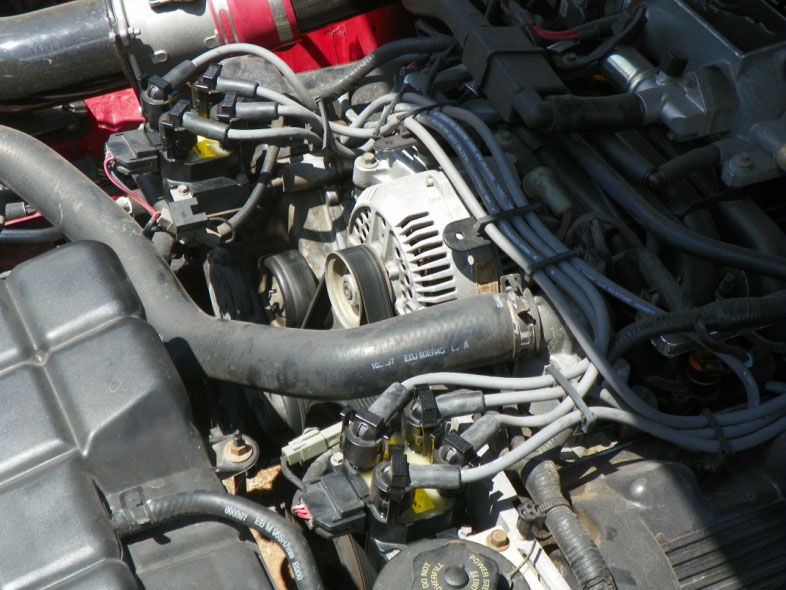
2. Using a small screwdriver to gently pry the plug-in connector off of the factory coil pack.
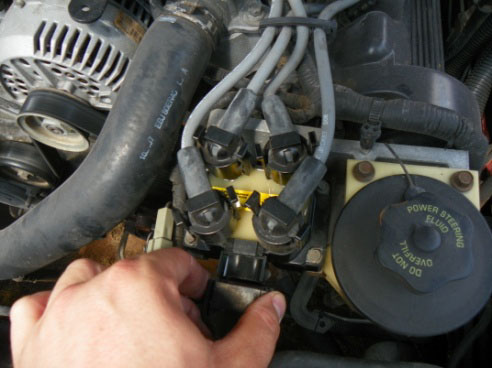
3. Remove the (4) 7mm bolts mounting the coil to the bracket.
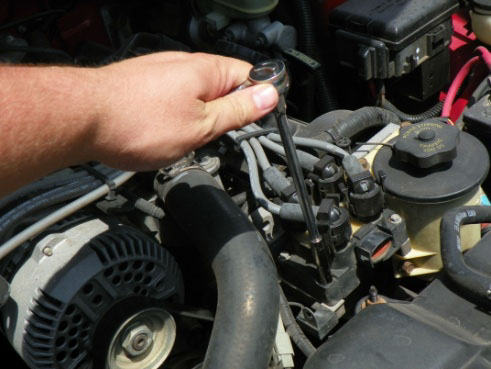
4. Lay coil to side with spark plug wires still attached.
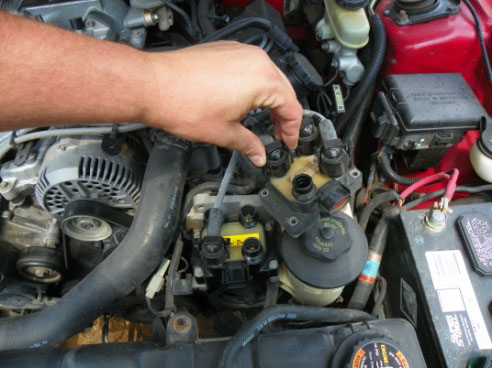
5. Place new coil in bracket and reattach the 4 mounting bolts. (Don’t forget any attached wiring that the bolts are used for mounting.)

6. Then gently remove spark plug wires one at a time. (Squeeze the tabs on the spark plug wire while pulling up to remove them.) Then placing them in the same location they were removed from on the old coil pack onto the new one.
• Now is also a good to inspect and replace or upgrade your existing Spark Plugs and wires.
7. After transferring all the wires over reattach the plug-in connector.

8. Repeat steps 2-7 for other coil pack
9. Double check all connections and firing order.
10. Reconnect battery
11. You are now ready to start engine and get back on the road.
Installation Instructions By American Muscle Customer Michael Schnick 9.11.2013
